Landscaping
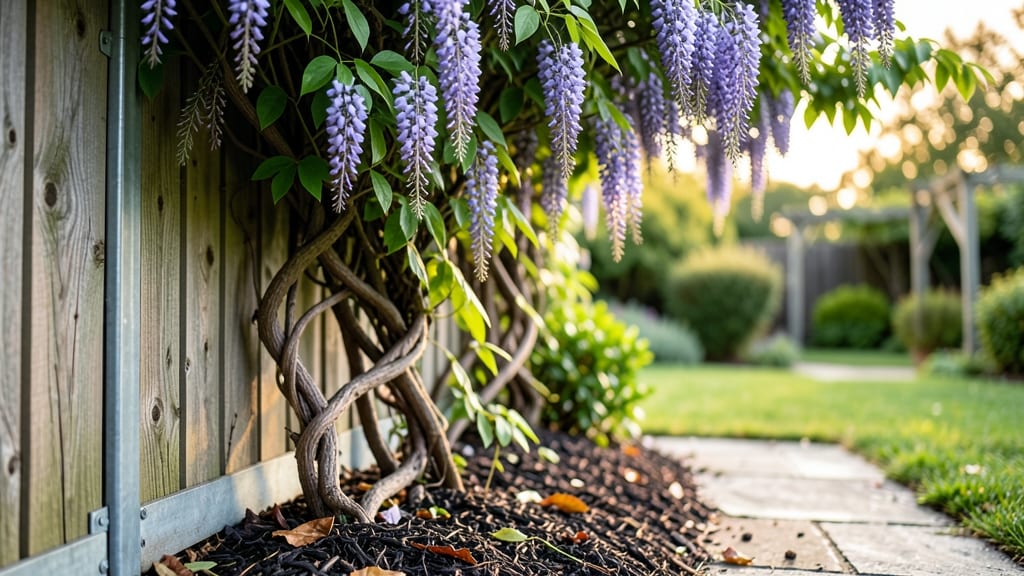
Building a garden fence turns your yard into a private retreat where you can finally relax without neighbors peeking over. I built my first fence after years of struggling with windblown garden beds and curious critters wandering in—it changed everything.
The right materials and design can also elevate your garden's look, turning a simple border into a statement feature that frames your plants beautifully.
You don’t need fancy tools or years of experience to get this right—just a tape measure, post hole digger, and basic hardware. Wood remains the most popular choice for its balance of cost and customization, but metal adds durability and modern flair while vinyl offers low-maintenance elegance.
The key is matching your fence style to your garden’s needs: tall privacy screens block wind and prying eyes, while decorative pickets add charm without full height.
By the end, you’ll have a fence that lasts for years, protects your plants, and makes your garden feel like a true sanctuary. The best part? You’ll save money on replacements and repairs while creating a space that feels distinctly yours.
Let’s get those posts in the ground and turn that open space into something special.
Whether you’re dealing with a small backyard or a sprawling garden, these steps adapt easily—just adjust the materials and height to fit your vision. The payoff isn’t just practical; it’s the quiet pride of knowing you built something that will stand the test of time and seasons.
📚 In This Guide
- What you need
- Instructions
- Tips and common mistakes
- Wrapping up and next steps
What you need
- ● Main Fence Panels: Pre-cut sections (e.g., 6 ft tall × 8 ft long) or individual pickets/boards. Pro tip: Measure your garden’s perimeter first!
- ● Posts: Wood: 4×4 pressure-treated posts (1 every 6–8 ft, plus corner/end posts).
- ● Metal/Concrete: T-posts or tubular steel (check local codes for depth requirements).
- ● Hardware: Galvanized screws/nails (2.5–3 inches for wood, 3–4 inches for metal).
- ● Post anchors or concrete (50 lb bags, ~1 per post).
- ● Hinges (if adding gates) + latch/hasp.
- ○ Optional Extras: Stain/sealer (for wood fences).
- ● Landscape fabric (to block weeds).
- ● Decorative caps or finials (for a polished look).
- ● Essentials: Tape measure, level, post hole digger (manual or auger), circular saw/miter saw, drill/driver, hammer.
- ● Nice-to-Haves: Speed square, chalk line, wheelbarrow, safety gloves/goggles, and a buddy to hold panels!
- ● Check local building codes—some areas require permits for fences over 6 ft tall.
- ● Call 811 (USA) to mark underground utilities before digging.
- ● Clear the fence line of debris, rocks, or overgrown plants.
- ● Mark post locations with stakes/spray paint for precision.
Step-by-Step instructions for building a sturdy garden fence
Here’s the straightforward method I use to create a durable, private garden screen that lasts seasons.
Mark and Dig Post Holes
Start by measuring and marking your fence line with wooden stakes and string. For a 4-foot-tall privacy fence, space posts 6 feet apart—this keeps the fence sturdy without needing extra supports. Use the digging shovel to create holes 12 inches wide and 2 feet deep for each post. Check depth with the measuring tape to ensure consistency.
I like to dig holes slightly wider than the post diameter—this gives you room to add gravel for drainage. Tap the post hole digger into the soil to loosen compacted areas. If you hit rocks, adjust the hole position slightly rather than forcing it. Level the bottom of each hole with the level tool before inserting posts.
Set Posts and Secure with Concrete
Place each 4x4 pressure-treated post into the hole and check for plumb (vertical alignment) with the level tool. Adjust as needed before adding concrete. Mix 1 bag of quick-setting concrete with 6 gallons of water (follow the bag’s ratio) in a wheelbarrow. Pour the concrete into the hole around the post, leaving 6 inches exposed above ground level.
Use the tamping rod to work the concrete into the hole, removing air pockets. Keep the post straight while the concrete sets—24 hours is ideal before attaching fence panels. I like to brace posts temporarily with 2x4 stakes until the concrete hardens fully. Never rush this step; a crooked post ruins the whole fence.
Attach Horizontal Rails and Panels
Once posts are set, install 2 horizontal rails—one 8 inches from the top and one 8 inches from the bottom—using 3-inch deck screws. Pre-drill holes to prevent wood splitting. For a 6-foot-wide section, cut 2x4 rails to fit between posts, leaving ½-inch gaps for expansion. Secure panels (like 6-foot cedar fence pickets) to the rails with 2-inch deck screws, starting at the bottom rail.
Leave a ¼-inch gap between panels and the ground to prevent moisture buildup. I stagger the seams of adjacent panels for a cleaner look. Use the level tool to ensure rails are perfectly horizontal—this keeps panels from sagging over time. For extra stability, add a middle rail if your fence exceeds 6 feet in height.
Reinforce and Finalize
Once all panels are attached, reinforce the fence by adding diagonal braces (2x4s cut at a 45-degree angle) from the top of each post to the middle rail. This prevents leaning, especially in windy areas. Fill any gaps between panels and posts with wood filler for a seamless finish. Let it dry completely before painting or staining.
Finally, apply a waterproof sealant to protect against rot and insects. I use a brush to coat all exposed wood surfaces, focusing on the bottom of panels where moisture collects. Step back and admire your work—this fence will block nosy neighbors and last for years with minimal upkeep.
Tips & tricks for building a sturdy garden fence
A few simple tricks will help you avoid common mistakes and ensure your privacy fence stands strong for years. The details matter most when it comes to stability and longevity.
Precision in Post Placement: In Step 1, when marking your fence line, use a level tool to check the slope of your yard before setting stakes. Uneven ground can cause posts to lean even when buried straight. I like to adjust the string line slightly uphill on slopes to maintain a consistent 4-foot height. This small adjustment prevents the fence from looking slanted after completion.
Concrete Setting Strategy: The 24-hour concrete drying time in Step 2 is non-negotiable, but you can speed up the process slightly by adding a small amount of water (about ½ cup) to the mix if it starts to set too quickly. Work the concrete thoroughly with the tamping rod to eliminate air pockets—this prevents weak spots that could cause posts to shift over time. I also recommend wetting the post before inserting it into the concrete hole to create a better bond.
Panel Alignment Technique: For Step 3, when attaching panels, use a straightedge or level tool to check the alignment of each panel before securing it. I find it helpful to clamp the panel in place temporarily while you mark screw locations. This prevents the common mistake of panels that appear crooked when viewed from the side. Remember to leave that ¼-inch gap at the bottom—it might seem small, but it prevents moisture damage that could rot your fence from the ground up.
Reinforcement Insight: The diagonal braces in Step 4 aren't just decorative—they're essential for wind resistance. Cut them precisely to 45 degrees using a miter box for clean joints. For extra stability in windy areas, consider adding a third brace from the middle rail to the bottom rail. This creates a triangle structure that distributes wind forces more effectively than just the top brace.
Pro Tips for Build Garden Fence
- A few simple tricks will help you avoid common mistakes and ensure your privacy fence stands strong for years.
- Precision in Post Placement: In Step 1, when marking your fence line, use a level tool to check the slope of your yard before setting stakes.
- Work the concrete thoroughly with the tamping rod to eliminate air pockets—this prevents weak spots that could cause posts to shift over time.
Frequently asked questions
Got questions about building your garden fence? You’re not alone!
Here are some of the most common concerns—and their straightforward answers—to help you get started with confidence.
What’s the best time of year to build a garden fence?
Spring or early fall are ideal! Mild weather makes digging and setting posts easier, while avoiding extreme heat or frost. If you’re in a warmer climate, winter can work too—just avoid rainy seasons to prevent muddy ground. Pro tip: Check local frost lines (usually 6–12 inches deep) to bury posts below the freeze zone!
How tall should my privacy fence be for maximum seclusion?
Standard privacy fences range from 6 to 8 feet, but local regulations may cap heights (check zoning laws!). For full privacy, 8 feet is ideal, but 6 feet offers a balance of aesthetics and practicality. Pro tip: If noise is a concern, taller fences (up to 10 feet) can help—but weigh local HOA rules first!
Can I build a fence myself, or should I hire a pro?
DIY is totally doable for basic fences (wood, vinyl, or metal) if you’re handy with tools and have help for heavy lifting. For complex designs (like curved or multi-story fences) or rocky/uneven terrain, hiring a pro saves time and ensures longevity. Pro tip: Rent equipment (post hole diggers, cement mixers) to cut costs!
What’s a good alternative to a traditional wood fence?
Consider vinyl, metal (like aluminum or wrought iron), or composite for low-maintenance options. Vinyl resists rot and pests, metal offers durability and style, and composite mimics wood without the upkeep. Pro tip: Bamboo screens or lattice panels are eco-friendly and budget-friendly for partial privacy!
My fence posts keep sinking—what’s going wrong?
Sinkage usually means poor soil prep or unstable footings. Dig holes 3x wider than the post diameter, use gravel for drainage, and mix concrete to the recommended depth (usually 2/3 of the post height). Pro tip: For sandy soil, add rebar or a concrete footing for extra support!
Still unsure? Drop your question in the comments—we’re happy to help!
Wrapping up and next steps
Building your own garden fence is a rewarding project that boosts privacy, security, and curb appeal—without breaking the bank! 🌿 Whether you’re a DIY beginner or a seasoned pro, breaking it down into simple steps makes it totally manageable.
With the right materials, tools, and a little patience, you’ll enjoy a sturdy, custom privacy screen that transforms your outdoor space.
Ready to take the next step? Start by sketching your design, gathering supplies, and marking your layout. Then, roll up your sleeves and get building—your dream garden oasis awaits! 🛠️✨