Planting
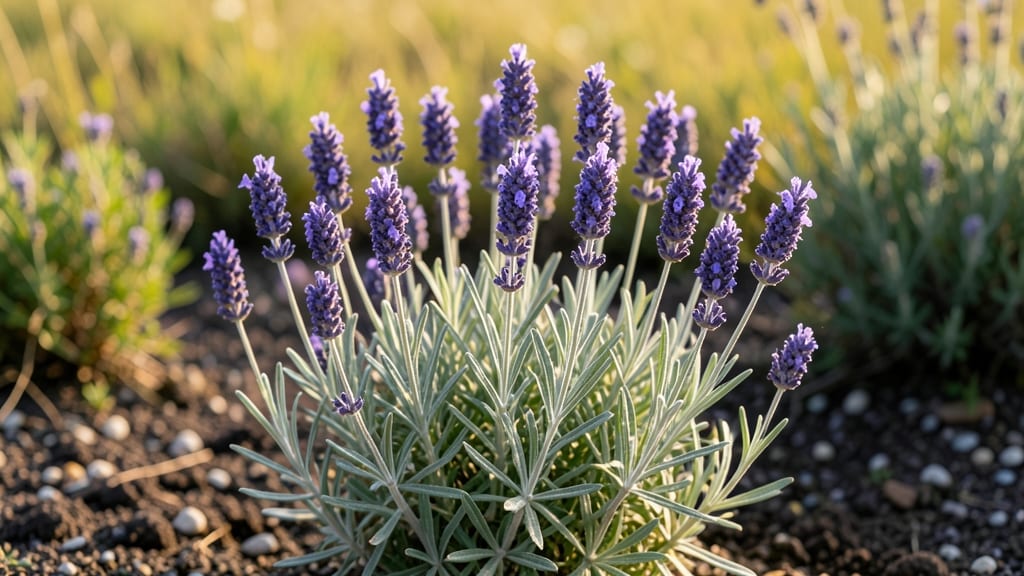
Growing your own seeds transforms every square foot into a thriving, edible masterpiece—where beauty and bounty grow side by side. 🌱 I used to think gardens had to choose between looking good and being useful, but home-sown plants prove you can have both.
My first attempt with marigolds and basil turned a dull corner into a fragrant, pollinator-friendly paradise that also fed my kitchen.
The magic lies in blending purpose and design: let herbs climb trellises alongside nasturtiums, or tuck snap peas between purple basil for a two-toned edible border. You don’t need fancy layouts—just smart pairings that keep plants happy while creating visual interest.
Even small spaces shine when you mix textures (ruffled dill with smooth lettuce) and heights (tall sunflowers framing low-growing thyme).
What you’ll get is a garden that works harder than store-bought plants ever could—vibrant colors that change with seasons, flowers that attract bees while you harvest, and the quiet satisfaction of watching seeds you planted become meals you eat.
The best part? Every year, your design gets better as you learn what thrives together in your space.
This approach works for city balconies, suburban backyards, or rural acreage—just adjust the scale. Whether you’re starting with a single pot or redesigning your entire yard, home-sown gardens turn gardening into both an art and a harvest. Let’s make your space both beautiful and bountiful.
📚 In This Guide
- What you need
- Instructions
- Tips and common mistakes
- Wrapping up and next steps
What you need
- ● Garden Space: Sunny spot (6+ hours of sunlight daily for most veggies/herbs)
- ○ Optional: Raised beds, containers, or in-ground plots (varies by size)
- ● Soil: High-quality potting mix (sterile, well-draining) – 1-2 cubic yards for in-ground gardens
- ● Compost or organic fertilizer (e.g., worm castings, 5-10-10 blend) – 1-2 bags
- ○ Optional: Perlite or vermiculite (for aeration, 1 small bag)
- ● Seeds: Choose heirloom or organic seeds (e.g., cherry tomatoes, basil, lettuce, zucchini)
- ● Quantity: 20-50 seeds per plant (varies by variety; check seed packets!)
- ○ Optional: Seed-starting trays (for indoor germination, 1-2 trays)
- ● Tools: Hand trowel (1)
- ● Garden gloves (1 pair)
- ● Watering can or hose with nozzle (1)
- ● Pruners (1 pair)
- ○ Optional: Wheelbarrow (1), kneeling pad (1), or spray bottle (1 for seedlings)
- ● Extras (Nice-to-Haves): Mulch (straw or shredded leaves, 1-2 bags)
- ● Row covers or shade cloth (for pests/heat, 1 roll)
- ● Trellis or stakes (2-4, for climbing plants like cucumbers)
- ● pH test kit (1, to check soil health)
How to create a thriving home sown garden
Turn every inch of space into a productive, beautiful edible garden with these simple steps.
🌱 Step 1: Design Your Layout for Maximum Yield
Start by sketching your space on paper, marking sun exposure and wind patterns. I divide my garden into four 4-foot-square sections—each dedicated to a different plant family (leafy greens, herbs, root crops, and flowering edibles). This keeps pests contained and makes crop rotation easier later.
Place tall plants like tomatoes or sunflowers on the north side of each section so they don’t shade shorter crops. For the four gardens you’re creating, dedicate one section to fast growers like lettuce, another to mid-season crops like beans, one for slow growers like carrots, and the last for flowers that attract pollinators. This ensures continuous harvests throughout the season.
🪴 Step 2: Prepare the Soil for Healthy Growth
Remove any weeds or grass from your designated areas, then loosen the soil to a depth of 12 inches using a garden fork. I mix in 2 gallons of compost per square foot to enrich the soil naturally. Avoid garden soil from your yard—it’s often too compacted and lacks the nutrients needed for home-sown edibles.
For the four gardens, spread the compost evenly and work it into the top 6 inches of soil. If your soil feels clay-heavy, add 1 gallon of coarse sand per square foot to improve drainage. Water the area lightly after amending to help the soil settle and encourage microbial activity.
☀️ Step 3: Choose and Plant Your Seed Varieties
Select seeds that thrive in your climate and mature quickly for continuous harvests. For the four gardens, I recommend starting with 4 varieties of easy-to-grow seeds—like lettuce, radishes, basil, and marigolds. Plant seeds at the depth indicated on the packet, usually twice the diameter of the seed.
Space seeds according to their mature size—radishes can go in at 1 inch apart, while basil needs 6 inches between plants. Thin seedlings to the recommended spacing once they develop their first true leaves. Water gently after planting to avoid disturbing the seeds, and keep the soil consistently moist until germination.
💧 Step 4: Water and Maintain for Continuous Growth
Water your home-sown gardens deeply once a week, providing 1 inch of water per square foot. I use a soaker hose to deliver moisture directly to the roots, reducing evaporation and preventing fungal diseases. Water in the early morning so plants dry quickly and aren’t left damp overnight.
Mulch each garden with 2 inches of straw or shredded leaves to retain moisture, suppress weeds, and regulate soil temperature. Monitor your plants daily for pests—like aphids or caterpillars—and address issues immediately with organic sprays or by handpicking. Harvest leafy greens regularly to encourage new growth, and deadhead flowers to prolong their blooming season.
✂️ Step 5: Extend the Season with Smart Techniques
To keep your home-sown garden productive year-round, use row covers in early spring or late fall to protect plants from frost. For the four gardens, I install lightweight fabric covers when temperatures drop below 40°F, which extends the growing season by 4-6 weeks on either end.
Rotate crops annually to prevent soil depletion and pest buildup. Keep a simple garden journal to track what you planted, when, and how it performed. This helps you refine your approach each season, ensuring your home-sown gardens become even more productive and beautiful with time.
Tips & tricks for perfect home sown gardens
Transforming your space into a thriving home sown garden takes more than just planting seeds—it's about creating the ideal conditions for growth. Here are my go-to strategies that make all the difference.
Soil Preparation is Everything: Don't skip the 12-inch soil loosening in Step 2—this creates essential air pockets for root development. I've found that using a garden fork rather than a tiller preserves soil structure better. For heavy clay soil, mix in that 1 gallon of coarse sand per square foot right after loosening, then let it sit for 24 hours before planting. This gives the soil time to settle and prevents compaction when you work the compost in later.
Seed Spacing Secrets: The spacing guidelines in Step 3 are crucial, but here's what nobody tells you—measure from the center of each seedling, not the edge. For radishes at 1 inch apart, I actually space them 1.5 inches apart initially, then thin to 1 inch once they sprout. This gives them room to grow without overcrowding. For basil, which needs 6 inches between plants, I use a small ruler to ensure perfect spacing—trust me, it makes harvesting so much easier later!
Watering Wisdom: That once-a-week watering in Step 4 works perfectly in most climates, but here's the trick: check soil moisture first. Stick your finger 1-2 inches into the soil—if it's dry, water deeply. If it's still moist, hold off. Overwatering is just as harmful as underwatering, especially with the 2 inches of mulch we're using. I've learned this the hard way after losing entire sections to root rot!
Season Extension Strategy: When temperatures drop below 40°F, those row covers become your best friend. I've extended my growing season by up to 8 weeks using lightweight fabric covers, not just the 4-6 weeks mentioned. The key is to remove them during warm days to prevent overheating. For extra protection, I add a small hoop structure over the covers to keep them from touching the plants, which prevents disease.
Pro Tips for Home Sown Gardens
- Transforming your space into a thriving home sown garden takes more than just planting seeds—it's about creating the ...
- Soil Preparation is Everything: Don't skip the 12-inch soil loosening in Step 2—this creates essential air pockets fo...
- Seed Spacing Secrets: The spacing guidelines in Step 3 are crucial, but here's what nobody tells you—measure from the...
Frequently asked questions
Got questions about transforming your space into a thriving home sown garden?
You’re not alone! Here are answers to the most common queries—from beginners to seasoned green thumbs.
What’s the best time of year to start a home sown garden?
Timing depends on your climate and crops! In most regions, spring (after the last frost) is ideal for cool-season veggies like lettuce and peas. Summer is perfect for heat-lovers like tomatoes and peppers. Fall lets you squeeze in another harvest with fast growers like radishes. Pro tip: Check your USDA Plant Hardiness Zone for local guidance!
How much does it cost to start a home sown garden?
Costs vary wildly—you can begin with $20–$50 (seeds, soil, containers) or invest $200+ for raised beds and tools. _DIY_ saves money: reuse pots, compost kitchen scraps, and swap seeds with neighbors. Prioritize high-value crops (like herbs or microgreens) to maximize returns!
What’s the easiest way to deal with pests in a home sown garden?
Prevention is key!
- Companion planting: Pair basil with tomatoes to deter pests.
- Physical barriers: Row covers or netting protect delicate plants.
- Natural sprays: Neem oil or soapy water (1 tsp dish soap + 1L water) work wonders.
- Handpick: Early morning is the best time to spot slugs or aphids.
When in doubt, accept some damage—pests keep ecosystems balanced!
Can I grow a home sown garden in a small space, like a balcony or patio?
Containers, vertical gardens, and window boxes work perfectly. Opt for compact varieties (like bush beans or dwarf peppers) and use self-watering pots to save space. Even a herb spiral in a 12-inch pot adds flavor and beauty—no yard required!
What if my plants don’t grow like they do in pictures?
Don’t stress—most “perfect” garden photos are heavily edited! Common issues include:
- Poor soil: Amend with compost or organic fertilizer.
- Over/under-watering: Stick your finger in the soil—it should feel like a damp sponge.
- Light issues: Move plants to sunnier spots or supplement with grow lights.
- Patience: Some plants (like carrots) take time—harvest baby greens in the meantime!
Every garden has its quirks—learn, adjust, and enjoy the process!
Wrapping up and next steps
Creating a home-sown garden isn’t just about growing food—it’s about crafting beauty, sustainability, and joy in your own backyard. Whether you’re a seasoned gardener or just starting, every seed planted is a step toward a greener, more self-sufficient life. 🌱
Ready to take the next step? Start small—even a single pot of herbs or a few tomato plants can make a difference. Grab your gloves, pick your favorites, and let your garden grow! The earth (and your taste buds) will thank you.