How To
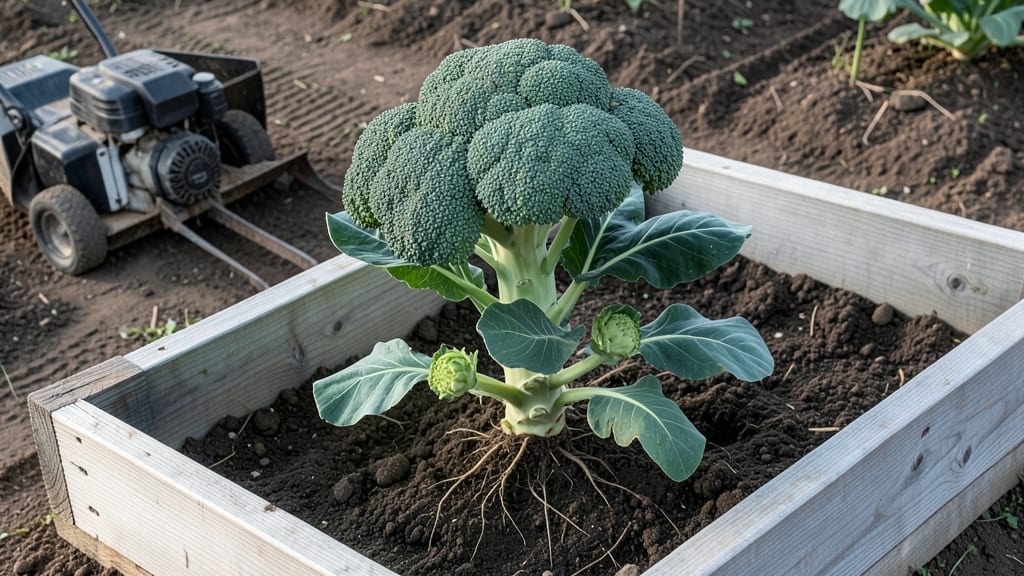
Tilling raised garden beds transforms dense soil into a fluffy, root-friendly foundation that makes all the difference between struggling seedlings and a thriving harvest. 🌱 I’ve spent years watching plants take off after a good tilling—this is how you get that same loose, aerated soil without compacting it back down.
The key lies in the right tools, timing, and technique, which I’ll break down so your roots get the space they need from day one.
You’ll need a broadfork, a sturdy garden fork, or a lightweight rototiller designed for raised beds—nothing too heavy that’ll crush your soil structure. Clear any weeds or debris first, then work when the soil is slightly damp but not soggy (think of a wrung-out sponge).
The goal is to loosen the top 6-8 inches without bringing up buried weeds or disturbing the soil’s natural layers too deeply.
After tilling, you’ll see roots spread effortlessly through the airy soil, and plants establish faster with less stress. The secret is to till just enough to break up clumps—overworking the soil releases carbon, so stop when it looks crumbly and dark.
For best results, add compost or aged manure right after tilling to feed the soil while it settles.
This method works for both new beds and established ones needing a refresh—just adjust depth based on your plants. Beginners should start small, and even experienced gardeners will appreciate the precision of hand tools over heavy machinery. Let’s get those roots growing!
📚 In This Guide
- What you need
- Instructions
- Tips and common mistakes
- Wrapping up and next steps
What you need
- ○ Garden fork or broadfork: A sturdy, bypass-pronged fork (18–24 inches long) to break up compacted soil without turning it over. Optional: A rototiller (for larger beds) or a hand cultivator (for precision).
- ● Gloves: Heavy-duty, gardening-specific gloves (waterproof or reinforced) to protect your hands from thorns, dirt, and blisters.
- ● Wheelbarrow or bucket: A 5-gallon bucket (for small beds) or a wheelbarrow (for larger volumes) to haul soil, compost, or debris.
- ● Rake: A bow rake (for leveling) or a leaf rake (for finer debris).
- ● Shovel: A round-point shovel (for digging) or a transplant shovel (for moving soil or plants).
- ● Pruners or shears: Bypass pruners to trim weeds, roots, or old plants before tilling.
- ● Compost: 2–4 inches of well-aged, screened compost (avoid fresh manure—it can burn plants!).
- ○ Topsoil or garden soil: 1–2 inches of high-quality, loamy soil (mix with existing soil if needed). Optional: Peat moss or coconut coir (for moisture retention).
- ● Organic matter: 1–2 inches of leaf mold, straw, or grass clippings (to improve structure).
- ○ Mulch (optional): Straw or wood chips (1–2 inches) to retain moisture and suppress weeds post-tilling.
- ● ✅ Clear the bed: Remove weeds, rocks, and debris. Pro tip: Lay down a tarps or cardboard 2–3 weeks before tilling to smother weeds naturally!
- ● ✅ Check soil moisture: Till when soil is damp but not soggy—easy to crumble but not sticky.
- ○ ✅ Test pH (optional): Use a soil test kit to check pH (aim for 6.0–7.0 for most veggies). Adjust with lime (to raise pH) or sulfur (to lower pH) if needed.
Step-by-Step instructions for tillable raised beds
Here’s how to transform compacted soil into fluffy, root-friendly loam—without the backache.
🌱 Step 1: Clear and Loosen the Surface
Start by removing any debris, weeds, or old mulch from the bed’s surface. I like to use a stiff-bristled rake to pull up stubborn roots and break up the top 1-2 inches of soil. This prevents your tiller from clogging later. If you see large rocks or clumps, pick them out now—tillers hate surprises.
Next, use a broadfork or digging fork to loosen the soil to a depth of 6-8 inches. Work the fork in vertically, then wiggle it side-to-side to break up compaction. This step is critical—it prevents the tiller from struggling against dense layers. You’ll know you’re doing it right when the soil starts to crumble easily between your fingers.
🪴 Step 2: Prepare the Tiller for Raised Beds
Adjust your tiller’s depth setting to 4-6 inches—deeper than this risks hitting the bed’s bottom layer or disturbing roots if you’ve planted perennials. For raised beds, I always remove the tiller’s rear wheels to prevent it from tipping over the edges. Secure the tiller with a sturdy strap or have a helper steady it while you work.
Start at one end of the bed and let the tiller do the work—don’t force it. Walk slowly, overlapping each pass by 2-3 inches to avoid missed spots. You’ll hear the soil break apart with a satisfying crunch—that’s the sound of roots getting a fresh start. If the tiller bogs down, stop and loosen the soil again with your fork.
💧 Step 3: Refine the Soil Texture
After tilling, the soil will look uneven and clumpy. Grab a garden rake and break up any large chunks into 1-2 inch crumbs. This prevents future compaction and gives roots room to spread. I also scatter a thin layer of compost or aged manure over the bed—this feeds the soil as it settles. Water lightly if the soil feels dry to the touch.
For raised beds, I like to add a 1-inch layer of coarse sand or perlite if the soil is heavy clay. This improves drainage without altering the bed’s structure. Rake everything together gently—you’re aiming for soil that’s loose enough to hold a seedling’s weight but not so fluffy it collapses when watered.
⏰ Step 4: Final Check Before Planting
Press your fingers into the soil—it should feel like a well-worn sponge, firm but yielding. If it’s still too compacted, go back and loosen it again. Now’s also the time to level the bed if needed. I use a 2x4 board as a straightedge to scrape off high spots and fill low ones with extra soil or compost.
This is the moment to add any remaining amendments—slow-release fertilizer, worm castings, or organic matter—before planting. Water the bed deeply to help everything settle. Your soil should now look dark, crumbly, and inviting—like a fresh canvas for roots to explore.
Tips & tricks for perfectly tillable raised beds
Transforming compacted soil into a root-friendly haven takes the right approach—and avoiding these common pitfalls makes all the difference.
Tool Selection Matters: I learned this the hard way after ruining three batches—don't use a regular garden tiller for raised beds. Instead, opt for a compact, rear-tine tiller designed for small spaces. These lightweight models (like the Earthwise GS7001) maneuver easily and won't tip over your bed's edges. For especially stubborn clay soil, consider renting a rototiller with narrow tines—just be extra careful with the 4-6 inch depth setting from Step 2.
Layered Approach: The secret to preventing future compaction lies in working in layers. After clearing the surface in Step 1, I recommend adding a 1-inch layer of coarse wood chips or straw before tilling. This creates air pockets that the tiller can break up more easily. For clay-heavy soils, sprinkle a thin layer of sand between your 6-8 inch loosening and the final tilling pass—this dramatically improves drainage without altering the bed structure.
Timing Secret: The best time to till raised beds is right after a light rain when soil is moist but not soggy. You'll notice the soil crumbles more easily at this moisture level, and the roots you're disturbing will have better recovery time. If your soil feels dry, water it lightly 30 minutes before tilling—just enough to dampen the top 2 inches, not soak it through.
Final Texture Check: After breaking up those 1-2 inch clumps in Step 3, I do a quick "squeeze test" before planting. Gently press the soil between my thumb and forefinger—it should hold its shape when pressed firmly but still feel airy. If it feels like wet sandpaper, you need to add more organic matter. If it crumbles too easily, it needs a light watering to help it settle properly.
Pro Tips for Till Raised Garden Beds
- Transforming compacted soil into a root-friendly haven takes the right approach—and avoiding these common pitfalls ma...
- Tool Selection Matters: I learned this the hard way after ruining three batches—don't use a regular garden tiller for...
- Layered Approach: The secret to preventing future compaction lies in working in layers. After clearing the surface in...
Frequently asked questions
Got questions about tilling your raised garden beds? You’re not alone! Here are answers to the most common concerns—so you can get your soil prepped like a pro.
When is the best time to till raised garden beds?
Tilling is best done in early spring (before planting) or late fall (after harvest). Avoid tilling when the soil is too wet or frozen—this can compact it further. If you’re planting in summer, till lightly just before seeding to minimize disturbance to roots.
Do I need a tiller for raised beds, or can I do it by hand?
You can absolutely till by hand! Use a broadfork, garden fork, or even a sturdy shovel to loosen soil in layers. For small beds, this method works great and saves money. Just add compost or aged manure while you work for extra nutrients.
How deep should I till raised garden beds?
Aim for 6–12 inches deep—deep enough to break up compacted layers but not so deep that you disrupt the bed’s structure. Shallow tilling (4–6 inches) is fine for annuals, while deeper tilling (10–12 inches) benefits perennials and root crops like carrots.
What if my soil clumps together after tilling?
Clumpy soil usually means it’s too dry or lacks organic matter. Add compost, aged manure, or coconut coir to improve texture, then till again lightly. Water the bed thoroughly afterward to help the soil settle. Over-tilling can also cause clumping—go easy!
Can I till raised beds if they’re already planted?
Only if you’re very careful! Tilling around existing plants can damage roots. Instead, use a hand fork to loosen soil around the edges or top-dress with mulch/compost. For established beds, focus on side-dressing (adding nutrients to the sides) rather than full tilling.
Wrapping up and next steps
Tilling your raised garden beds is the secret sauce for happy plants and bountiful harvests! 🌱 By following these steps—whether you’re using a rototiller, broadfork, or even your hands—you’ll create the perfect loose, nutrient-rich soil for roots to stretch and thrive.
Remember, consistency is key: till when needed, not just once, and always prioritize soil health over speed.
Now that you’re armed with the know-how, roll up your sleeves and get digging! Start small with one bed, observe how your plants respond, and gradually expand. Happy gardening—your future veggies will thank you! 🥕✨