Landscaping
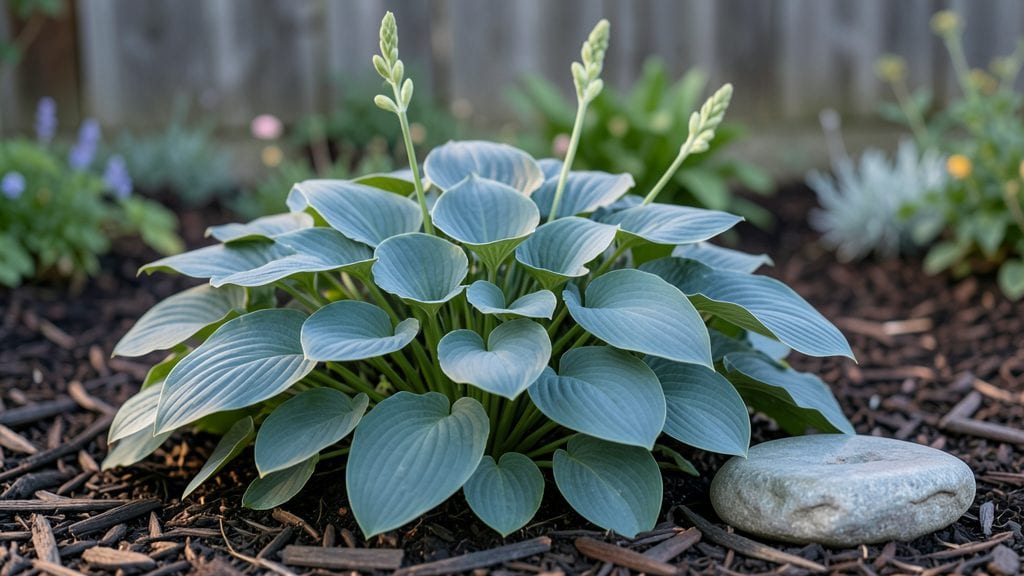
A circle garden design transforms any yard corner into a lush, private retreat that works year-round. 🌿 I stumbled upon this idea after struggling with a windswept backyard—now my circular beds create a cozy, evergreen haven that neighbors envy.
The key is layering plants by height and texture, so you always have color, even in winter.
Start with a simple 5- to 10-foot diameter circle for small spaces, or expand to 15+ feet for grander designs. Use raised beds for defined edges or sunken tiers for a natural look.
Materials like cedar mulch or river rocks keep the design clean while suppressing weeds—no more digging every spring.
By mixing evergreens (like boxwood or holly) with seasonal bloomers (such as hydrangeas or coneflowers), you’ll have year-round interest without gaps. The tallest plants go in the center, medium-height ones form the middle ring, and low growers spill over the edges—like a living carpet.
This design works in urban backyards, rural plots, or even container arrangements on patios. The circular shape softens harsh lines, while layered plants create natural privacy that feels organic, not fenced-in. Ready to sketch your own?
📚 In This Guide
- What you need
- Instructions
- Tips and common mistakes
- Wrapping up and next steps
What you need
- ● Garden bed fabric: 1 roll (3’ x 50’) to suppress weeds and retain moisture.
- ● Mulch: 2–3 cubic yards (cy) of shredded bark or wood chips for moisture retention.
- ● Soil: 1–2 cy of high-quality topsoil or compost-amended mix.
- ● Edging materials: 10–12 ft of flexible metal or plastic edging (for a clean, defined circle).
- ● OR 1 bag of decorative landscape rocks (for a natural look).
- ● Plants: Mix of evergreens, shrubs, and perennials (see plant guide for specifics).
- ● Tools: Shovel & spade (for digging).
- ● Garden hose with spray nozzle (for watering).
- ● Wheelbarrow (for hauling soil/mulch).
- ● Measuring tape & string (to mark the circle’s diameter).
- ● Gloves & knee pads (for comfort!).
- ● Lighting: Solar-powered path lights (6–8) for evening ambiance.
- ● Seating: A small circular bench or stools for a cozy nook.
- ● Water feature: A mini fountain or bubbler (3–5 gallons) for soothing sounds.
- ● Decorative accents: Obelisks, trellises, or a central garden ornament.
- ● Drip irrigation: A kit with emitters for low-maintenance watering.
Step-by-Step instructions for creating a layered circle garden
Here's how to craft a lush, private circle garden that thrives through every season.
🌿 Step 1: Mark and Prepare the Circle Base
Use a garden hose or spray paint to outline a 6-foot diameter circle—this size balances privacy and manageable maintenance. Clear all vegetation and rocks from the area, then loosen the soil to a depth of 6 inches with a shovel or rototiller. I like to add 2 inches of compost to the top layer here, mixing it in thoroughly to enrich the soil for root growth.
For a perfectly round shape, drive a stake at the center and tie a 6-foot string to it. Walk around while keeping the string taut to mark the perimeter. This ensures clean edges without guesswork. If your soil is heavy clay, consider amending it with sand or perlite to improve drainage before planting.
🪴 Step 2: Plant the Foundation Layer
Begin with 3-4 medium-sized shrubs (like boxwood or dwarf lilac) spaced evenly around the circle's edge. These act as your privacy barrier and structural backbone. Dig holes twice as wide as the root ball and just as deep, placing each plant so its top sits 1 inch above soil level—this prevents rot during heavy rains.
Backfill with native soil mixed with compost, pressing gently to remove air pockets. Water deeply immediately after planting to settle the roots. I always mulch around the base with 2-3 inches of shredded bark, keeping it 3 inches away from stems to prevent moisture buildup that causes rot.
☀️ Step 3: Add Mid-Height Fillers
Fill the center with 5-7 ornamental grasses (like fountain grass or switchgrass) and 2-3 flowering perennials (such as coneflowers or black-eyed Susans). These create movement and seasonal interest. Space grasses 18-24 inches apart and perennials 12-18 inches apart, depending on their mature size.
Dig holes just deep enough to accommodate the root balls, then water each plant thoroughly. Here's the thing—grasses often need full sun (6+ hours daily), while perennials may tolerate partial shade. Check your garden's light conditions before finalizing placements. If your circle sits in shade, opt for hostas or ferns instead.
🌱 Step 4: Top With Ground Cover and Accents
Fill remaining gaps with creeping thyme or ajuga for a lush, low-maintenance carpet. These spread quickly, suppressing weeds while adding texture. Sprinkle 3-5 small bulbs (like daffodils or alliums) around the edges for early spring color—plant them 6 inches deep in fall for a head start.
Add 3-5 decorative stones or a small boulder as focal points. These break up the green monotony and add visual weight. Water everything deeply after planting to encourage root establishment. Avoid overwatering now—you'll see new growth in 2-3 weeks as your signal that everything is settling in.
✂️ Step 5: Maintain Through the Seasons
Prune shrubs in early spring before new growth appears, cutting back any dead or crossing branches. Grasses benefit from late-winter trimming to 4-6 inches tall, which encourages fresh growth. Mulch annually in early spring to replenish nutrients and suppress weeds—2-3 inches is plenty.
Fertilize perennials in early spring with a balanced 10-10-10 formula, but skip fertilizing grasses—they thrive in leaner soil. Watch for pests like spider mites on grasses or aphids on perennials. A strong spray of water usually dislodges them before they become a problem. With this layered approach, your circle garden will offer year-round privacy and beauty with minimal effort.
Tips & tricks for perfect circle garden design
Between us, the real secret to a thriving circle garden isn't just the plants—it's the thoughtful layering that makes all the difference. Here's what nobody tells you about creating a cohesive, private garden space that actually works.
Soil Preparation is Everything: That 6-inch soil loosening in Step 1 isn't just about breaking up dirt—it's about creating the perfect environment for roots to establish. I've found that adding 2 inches of compost to the top layer gives plants the nutrients they need right from the start, but don't skip the soil amendment test first. If your soil is heavy clay, mix in sand or perlite to improve drainage before planting. This one step prevents waterlogged roots that can kill your foundation shrubs before they even establish.
Plant Placement Precision: The spacing numbers in Steps 2-3 aren't arbitrary—they account for mature plant sizes. For those 3-4 foundation shrubs, I like to visualize them as the "clock hands" of a garden—position them at 12, 3, 6, and 9 o'clock positions for perfect balance. When planting ornamental grasses 18-24 inches apart, remember they'll spread wider than their containers suggest. The 1 inch above soil level placement for shrubs is critical too—it prevents rot during heavy rains that can actually drown your plants.
Seasonal Layering Strategy: Here's the thing about Step 4's ground cover and bulbs: timing matters. Plant those 3-5 small bulbs in fall (6-8 weeks before your first frost) for early spring color that will peek through the creeping thyme. The 2-3 weeks you'll see new growth after planting is your confirmation that everything's settling in properly. Pro tip: If you're in a cooler climate, wait until spring to plant bulbs—they won't have time to establish roots if planted too early.
Maintenance Calendar: That early spring pruning in Step 5 isn't just about tidying up—it's about encouraging new growth. The 4-6 inches tall late-winter trim for grasses might seem drastic, but it actually stimulates fresh, bushier growth. And remember, the 10-10-10 fertilizer is only for perennials—grasses are the divas of the plant world and actually thrive with minimal feeding. The 2-3 inches of mulch you add annually is your secret weapon against weeds and moisture loss.
Pro Tips for Circle Garden Design
- Between us, the real secret to a thriving circle garden isn't just the plants—it's the thoughtful layering that makes all the difference.
- Soil Preparation is Everything: That 6-inch soil loosening in Step 1 isn't just about breaking up dirt—it's about creating the perfect environment for roots to establish.
- Plant Placement Precision: The spacing numbers in Steps 2-3 aren't arbitrary—they account for mature plant sizes.
Frequently asked questions
Got questions about creating a stunning circle garden design?
Here are answers to the most common ones to help you plan with confidence!
What’s the best time of year to plant a circle garden?
The ideal time depends on your climate! In mild zones, plant in early spring or fall to avoid extreme heat or frost. For cooler regions, wait until after the last frost (typically late spring). If using container plants, you can plant year-round in warm areas.
How do I determine the right size for my circle garden?
Start by measuring the space you have—most circle gardens range from 3 to 10 feet in diameter. For privacy screens, aim for a 6-foot diameter to balance aesthetics and functionality. Use a garden hose or string to mark the circle before digging.
Can I mix evergreens and seasonal plants in a circle garden?
Evergreens (like boxwood or holly) provide year-round structure, while seasonal plants (such as ornamental grasses or flowering shrubs) add color and texture. Place evergreens on the outer edges for a lush, layered look and seasonal plants toward the center or mid-height.
What if my circle garden looks uneven after planting?
Don’t worry—unevenness is common! Rake the soil lightly to smooth it out, then water thoroughly to help roots settle. If gaps appear, add mulch or ground cover plants (like creeping thyme) to fill them naturally. Over time, growth will blend everything together.
Are there budget-friendly alternatives to expensive plants?
Yes! Opt for native plants (they’re hardy and low-maintenance) or propagate your own from cuttings. Check local nursery clearance sections or plant swaps for affordable options. Even evergreen shrubs like juniper or arborvitae can be found at lower prices in bulk.
Wrapping up and next steps
A circle garden design isn’t just a stylish landscaping choice—it’s a functional, year-round oasis that blends privacy with natural beauty. By layering plants, textures, and seasonal greenery, you create a serene space that evolves with the seasons while keeping your outdoor area cozy and inviting.
Whether you’re a seasoned gardener or just starting, this design is your ticket to a lush, low-maintenance retreat.
Ready to transform your space? Sketch your circle, gather your materials, and start planting! 🌿 With a little planning, you’ll soon be enjoying the tranquility of your own private garden paradise.