Picking
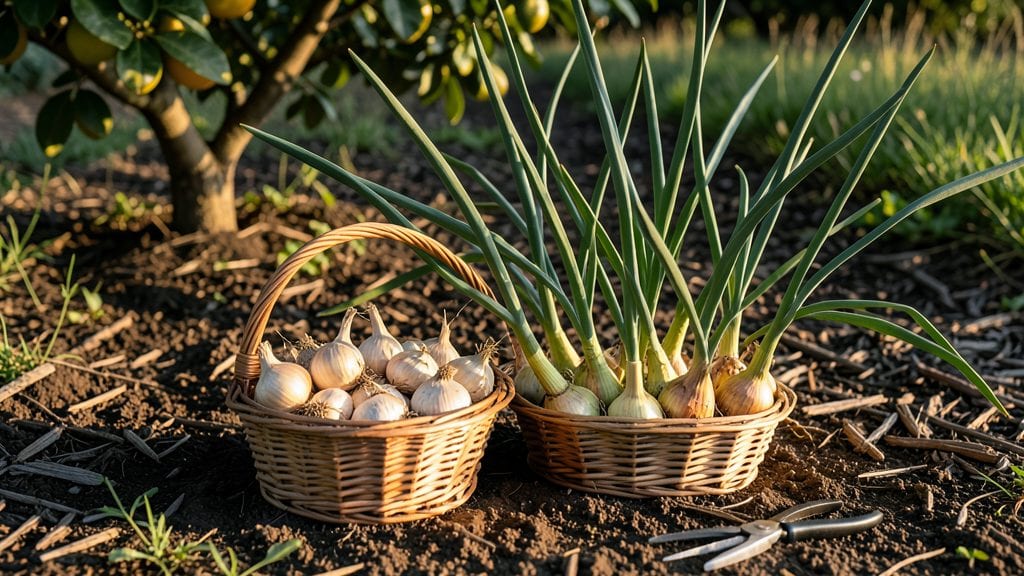
Harvesting shallots from your garden at the right time transforms bitter, tough bulbs into sweet, tender treasures 🧅—and missing that window means wasted flavor and effort.
You’ve nurtured your shallots all season, but one wrong move—like digging too early or too late—can turn your harvest into disappointment. The difference between a perfectly timed harvest and a ruined one often comes down to knowing when the foliage signals it’s ready.
In this guide, I’ll walk you through the exact visual cues to watch for, the best tools to use, and how to handle them after digging so they stay fresh for months. No more guesswork—just a foolproof method for maximum yield and flavor.
Whether you’re a first-time grower or a seasoned gardener, these tips will help you avoid common mistakes and ensure your shallots are ready for cooking—or storage—when you need them.


When to harvest shallots for maximum flavor and yield
Timing your shallot harvest correctly ensures you enjoy sweet, tender bulbs packed with flavor. If you harvest too early, you’ll get small, underdeveloped shallots. Wait too long, and they’ll become tough, pungent, and prone to splitting.
The ideal harvest window is late summer to early fall, typically 80-120 days after planting, depending on your climate and variety. This period usually aligns with USDA Zone 6a’s late August through September, but always watch for visual cues rather than relying solely on dates.
Your first clue that harvest time is near is the foliage. Look for yellowing leaves that begin to collapse and dry out. At this stage, the bulbs are fully formed but still firm and sweet.
If you see brown, crispy leaves, it’s a sign the bulbs are nearing their peak ripeness. However, don’t wait until the leaves are completely dead—this indicates the bulbs may have started to deteriorate.
The skin should also turn dry and papery, making it easy to peel back a layer to check bulb size.
Soil conditions play a crucial role too. Before harvesting, ensure the soil is dry to the touch. Moist soil makes it harder to dig cleanly and can cause bulbs to rot during curing. If rain is forecasted, harvest a few days early to avoid soggy soil.
Additionally, avoid harvesting after a heavy rain, as wet bulbs are more susceptible to disease and won’t dry properly. The goal is to harvest when the bulbs are firm, dry, and fully mature—not before or after.
Here’s a quick reference to help you identify the perfect harvest window:
| Stage | Visual Cues | Soil Condition | Action |
|---|---|---|---|
| Early Maturity | Green foliage, firm bulbs | Moist | Wait 2-4 weeks |
| Ideal Harvest | Yellowing leaves, papery skin, 1-2" bulbs | Dry | Harvest immediately |
| Overripe | Brown, crispy leaves, splitting bulbs | Dry or moist | Harvest and use immediately |
| Too Early | Upright green leaves, soft bulbs | Moist | Wait 2-3 weeks |
Seasonal timing varies by region, but most gardeners in cooler climates (like Zone 6a) should harvest in late August to early September. In warmer regions, such as Zones 8-10, the harvest window shifts to late summer to early fall, often starting as early as July.
Pay attention to your local frost dates—shallots won’t tolerate freezing, so aim to harvest before the first frost hits. If you’re unsure, dig up one bulb to check its readiness. This test harvest can save your entire crop from spoiling.
One common mistake is harvesting based on calendar dates rather than plant signals. For example, assuming all shallots are ready in September can lead to missed harvest windows. Instead, focus on the foliage color and bulb firmness.
Another error is harvesting when the soil is too wet, which can cause bulbs to rot during storage. Always prioritize dry soil and clear weather for a clean, efficient harvest. If you’re growing shallots in containers, monitor their progress closely, as they may mature faster than in-ground plants.
Regional differences also impact harvest timing. In northern climates, where summers are shorter, shallots may need to be started indoors or under grow lights to extend the growing season.
Conversely, in southern climates, the heat can accelerate growth, so keep an eye on your plants to avoid missing the harvest window. If you’re new to growing shallots, consider planting a small test batch to practice identifying the perfect harvest cues before tackling a full garden bed.
Once you’ve confirmed your shallots are ready, act quickly to preserve their quality. Use a sharp garden fork or spade to loosen the soil around the bulbs, then gently lift them from the ground. Avoid cutting or bruising the bulbs, as this can lead to rot.
After harvesting, let them dry in a shady, well-ventilated area for 1-2 days before storing. This curing process helps remove excess moisture and extends their shelf life. If you notice any bulbs with soft spots or mold, discard them immediately to prevent spoilage.
Proper harvest timing isn’t just about flavor—it’s also about yield quality. Overripe shallots split easily and lose their sweetness, while underripe ones lack the depth of flavor you crave.
By mastering the art of recognizing the perfect harvest window, you’ll enjoy a bountiful harvest of sweet, tender, and versatile shallots all season long. Happy digging!
Step-by-step guide: how to properly dig and store shallots
Once your shallots show the right harvest cues, it’s time to carefully dig and prepare them for storage. The key to long-lasting flavor lies in proper handling—from the moment you pull them from the soil to their final resting spot.
Follow these steps to ensure your harvest stays fresh and vibrant for months.
Gather your harvesting tools first: a sturdy garden fork, sharp pruning shears, a basket or bucket, and a clean towel. Work on a dry, sunny day to minimize moisture exposure, which can lead to rot.
Avoid harvesting after rain, as wet soil makes bulbs more susceptible to disease during storage.
How to Harvest Shallots from the Garden
-
Step 1: Gently loosen the soil
Use a garden fork to carefully lift the soil around the shallot clumps. Insert the fork about 6 inches deep and wiggle it gently to avoid damaging the bulbs.
-
Step 2: Lift the clumps
Grasp the foliage and pull upward to lift the entire clump from the soil. Shake off excess dirt, but don’t rinse the bulbs—this can introduce moisture and spoil them.
-
Step 3: Separate the bulbs
Gently pull apart the shallot cloves by hand or use a knife to trim any remaining soil. Remove any damaged or soft cloves, as these won’t store well.
-
Step 4: Trim the foliage
Cut the green tops back to 1-2 inches above the bulb. This reduces moisture loss during the curing process and prevents the bulbs from drying out too quickly.
After harvesting, your shallots need to cure properly to develop their full flavor and longevity. Lay the bulbs in a single layer on a well-ventilated tray or screen in a dry, shaded area.
Allow them to air-dry for 2-3 weeks, turning them occasionally to ensure even drying. This step is critical—skipping it can lead to mold or premature sprouting.
Once fully cured, store your shallots in a cool, dark place with good airflow, such as a mesh bag or paper sack. Avoid plastic containers, which trap moisture and encourage rot.
Check them monthly and remove any bulbs that show signs of sprouting or softening to maintain the quality of the rest.
With proper harvesting techniques and storage methods, your shallots can last up to 6 months, ready to add depth to your favorite dishes whenever you need them. The effort you put in now will pay off with a pantry full of flavorful, homegrown goodness.