How To
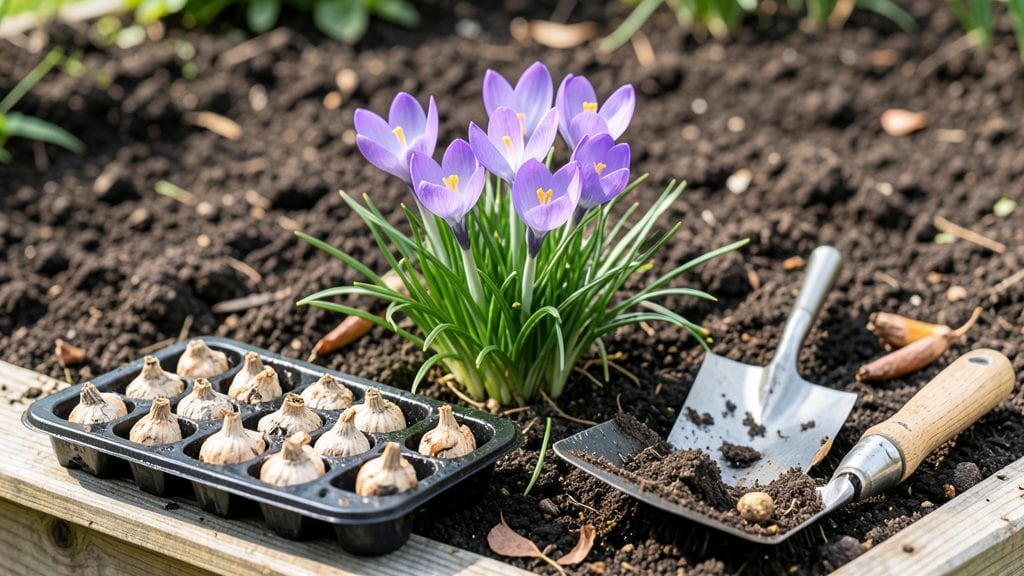
Spring gardening tasks begin the moment snow melts—because those first weeks decide whether your summer blooms will be showstoppers or disappointments. I’ve learned the hard way that rushing soil prep or ignoring frost dates means struggling with leggy seedlings or bolting greens.
The key is working with nature’s timeline, not against it, while still getting an early jump on the season.
Start with the basics: test your soil, till in compost, and mark planting zones with stakes. Most gardeners overlook soil temperature—wait until it hits 55°F before sowing warm-season crops like tomatoes.
Prune perennials now while they’re dormant, and mulch to lock in moisture. These steps take 2-3 hours but save you from midseason scrambling.
By late spring, you’ll see the payoff: vibrant green foliage, fragrant blooms, and vegetables that outperform anything from the store. The trick is consistency—water deeply once a week (unless it rains) and watch for pests like slugs before they become a problem. Even my black thumb can’t mess this up.
Works for every zone, from cold northern climates to mild southern winters. The only rule? Start now, before the weeds do. Let’s get your garden off to the right start—before the heat sets in.
📚 In This Guide
- What you need
- Instructions
- Tips and common mistakes
- Wrapping up and next steps
What you need
- ● Garden Gloves: 1 pair (nitrile-coated for durability and grip; size medium or large).
- ● Hand Trowel: 1 (5–7 inches long, stainless steel for longevity).
- ● Pruning Shears: 1 (bypass pruners, 6–8 inches, for clean cuts).
- ● Garden Fork: 1 (heavy-duty, 18–24 inches, for aerating soil).
- ● Wheelbarrow or Bucket: 1 (5–10 gallons, for hauling soil/amendments).
- ○ Hose with Adjustable Nozzle: 1 (soaker hose optional for efficient watering).
- ● Compost or Organic Fertilizer: 1–2 bags (5–10 lbs, balanced NPK ratio like 10-10-10).
- ● Mulch: 1–2 bags (straw or shredded bark, 2–3 cubic feet).
- ● Seedlings or Seeds: Quantities based on garden size (e.g., 50–100 seeds per variety for a 10x10 ft bed).
- ○ Soil Test Kit: 1 (optional but helpful for pH/nutrient analysis).
- ● Knee Pads or Stool: For comfort during long planting sessions.
- ● Seedling Trays: 1–2 (biodegradable pots for starting seeds indoors).
- ● Row Covers or Frost Blankets: 1–2 (to protect tender plants from late frosts).
- ● Garden Kneeler: 1 (for easy access to low-growing plants).
- ● Label Stakes & Markers: 50+ (to track plant varieties).
- ● Watering Can: 1 (for precision watering of seedlings).
Step-by-Step instructions for early spring planting
Here’s how to kickstart your garden with confidence—timing and prep make all the difference.
Clear and Prepare the Garden Beds
Start by removing any dead plants, weeds, or debris from your garden beds. This prevents disease and pests from overwintering. Use a garden fork to loosen the soil about 6 inches deep, breaking up compacted areas. I like to add a thin layer of compost here—it improves drainage and feeds the soil without overwhelming new plants.
Rake the surface smooth to create an even planting bed. Pay attention to drainage—if water pools after rain, amend the soil with sand or perlite to improve airflow. This step ensures your plants won’t struggle with soggy roots later.
Test and Amend the Soil
A quick soil test (using a home kit) tells you what nutrients are missing. Most spring gardens benefit from a balanced 10-10-10 fertilizer or compost. Work it into the top 4-6 inches of soil to avoid disturbing roots of perennials. If your soil is heavy clay, mix in 2-3 inches of organic matter like peat moss or aged manure to lighten it.
For acid-loving plants like azaleas or blueberries, add sulfur or peat moss to lower the pH. You’ll see healthier growth when the soil pH matches your plants’ needs—check the labels on your plants for their ideal range.
Plant Early-Blooming Perennials and Cool-Season Annuals
Now’s the time for pansies, snapdragons, and sweet peas—they thrive in cooler spring temperatures. Dig holes twice as wide as the root ball and just as deep. Gently remove plants from their containers and place them in the holes, filling gaps with soil. Press lightly to eliminate air pockets but don’t compact too firmly.
Water deeply right after planting to settle the soil and encourage root growth. Mulch with 2-3 inches of shredded bark or straw to retain moisture and suppress weeds. Avoid mulching too close to stems—keep it 2 inches away to prevent rot.
Direct-Sow Seeds for Fast Germination
For lettuce, spinach, and carrots, scatter seeds directly into the prepared beds. Follow packet instructions for depth—most need only ¼ inch of soil coverage. Lightly rake the surface to ensure good seed-to-soil contact, then mist with water. Keep the soil consistently moist (not soggy) until seedlings appear.
Label your rows if you’re planting multiple varieties—you’ll thank yourself later when you’re harvesting. Thin seedlings to 2-3 inches apart once they’re 2-3 inches tall to give them room to grow. This prevents overcrowding and reduces competition for nutrients.
Protect New Plants from Late Frosts
Even in spring, late frosts can damage tender new growth. Cover delicate plants with frost cloth or row covers on chilly nights. Remove them during the day to allow sunlight and airflow. You’ll know it’s working when your plants stay upright and vibrant, even after a cold snap.
Monitor your local frost dates and adjust planting times accordingly. If frost is forecast, hold off on planting until temperatures stabilize. A little patience now means stronger, hardier blooms later.
Tips & tricks for perfect early spring planting
Timing and preparation are everything when it comes to early spring planting—these tips will help you avoid common pitfalls and set your garden up for success.
Soil Preparation Matters: In Step 1, when you're loosening the soil to 6 inches deep, take an extra moment to check for any remaining roots or rocks. I’ve learned the hard way that leaving even small stones can create uneven planting beds and hinder root growth. A quick pass with a garden fork ensures a smooth, workable surface for your plants. This attention to detail prevents future headaches with poor drainage or uneven plant growth.
Soil Testing Pays Off: Don’t skip the soil test in Step 2—it’s the foundation of everything that follows. I’ve seen gardens fail because the soil was either too acidic or lacked essential nutrients. If your test shows low nitrogen, add a balanced 10-10-10 fertilizer as recommended, but if phosphorus or potassium is lacking, choose a fertilizer with higher levels of those nutrients. This step ensures your plants get exactly what they need to thrive from the start.
Planting Depth and Spacing: When planting perennials in Step 3, remember that the top of the root ball should sit just below soil level—never deeper. I’ve made the mistake of burying plants too deep, which can cause stem rot. Also, maintain the 2-3 inches spacing for mulch around stems to prevent moisture buildup. This balance keeps your plants healthy and prevents common issues like fungal diseases.
Seedling Care is Critical: In Step 4, when thinning seedlings to 2-3 inches apart, do it gently with scissors or your fingers to avoid disturbing the roots of the remaining plants. I’ve seen gardens where seedlings were pulled too aggressively, leaving gaps and stunted growth. Keep the soil consistently moist but not soggy—this is key for successful germination and strong seedlings.
Pro Tips for Spring Gardening Tasks
- Timing and preparation are everything when it comes to early spring planting—these tips will help you avoid common pitfalls and set your garden up for success.
- Soil Preparation Matters: In Step 1, when you're loosening the soil to 6 inches deep, take an extra moment to check for any remaining roots or rocks.
- Soil Testing Pays Off: Don’t skip the soil test in Step 2—it’s the foundation of everything that follows.
Frequently asked questions
Got questions about spring gardening?
You’re not alone! Here are answers to the most common queries to help you tackle your early planting with confidence.
When is the exact best time to start spring planting?
The ideal time depends on your hardiness zone and last frost date. As a general rule, plant cool-season crops (like lettuce or peas) 2-4 weeks before the last frost, while warm-season plants (tomatoes, peppers) should wait until 2 weeks after. Check your local USDA Plant Hardiness Zone Map for precision!
What if frost is still a risk? How can I protect my plants?
Use frost cloths or lightweight row covers to shield tender seedlings. For extra warmth, try mini greenhouses (like cloches) or even upside-down buckets over plants. Water soil before frost—moist earth retains heat better—and avoid fertilizing until temps stabilize.
Can I reuse last year’s soil in containers or garden beds?
Yes, but refresh it first! Mix in compost or aged manure (2-3 inches) to replenish nutrients. Test soil pH (aim for 6.0–7.0 for most veggies). If pests like slugs were an issue, sterilize soil by baking it in the sun for a week or adding diatomaceous earth.
Do I need a tiller, or can I prep soil by hand?
Not at all! For small gardens, a garden fork or broadfork works wonders—just loosen soil to 6–8 inches deep. Add organic matter (like leaf mold or grass clippings) and rake smooth. No-till gardening (cover crops or mulch) also preserves soil structure and microbes!
Why are my seedlings wilting or turning yellow? Troubleshooting tips!
Yellow leaves often mean overwatering or nutrient deficiency. Check soil moisture (top inch should dry between waterings) and fertilize lightly with a balanced 10-10-10 mix. Leggy seedlings? They need more light—move them to a sunnier spot or add grow lights. Pests? Inspect for aphids or spider mites and spray with neem oil.
Still stumped? Snap a photo of your plants and share details (soil, watering habits) with local gardening groups—they’re full of quick fixes!
Wrapping up and next steps
Spring is the perfect time to roll up your sleeves and transform your garden into a vibrant haven! By tackling early planting, soil prep, and pest control, you’ll set the stage for lush blooms and bountiful harvests all season long.
Whether you’re a seasoned green thumb or a curious beginner, these tasks will help you grow with confidence.
Ready to dive in? Start small—pick one or two plants to focus on this week, and celebrate every little victory. Soon, your garden will be bursting with color and life! 🌱✨