Tools
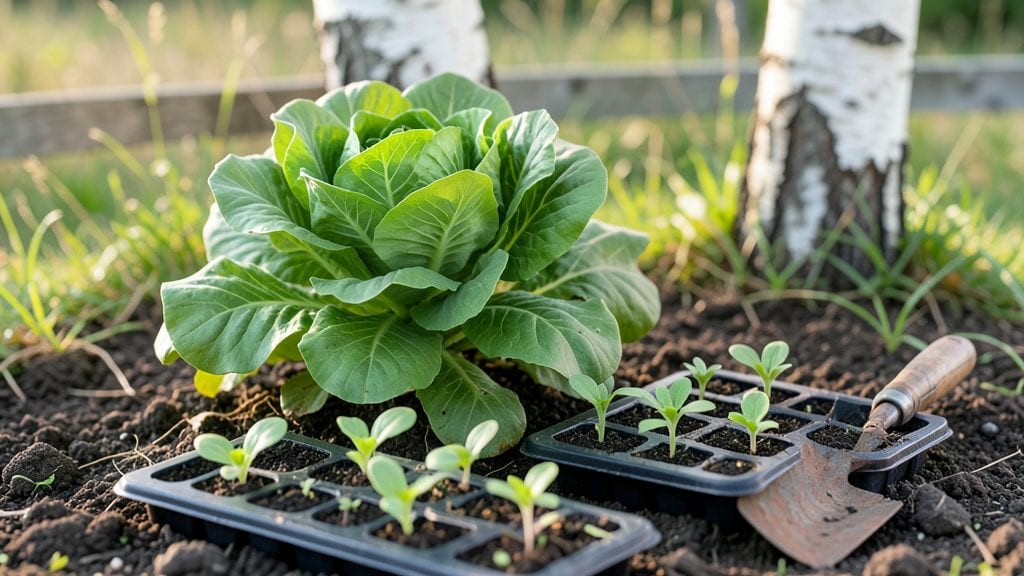
Following the right steps for gardening transforms a patch of dirt into a thriving oasis—whether you’re growing tomatoes, marigolds, or basil.
Imagine stepping into your garden months from now and harvesting vibrant, homegrown produce—all because you followed a clear, step-by-step gardening timeline. Whether you're growing flowers, vegetables, or herbs, these structured steps will turn your green thumb dreams into reality.
From prepping soil in spring to harvesting in summer, each phase matters. Skipping even one—like testing pH or spacing seeds correctly—can mean stunted plants or wasted effort. The good news? With a few simple rules, anyone can master the basics and avoid common pitfalls.
Here’s your roadmap: when to plant, how much to water, and what to watch for pests. By the end, you’ll know exactly how to nurture your 🌱 General Gardening plot from seed to harvest—no guesswork required.
Month-by-month gardening timeline for planting success
Gardening success hinges on timing—knowing when to plant, prep soil, and care for your plants based on your climate zone and plant type. A structured month-by-month timeline ensures cold-hardy crops thrive in spring, warm-season plants get a head start, and perennials establish strong roots before winter.
Let’s break down the essential steps to maximize your garden’s potential year-round.
First, identify your last frost date (typically April 15 in USDA Zone 6a) and first frost date (October 31 in this zone). These dates mark the boundaries for planting cool-season crops like lettuce and warm-season plants such as tomatoes.
Adjust these timelines if you’re in a warmer or colder zone—just add or subtract 2-4 weeks accordingly.
For cold-hardy vegetables like kale, spinach, and peas, start seeds indoors 6-8 weeks before the last frost or sow directly in the garden 4-6 weeks before. Warm-season crops, including peppers, cucumbers, and basil, need to wait until 2-3 weeks after the last frost to avoid frost damage.
Perennials like lavender and rosemary can be planted in early spring or fall for best establishment.
Soil preparation is key—test your soil pH in early spring and amend with compost or organic matter to improve drainage and fertility. Mulch after planting to retain moisture and suppress weeds.
Companion planting also plays a role: pair basil with tomatoes to repel pests or marigolds with vegetables to deter nematodes.
Now, let’s dive into the monthly gardening checklist tailored to your zone, covering planting, maintenance, and harvest times for a thriving garden.
| Month | Task | Cold-Hardy Crops | Warm-Season Plants | Perennials |
|---|---|---|---|---|
| January-February | Plan & Prep | Order seeds, start onions/leeks indoors | None (dormant season) | Prune dormant perennials |
| March | Soil Prep & Plant | Direct sow peas, spinach, lettuce | Start tomatoes/peppers indoors | Plant spring-blooming bulbs |
| April | Transplant & Sow | Sow carrots, radishes, kale | Hardening off seedlings | Fertilize established perennials |
| May | Plant & Maintain | Harvest early crops | Plant tomatoes, peppers outdoors | Mulch to retain moisture |
| June-July | Grow & Harvest | Succession plant lettuce | Harvest basil, cucumbers | Deadhead spent blooms |
| August | Prepare for Fall | Sow fall broccoli, cabbage | Plant heat-tolerant crops | Divide overcrowded perennials |
| September-October | Plant & Protect | Direct sow garlic, onions | Harvest remaining warm crops | Plant spring-blooming bulbs
Critical gardening tasks by growth stage: from seed to harvestEvery plant follows a predictable lifecycle, and understanding these stages is the key to a thriving garden. From the first seedling sprouting to the fruit ripening on the vine, each phase demands specific care. I’ve broken down the essential tasks for germination, vegetative growth, flowering, and fruiting to ensure your plants reach their full potential. Whether you’re growing tomatoes, marigolds, or basil, these steps apply universally. The difference between a struggling plant and a bountiful harvest often comes down to timing and attention to detail. Let’s dive into the actionable checklist that will transform your gardening efforts. Your Plant’s Growth Timeline: Essential Tasks
During the germination phase, patience is key. Seeds need warmth and moisture to break dormancy, but avoid overwatering, which can lead to rot. I’ve found that using a heat mat under seed trays speeds up sprouting, especially for slow germinators like okra or parsley. Once seedlings emerge, thin them to avoid crowding, which weakens stems and invites disease. As plants enter vegetative growth, focus on nutrient uptake and root development. This is the time to introduce compost tea or a liquid fertilizer to give your plants a boost. I recommend side-dressing with compost halfway through this stage to provide a slow-release nutrient source. Mulching with straw or wood chips helps retain moisture and suppress weeds. When flowering begins, your plants are signaling they’re ready to produce fruit or seeds. This stage is critical for pollination, so if you’re growing squash or cucumbers, attract bees with native flowers like borage or marigolds. If your garden lacks pollinators, use a small paintbrush to transfer pollen between flowers. Watch for blossom end rot in tomatoes—it’s a sign of calcium deficiency, which can be corrected with crushed eggshells or calcium nitrate. The fruiting stage is where your hard work pays off. To maximize yield, harvest fruits like peppers and tomatoes when they’re fully colored but still firm. For herbs like basil, pinch off flowers to redirect energy to leaf growth. If your plants are struggling, a foliar spray of seaweed extract can provide a quick nutrient boost and improve resilience to stress. Remember, every plant has unique needs, so adjust these steps based on your specific climate zone and plant varieties. For example, cool-season crops like lettuce thrive with less water in summer, while warm-season plants like okra need consistent moisture. By tailoring these tasks to your garden, you’ll create an environment where your plants can flourish from seed to harvest. |