Vegetables
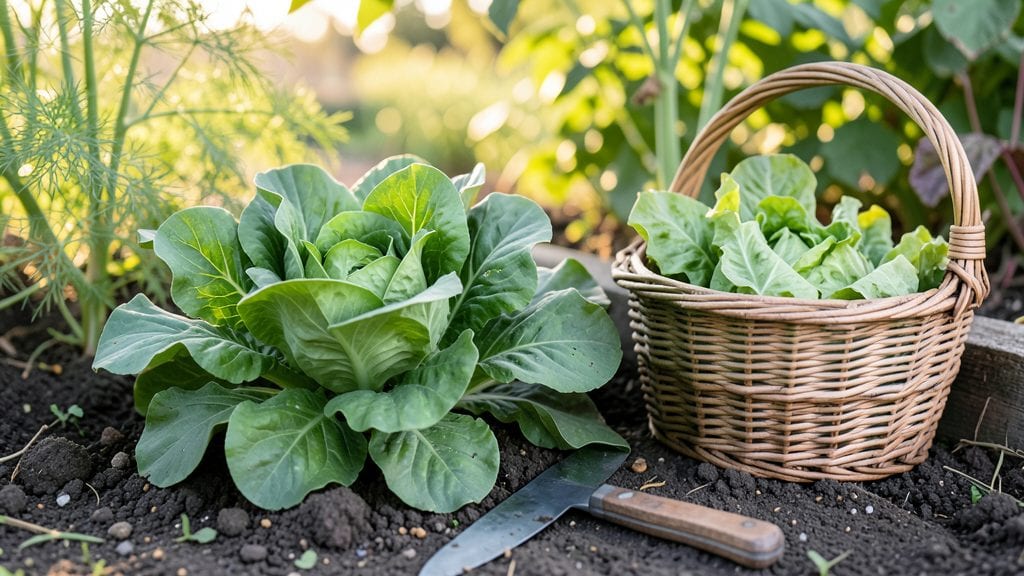
The victory gardens of WWI turned backyards into vital fronts, where families grew food to fuel the war effort and ease wartime shortages. 🌱 My great-grandmother’s stories of canned tomatoes and rows of cabbage still make me proud of how ordinary families stepped up.
The secret to their success was simple but brilliant: every inch counted. Raised beds, trellises, and even window boxes grew vegetables like carrots, potatoes, and peas. Neighbors shared seeds and tips, turning gardening into a community effort.
You don’t need a large plot—just a sunny spot, some compost, and a plan to grow what you eat.
Today, you can bring that same spirit back. Imagine your garden overflowing with zucchini, tomatoes, and herbs by summer’s end. The best part? You’ll save money, reduce waste, and connect with a piece of history.
Plus, modern victory gardens can double as beautiful landscapes—just like the ones from a century ago.
Whether you’re a beginner or a seasoned gardener, this approach works. Start small, think big, and watch how your harvest fuels more than just your table—it fuels pride. Let’s dig in and grow something meaningful together.
📚 In This Guide
- What you need
- Instructions
- Tips and common mistakes
- Wrapping up and next steps
What you need
- ● Seeds: Prioritize high-yield, fast-growing varieties like: Tomatoes (10–20 plants)
- ● Carrots (20–30 seeds per sq. ft.)
- ● Potatoes (10–15 seed potatoes)
- ● Cabbage (5–10 plants)
- ● Radishes (50–100 seeds per sq. ft.)
- ● Green beans (10–15 plants)
- ● Lettuce (10–15 plants)
- ● Soil: Loamy, well-draining garden soil or potting mix (5–10 cubic yards for a 10’x10’ plot; 10–20 bags for containers).
- ● Compost: Organic matter (e.g., aged manure, leaf mold) to enrich soil (1–2 inches mixed into topsoil).
- ● Water: Consistent access to a hose or watering can (aim for 1–1.5 inches per week).
- ● Basic Tools: Garden trowel (for planting)
- ● Hand fork or spade (for soil prep)
- ● Pruners (for trimming)
- ● Garden gloves (to protect your hands!)
- ○ Optional (but helpful!): Rake (for leveling soil)
- ● Wheelbarrow (for moving soil/compost)
- ● Trellis or stakes (for climbing plants like beans)
- ● Row covers (to protect from pests)
- ● Space: At least 10’x10’ (100 sq. ft.) for a full garden; containers or raised beds work for smaller areas.
- ● Sunlight: 6+ hours of direct sun daily (south-facing spots are ideal in the Northern Hemisphere).
- ● Time: Commit to 15–30 minutes daily for watering, weeding, and harvesting.
- ● Knowledge: Familiarize yourself with planting schedules (e.g., cool-season crops like peas vs. warm-season tomatoes).
Step-by-Step instructions for planting a WWI-inspired victory garden
Here's how to recreate the patriotic, space-efficient gardens that helped feed America during WWI.
🌱 Step 1: Choose Your Plot and Prepare the Soil
Victory gardens thrived in small spaces, so pick a sunny spot—even a balcony works. WWI gardens often used 4x8-foot raised beds for maximum efficiency. Clear weeds and loosen the top 6-8 inches of soil with a garden fork. This breaks up compaction and lets roots spread easily.
Mix in 2-3 inches of compost or aged manure into the top layer—this is where WWI gardeners got their secret to high yields. The soil should feel crumbly and dark, like a well-loved cake mix. If your soil is heavy clay, add a layer of coarse sand to improve drainage. I know it seems like extra work, but this step ensures your plants grow strong and fast.
🌿 Step 2: Plant High-Yield, Easy-Grow Crops
Stick to quick-maturing vegetables that feed families fast—just like in WWI. Plant radishes (30 days), lettuce (45 days), bush beans (50 days), and carrots (60 days) in rows 12-18 inches apart. These were staples because they produce heavily and grow well in small spaces.
Save tomatoes, potatoes, and cabbage for later—these take longer but provide big harvests. I like to plant radishes first because they mark where slower-growing crops will go. The key is succession planting: as you harvest one crop, replant the space immediately. This keeps your garden productive all season without wasting space.
💧 Step 3: Water Deeply and Mulch Like a WWI Gardener
Water deeply once a week rather than daily shallow watering—this encourages strong root systems. Early morning is best because it reduces evaporation and fungal diseases. You'll know you've watered enough when the soil feels moist 6 inches down. A simple way to check is to push a screwdriver into the soil—if it goes in easily, you're good.
Spread 2-3 inches of straw or grass clippings around plants as mulch. This keeps soil cool, retains moisture, and suppresses weeds—just like the resourceful gardeners of WWI did. Mulch also breaks down slowly, adding nutrients back to the soil. Replenish mulch every few weeks to maintain the 2-inch layer.
✂️ Step 4: Harvest Regularly and Extend the Season
Pick vegetables frequently—this encourages more production and keeps flavors sweet. Radishes, lettuce, and beans should be harvested every 3-5 days at their peak. Use a sharp knife or your fingers to avoid damaging plants. In WWI, families relied on steady harvests, so don't let your garden go to waste by waiting too long.
Extend your harvest by covering crops with row covers or old window screens when nights turn cool. This traps warmth and protects tender plants from frost. You'll be amazed how much longer your garden produces. Save seeds from your best plants—this was a common practice during WWI to ensure next year's garden had the strongest varieties.
🌱 Step 5: Rotate Crops and Plan for Next Year
Before winter, sketch your garden layout and note which crops grew best. WWI gardeners rotated plants yearly to prevent soil depletion and pests. For example, plant tomatoes where beans grew last year—beans add nitrogen to the soil, which tomatoes love. Avoid planting the same family (like all brassicas) in the same spot two years in a row.
Clean up debris and add another 2-inch layer of compost before the first frost. This feeds your soil over winter and gives you a head start in spring. I promise, if you follow these steps, your garden will be just as productive—and patriotic—as the ones that helped feed a nation over a century ago.
Tips & tricks for perfect victory gardens
These battle-tested strategies will help you grow a thriving garden just like the resourceful WWI Victory Gardeners did.
Soil Preparation Secret: In Step 1, when mixing in 2-3 inches of compost, I recommend adding a handful of wood ash for every 4x8-foot bed—it provides essential potassium without altering soil pH. This was a common WWI trick to boost yields in nutrient-poor soils. Just be careful not to overdo it, as too much ash can make soil too alkaline. The compost should feel like a well-aerated cake mix—light and crumbly but still moist.
Planting Layout Strategy: For Step 2, create a simple grid system using stakes and string to mark your 12-18 inch rows. This makes succession planting effortless—just sketch your layout on graph paper first. I like to plant radishes in the center of each row since they grow so quickly. Their bright green leaves make it easy to spot where to plant slower-growing crops later. This visual system prevents overcrowding and makes harvesting a breeze.
Watering Technique: When following Step 3's deep watering method, use a rain gauge or tuna can to measure your water—aim for 1 inch of water per week. I set a timer for 15 minutes when using a standard hose nozzle to ensure consistent coverage. The screwdriver test is perfect, but I also check by lifting a plant gently—if it wobbles slightly, you've watered enough. This method prevents both underwatering and waterlogged roots.
Season Extension Hack: For Step 4's row covers, save old bedsheets or lightweight blankets instead of buying commercial covers. They work just as well and are free! I also recommend planting cold-hardy crops like kale or spinach in late summer—they'll produce all winter with just a simple cover. This was a common practice in WWI gardens to extend harvests during food shortages. Save seeds from your best plants by letting a few pods dry completely on the plant before harvesting.
Pro Tips for Victory Gardens Wwi
- These battle-tested strategies will help you grow a thriving garden just like the resourceful WWI Victory Gardeners did.
- Soil Preparation Secret: In Step 1, when mixing in 2-3 inches of compost, I recommend adding a handful of wood ash for every 4x8-foot bed—it provides essential potassium without altering soil pH.
- Planting Layout Strategy: For Step 2, create a simple grid system using stakes and string to mark your 12-18 inch rows.
Frequently asked questions
What’s the best way to start a victory garden if I only have a small balcony or patio?
No yard? No problem! Opt for container gardening with lightweight pots (5+ gallons per plant). Leafy greens like lettuce, herbs (basil, parsley), and compact veggies such as cherry tomatoes or radishes thrive in small spaces. Stackable planters or vertical gardens maximize vertical real estate—plus, they’re easy to move indoors if frost threatens. Pro tip: Use self-watering systems to save time!
When was the peak time for WWI victory gardens, and can I still plant them today?
Victory gardens boomed between 1917–1918 in the U.S. and Europe, but the spirit lives on! Today, you can plant year-round in warm climates or focus on spring-fall crops (March–October in most regions). Start with cold-hardy greens (spinach, kale) in early spring, then transition to tomatoes, peppers, and beans as temperatures rise. Bonus: Many WWI crops (carrots, potatoes, cabbage) are still staples!
What are some easy-to-grow WWI-era crops I should prioritize?
Stick to low-maintenance, high-yield picks inspired by WWI gardens:
- Potatoes – Grow in bags or hills; minimal fuss.
- Carrots – Loose soil = fewer pests.
- Cabbage – Disease-resistant and stores well.
- Beans (pole or bush) – Fix nitrogen in soil.
- Turnips – Edible greens and roots!
How did WWI gardeners deal with pests without modern pesticides?
They relied on natural, DIY methods:
- Companion planting – Marigolds repel nematodes; basil deters flies.
- Handpicking – Wear gloves and pluck caterpillars early.
- Homemade sprays – Soap water (1 tsp dish soap + 1L water) or garlic/chili pepper brews.
- Crop rotation – Prevents soil-borne diseases.
Are victory gardens cost-effective today, or is it cheaper to buy groceries?
Long-term, they save money and reduce waste! A 10’x10’ garden yields ~$600+ in produce annually (vs. $1,200+ grocery costs). Start small: A 4’x8’ plot grows enough for a family of 4. Hidden perks:
- Lower water bills (rainwater collection!).
- No packaging waste.
- Freshness = better nutrition (peak flavor, vitamins).
Wrapping up and next steps
Victory Gardens of WWI weren’t just a wartime solution—they were a testament to resilience, community, and the power of everyday people to make a difference. By planting just a small patch of land, families not only supported the war effort but also fostered self-sufficiency and pride. Today, their legacy reminds us that even small actions can grow big change.
Ready to honor this history? Start small—plant a few vegetables in your backyard, balcony, or community garden. Whether you’re growing tomatoes for sauces or potatoes for stews, you’re keeping the spirit of victory gardens alive. Let’s grow together! 🌱💚