Watering
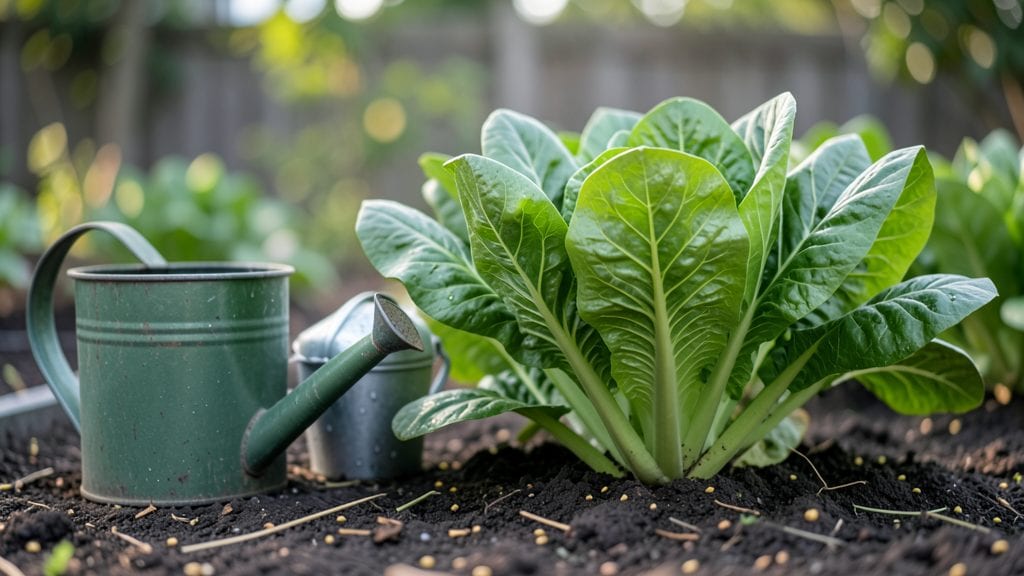
A water bucket garden turns empty containers into thriving mini-gardens with zero extra watering. 🌱 I first tried this after watching my potted herbs dry out between waterings, and now I’ve got a self-sustaining system that fits on my balcony.
The magic is in the reservoir—just drill a hole in the bottom bucket, fill it with water, and nest your plants on top.
You’ll need two buckets (one with drainage holes), potting soil, and plants that love moisture like herbs, lettuce, or small peppers. The setup takes 15 minutes and uses what you already have—no fancy tools or expensive systems.
Even my black thumb keeps these plants alive because the water level stays steady, so roots never dry out.
Imagine snipping fresh basil in July or harvesting baby greens in August without lifting a watering can. The plants stay lush and productive because they get exactly what they need, when they need it. Plus, you’ll cut water waste by 80% compared to regular potted plants.
Works on patios, fire escapes, or even a sunny windowsill—no yard required. Here’s how to assemble yours without overcomplicating it.
📚 In This Guide
- What you need
- Instructions
- Tips and common mistakes
- Wrapping up and next steps
What you need
- ● 5-gallon plastic bucket (clean, food-grade, with a lid—drill holes in the lid for drainage)
- ● Drill or screwdriver (to create drainage holes in the bucket’s base and lid)
- ● Wick material: Old cotton T-shirt, rope, or jute twine (cut into 12–18-inch strips)
- ● Pebbles or small stones (1–2 cups, for the wick reservoir)
- ● Potting soil (lightweight, well-draining mix—avoid heavy garden soil)
- ● Seeds or seedlings (herbs, lettuce, or shallow-rooted veggies work best!)
- ● Water (non-chlorinated if possible—let tap water sit for 24 hours)
- ● Measuring cup or ruler (for precise hole spacing)
- ● Scissors or box cutter (for trimming wicks)
- ● Waterproof paint or marker (to label your bucket garden)
- ○ Second bucket (for the reservoir—optional but recommended)
- ● Hydroponic nutrients (if growing non-soil plants)
- ● Decorative elements (paint, stickers, or a cute bucket cover!)
Step-by-step instructions for building a water bucket garden
Turn empty buckets into a thriving, self-watering garden that saves space and resources.
🪴 Step 1: Select and Prepare Your Buckets
Grab 4 five-gallon buckets—clean, food-grade plastic works best. Remove any labels or residue with warm, soapy water and rinse thoroughly. Drill two holes in the bottom of each bucket: one 1-inch diameter centered for drainage, and a second ½-inch diameter near the base for the wick. Sand the edges of the holes to prevent splintering.
Here's the thing—buckets with handles or lids work even better. If using lids, drill four evenly spaced ¼-inch holes around the edges to allow airflow and prevent condensation buildup. You’ll also need 4 plastic containers (like yogurt cups) to serve as saucers—these will catch excess water and keep your space tidy.
💧 Step 2: Create the Self-Watering Reservoir
Place one of your plastic containers upside down inside each bucket, nestled against the side near the ½-inch hole. This creates a small reservoir. Fill the container with water until it reaches just below the 1-inch drainage hole—this ensures a steady supply without overflow. The wick (we’ll add this next) will draw water upward as plants use it.
Don’t overfill the reservoir yet. You’ll notice the water level drops as plants drink, so top it off every 3-5 days depending on your climate. If you’re in a hot, dry area, check daily. If cooler, once a week is fine. The goal is to keep the reservoir ½ to ¾ full—never let it run dry.
🌱 Step 3: Add the Wick and Soil Mix
Cut 4 pieces of rope (like cotton or jute) into 12-inch lengths. Thread one rope through the ½-inch hole in each bucket, letting 6 inches hang inside the reservoir. Tie the other end securely to the 1-inch drainage hole on the opposite side. This rope will act as a wick, pulling water up to the roots as needed.
Now, fill each bucket with potting mix up to 1 inch below the rim. Press lightly to settle the soil but don’t compact it—roots need air too. Gently tuck the wick into the soil so it’s fully submerged at the bottom but not buried. If the wick dries out, your plants will wilt faster than you’d expect.
☀️ Step 4: Plant and Position for Success
Plant 4 small herbs or greens—like basil, parsley, or lettuce—into each bucket, spacing them 2-3 inches apart. Water lightly after planting to help the soil settle around the roots. Place your buckets in a spot with 4-6 hours of sunlight daily. A south-facing windowsill or balcony works perfectly.
Here’s where it gets fun—watch the wick do its magic. Within 24 hours, you’ll see the soil stay consistently moist without you lifting a finger. If you notice the wick isn’t pulling water (like if it’s curled or dry), untie it, soak it in water for 10 minutes, and reattach it. This keeps the system running smoothly.
⏰ Step 5: Maintain and Expand Your System
Check your buckets weekly to ensure the reservoir isn’t empty. Top off with water as needed—room-temperature water works best to avoid shocking the plants. If you see algae growing in the reservoir, dump it, rinse the bucket, and refill. A splash of hydrogen peroxide (1 tablespoon per gallon) once a month keeps the water fresh and bacteria-free.
Once your plants mature, you can harvest leaves as needed—just pinch off what you use. When the season ends, empty the buckets, compost the soil, and give them a good scrub for next year. This system is endlessly reusable, making it a zero-waste gardening hero.
Tips & tricks for building a water bucket garden
Here's what I learned the hard way after trying (and failing) to build this system twice—these tricks make all the difference.
Bucket Selection Wisdom: Don't overlook the importance of bucket material. While food-grade plastic works, I've found that buckets with handles provide better stability, especially when full of soil and water. If you're using lids, remember those ¼-inch holes are non-negotiable—they prevent condensation buildup that can lead to mold. I also recommend using buckets with smooth, untextured surfaces to prevent soil from sticking during cleaning.
The Wick Game-Changer: When cutting your 12-inch rope wicks, leave an extra inch or two on each end. This gives you room to properly secure them without tension that could break the rope over time. I've found that cotton rope works best because it absorbs water quickly but doesn't rot as fast as jute. After threading through the holes, give the wick a quick soak in water for 10 minutes before tucking it into the soil—this ensures immediate moisture transfer when you plant.
Soil Level Strategy: That 1-inch gap below the rim isn't just about aesthetics—it prevents water from spilling over when you water after planting. I've seen many people fill right to the top, only to have water overflow when they add the final watering. Also, don't compact the soil too much when pressing it down. You want it firm enough to support plants but still porous enough that air can reach the roots. Think "lightly pressed snow" rather than "packed dirt."
Sunlight Optimization: While 4-6 hours of sunlight is ideal, I've had great success with this system in spots getting just 3-4 hours if using leafy greens like lettuce. For herbs needing more light, supplement with a small grow light for 2-3 hours daily if natural light is limited. The key is consistency—plants adapt better to steady light than to erratic sun exposure. I've also found that placing buckets on a white tray underneath reflects extra light upward during those critical morning hours.
Pro Tips for Water Bucket Garden
- Here's what I learned the hard way after trying (and failing) to build this system twice—these tricks make all the difference.
- Bucket Selection Wisdom: Don't overlook the importance of bucket material.
- The Wick Game-Changer: When cutting your 12-inch rope wicks, leave an extra inch or two on each end.
Frequently asked questions
about water bucket gardens—because growing shouldn’t come with a side of confusion! Here’s what you’ve been wondering:How often do I need to refill the water bucket?
Refill frequency depends on climate and plant type, but most buckets last 1–2 weeks between top-ups. In hot, dry weather, check daily, while cooler seasons may stretch it to 10–14 days. Pro tip: Use a clear bucket to monitor water levels—when it’s half-empty, it’s time to refill!
Can I use any bucket, or are there specific requirements?
Most food-grade, opaque 5-gallon buckets (like those from paint or hardware stores) work best. Avoid plastic with UV degradation or toxic additives. Drill holes only in the bottom (never the sides) for even water distribution. Bonus: Add a burlap strip around the top to wick extra moisture to roots!
What if my plants wilt despite the water system?
Wilting could mean clogged holes, overcrowded roots, or insufficient water pressure. First, check the wick (should stay damp but not soggy). If holes are blocked, unclog with a needle. For stubborn wilting, try elevating the bucket slightly to improve flow or switch to a coarser growing medium (like coconut coir).
Are water bucket gardens only for small plants?
Not at all! While herbs and leafy greens thrive, you can grow small fruiting plants (like cherry tomatoes or dwarf peppers) with support. Use larger buckets (7+ gallons) for deeper roots and add a trellis. Just prune regularly to prevent overgrowth—roots need space to breathe!
What’s a zero-waste alternative if I don’t have buckets?
Get creative! Repurpose clean, food-safe containers like:
- Plastic jugs (milk, detergent—rinse thoroughly!)
- Glass jars (mason jars with drilled lids)
- Upcycled cans (line with burlap for wicking)
Wrapping up and next steps
A water bucket garden isn’t just a clever hack—it’s a game-changer for sustainable, low-maintenance growing! 🌱 With minimal effort and zero waste, you can cultivate fresh herbs, veggies, or flowers while conserving water and space.
Whether you're a busy urban dweller or an eco-conscious gardener, this system proves that green thumbs aren’t required—just a little creativity and care.
Ready to take the next step? Start small—grab a bucket, a few seeds, and dive in! Share your harvest (or blooms) with friends, and soon, you’ll be inspiring others to grow their own zero-waste oasis. Happy planting! 🌿