Tools
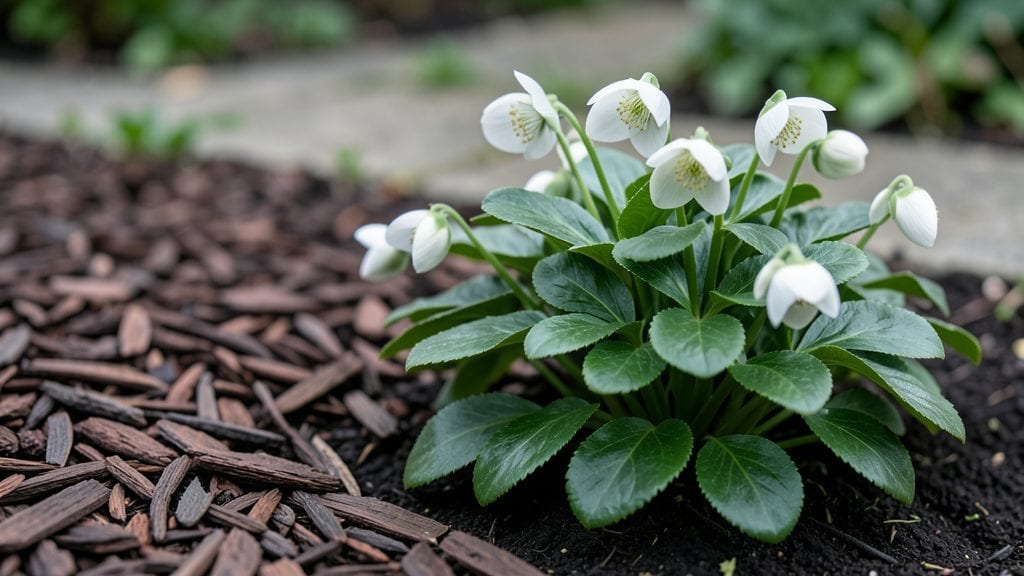
Winter garden preparation isn’t just about survival—it’s about setting your soil up to launch into faster growth as soon as spring arrives. I’ve learned the hard way that skipping this step means sluggish starts, weak plants, and wasted energy. The key? Working with nature’s rhythm, not against it.
Start by testing your soil’s pH and nutrient levels now—cold weather slows decomposition, so amendments like compost or aged manure need time to integrate.
In colder climates, focus on mulching heavily (4-6 inches of straw or leaves) to insulate roots, while milder zones can prioritize cover crops like winter rye to prevent erosion and add organic matter. Both methods take 2-3 hours but pay off in stronger roots by planting time.
You’ll notice the difference immediately next spring: seeds germinate faster, transplants establish roots within 10-14 days instead of weeks, and your plants look thicker and greener from day one.
The soil stays loose, retains moisture better, and even resists weeds more effectively. It’s the foundation for a high-performance garden without extra work later.
This approach works for raised beds, in-ground plots, and even container gardens—just adjust the mulch depth and cover crop choices. The only variable is your local freeze timeline, but the principles stay the same. Let’s get your soil ready for a head start.
📚 In This Guide
- What you need
- Instructions
- Tips and common mistakes
- Wrapping up and next steps
What you need
- ● Compost or organic matter: 2–4 inches per square foot (e.g., aged manure, leaf mold, or well-rotted compost). Pro tip: Mix in worm castings for extra nutrients! 💡
- ● Mulch: 3–4 inches of straw, wood chips, or shredded leaves (avoid fresh leaves—they mat down).
- ● Soil amendments: 1–2 lbs of bone meal (for phosphorus, great for roots)
- ● 1–2 lbs of kelp meal (potassium boost)
- ● 1–2 lbs of lime (if soil pH is below 6.5; test first!)
- ● Garden tools: Garden fork or tiller (for aeration)
- ● Garden rake (bow or leaf rake)
- ● Gloves (heavy-duty for mulching)
- ● Pruners (for cleanup)
- ● Protective covers: Row covers or frost cloth (for delicate plants)
- ○ Cold frames or mini greenhouses (optional but game-changing!)
- ● Soil test kit: To check pH and nutrient levels before amending.
- ● Thermometer: For monitoring soil temps in cold frames.
- ● Drip irrigation or soaker hoses: For consistent moisture under mulch.
- ● Beneficial microbes: Like mycorrhizal fungi or compost tea to supercharge soil life.
Instructions for winter garden preparation
Here's the system I use to transform soil over winter—so spring planting feels like a sprint, not a marathon.
Clear and Assess the Garden Beds
Remove all plant debris immediately after harvest to prevent fungal spores and pests from overwintering. I use a sturdy garden fork to lift out perennials, shaking off excess soil to check for root damage or disease. Healthy roots store energy for next season, while rotten ones mean extra compost work ahead.
Rake through the bed to collect any lingering leaves, stems, or weeds. Pay special attention to areas where last season's crops struggled—this is where soil amendments will make the biggest difference. Mark these spots with small wooden stakes so you remember to focus on them later.
Conduct a Soil Test and Amend Accordingly
Send a soil sample to your local extension office for a pH and nutrient analysis—this is the fastest way to know exactly what your soil needs. While you wait for results (usually 2-3 weeks), I spread a 2-inch layer of compost evenly across the beds. This improves structure and adds organic matter, even if the test shows balanced nutrients.
If your soil tests acidic (below 6.0 pH), mix in 1-2 pounds of garden lime per 100 square feet in early winter. For alkaline soil (above 7.5 pH), work in elemental sulfur at 1 pound per 100 square feet. These adjustments take 3-6 months to fully stabilize, so timing matters.
Till or Double-Dig for Deep Soil Improvement
Use a broadfork or tiller to loosen the top 6-8 inches of soil, breaking up compaction without disrupting soil life. I work in 12-inch sections, turning the soil horizontally rather than vertically to preserve earthworm tunnels. This method aerates without killing beneficial microbes.
For heavy clay or sandy soils, incorporate 2-3 inches of aged compost into the tilled layer. Water the amended soil thoroughly to help microbes activate and begin breaking down organic matter. You'll see worms and other soil organisms return within 2-4 weeks—that's your sign the ecosystem is recovering.
Mulch and Protect Over Winter
Spread a 4-inch layer of straw or shredded leaves over the beds to insulate roots and prevent erosion. I avoid thick layers of fresh leaves—they mat down and create anaerobic pockets where roots suffocate. Instead, I chop leaves with a lawnmower first to speed decomposition.
For vulnerable perennials, mound an extra 2-3 inches of mulch around their bases. This protects against freeze-thaw cycles that heave roots out of the soil. In colder climates, consider a lightweight row cover over tender plants, secured with bricks to prevent wind damage.
Plan and Mark Next Season's Layout
Sketch a rough map of next year's garden, noting where heavy feeders (like tomatoes) will go and where nitrogen-fixers (like beans) can follow. I use biodegradable plant markers to outline beds, so I can see the layout even under snow. This prevents repeating the same crops in the same spot, which breaks pest and disease cycles.
Jot down any observations from this season—what thrived, what struggled, and where drainage was poor. These notes become your winter garden journal, guiding amendments and plant choices for faster, healthier growth next year.
Tips & tricks for perfect winter garden preparation
These proven strategies will help you transform your garden soil efficiently over winter, ensuring your spring planting starts with a healthy foundation.
Timing is Everything: Begin your winter garden prep immediately after harvest to prevent fungal spores and pests from overwintering. I've found that addressing soil issues right away—rather than waiting until spring—gives beneficial microbes and organic matter months to work their magic before planting season. This head start translates directly to faster growth and higher yields next year.
Soil Test Precision: While waiting for your soil test results (typically 2-3 weeks), don't skip spreading that 2-inch layer of compost. This preliminary step improves soil structure and adds organic matter regardless of test outcomes. For pH adjustments, remember that lime and sulfur take 3-6 months to fully stabilize—apply them in early winter to give them ample time to integrate before spring planting.
Double-Digging Technique: When using a broadfork or tiller to loosen the top 6-8 inches of soil, work in 12-inch sections and turn soil horizontally to preserve earthworm tunnels. This method prevents soil compaction while maintaining the delicate ecosystem of beneficial microbes. The goal is to improve aeration without disrupting the soil's natural structure—think of it as giving your soil a deep massage rather than a rough handling.
Mulch Layering: For the 4-inch mulch layer, prioritize straw or shredded leaves over fresh leaves, which can mat down and create anaerobic zones. I chop leaves with a lawnmower first to accelerate decomposition. When protecting vulnerable perennials, that extra 2-3 inches of mulch around their bases is crucial—it acts like a thermal blanket, shielding roots from freeze-thaw cycles that would otherwise heave them out of the soil.
Pro Tips for Winter Garden Preparation
- These proven strategies will help you transform your garden soil efficiently over winter, ensuring your spring planting starts with a healthy foundation.
- Timing is Everything: Begin your winter garden prep immediately after harvest to prevent fungal spores and pests from overwintering.
- Soil Test Precision: While waiting for your soil test results (typically 2-3 weeks), don't skip spreading that 2-inch layer of compost.
Frequently asked questions
Got questions about prepping your garden for winter? You’re not alone! Here are some common concerns—and quick answers—to help you get started with confidence.
When is the best time to start winter garden prep?
Ideally, begin late summer or early fall (around 4–6 weeks before your first frost). This gives soil time to decompose organic matter and improves structure before winter. If you missed the window, even light prep (like adding mulch or compost) in early spring can still help!
Can I still garden in winter, or should I wait for spring?
Winter gardening is possible with cold-hardy crops (like kale, spinach, or carrots) and protective measures (row covers, cold frames). Prepping soil now ensures faster growth when you plant in spring. Think of it as a head start—your future plants will thank you!
What if my soil is already frozen? Can I still prep it?
Frozen soil is tricky, but don’t stress! Focus on above-ground tasks like pruning perennials, cleaning garden beds, or planning next year’s layout. Once the ground thaws, you can amend soil. If it’s too icy, wait until early spring for deeper work.
Is winter garden prep expensive? What’s the budget-friendly approach?
Not at all! Skip pricey tools—use what you have (like fallen leaves for mulch or kitchen scraps for compost). Prioritize free or low-cost methods: sheet mulching, cover crops (like clover), or repurposing old containers. Even a little effort now saves money (and hassle) in spring!
How do I protect my garden from pests over winter?
Pests love dormant gardens too! Remove plant debris (where bugs hide), use straw or thick mulch to block overwintering pests, and consider trap crops (like marigolds) in spring. A healthy soil ecosystem (thanks to compost!) also deters many pests naturally.
What’s the deal with soil temperature—does it matter in winter?
Soil temp does matter! Most plants need soil above 40°F (4°C) to thrive. In winter, focus on insulating beds with mulch or compost to retain warmth. For spring planting, test soil temp with a probe—cool soil slows germination, so wait until it’s consistently warm enough.
Wrapping up and next steps
Preparing your garden for winter isn’t just about survival—it’s about setting the stage for a bountiful spring and faster growth when the warmer months return! 🌱 By enriching your soil, protecting your plants, and planning ahead, you’re investing in a healthier, more productive garden year-round.
With the right tools and a little effort, you’ll be well on your way to reaping the rewards of your hard work.
Now that you’re armed with the knowledge, take action! Start small—whether it’s testing your soil, mulching your beds, or drafting a planting schedule. Every step you take now will pay off when your garden bursts back to life in the spring. Happy gardening! 🌿