Advice
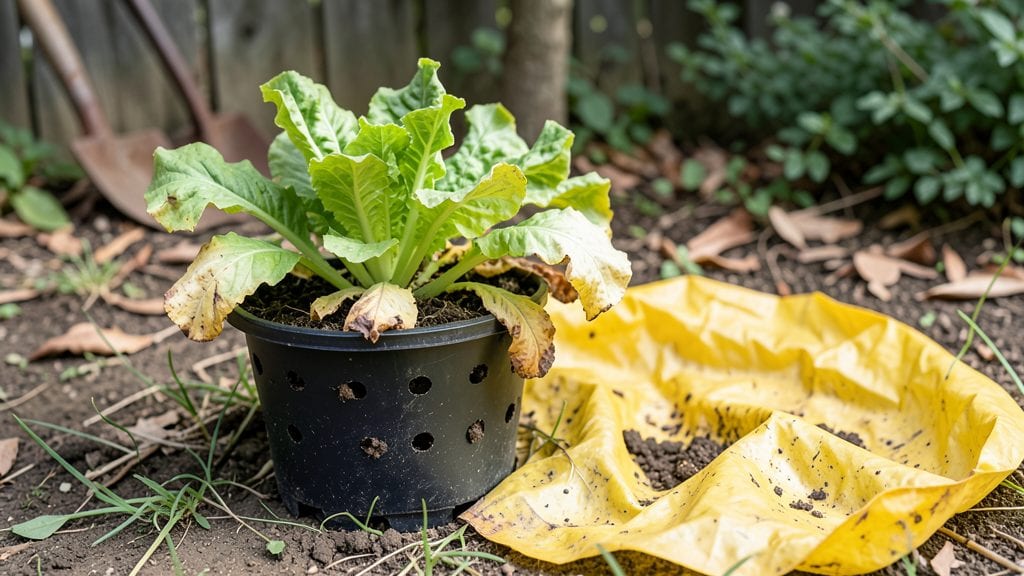
I’ve killed more plants than I’d like to admit—and honestly, most of them died from the bad gardening habits I didn’t even realize were wrong. 🌱 Overwatering, ignoring soil health, and skipping pest checks can turn a thriving garden into a sad memory. in just a few weeks.
The good news? These mistakes are fixable, and once you spot them, your plants will thank you with stronger growth and bigger harvests.
Here’s the thing—many of these habits start with good intentions. You’re trying to help your plants, but sometimes the love is smothering them. For example, watering every day might feel like care, but it drowns roots and invites rot.
Or maybe you’re skipping mulch because it seems like extra work, but it’s the secret to keeping soil moist and weeds at bay. Small tweaks make a huge difference.
By the end of this, you’ll recognize the sneaky habits that might be holding your garden back. We’ll cover everything from watering schedules to soil prep, so you can give your plants exactly what they need—no guesswork. Your next gardening season could be the most productive one yet.
Fair warning: some of these fixes might feel counterintuitive at first, like letting the soil dry out between waterings or not pulling weeds right away. But trust me, your plants will grow stronger when you stop doing these common things. Let’s turn those mistakes into wins!
📚 In This Guide
- What you need
- Instructions
- Tips and common mistakes
- Wrapping up and next steps
What you need
- ● Basic Hand Tools: 1x Trowel (stainless steel, 6–8 inches) – for planting, transplanting, and soil checks.
- ● 1x Pruning Shears (bypass or anvil, sharp blades) – to trim dead or diseased foliage.
- ● 1x Garden Gloves (durable, breathable fabric) – protects hands from thorns, dirt, and chemicals.
- ● Soil & Water Testing: 1x pH Test Kit (digital or liquid strips) – identifies soil acidity/alkalinity issues.
- ● 1x Moisture Meter (probe-style) – checks soil hydration levels to avoid over/under-watering.
- ● Amendments & Fertilizers: 5–10 lbs Compost (organic, well-aged) – improves soil structure and nutrients.
- ● 1x Slow-Release Granular Fertilizer (10-10-10 or plant-specific blend) – corrects nutrient deficiencies.
- ● 1x Epsom Salt (magnesium sulfate) – treats yellowing leaves (common in magnesium-deficient plants).
- ● 1x Soil Thermometer – monitors temperature for seed-starting or heat-sensitive plants.
- ● 1x Mulch (straw, pine bark, or shredded leaves) – retains moisture and suppresses weeds.
- ● 1x Plant Support Stakes/Trellises – prevents poor growth habits like sprawling or flopping.
- ● 1x Spray Bottle (for diluted neem oil or fungicide) – targets pests/diseases early.
How to identify and correct common gardening mistakes
Even experienced gardeners fall into these traps—here’s how to spot them early and save your plants.
🌱 Step 1: Overwatering (The Silent Plant Killer)
Most gardeners drown their plants without realizing it. You’ll know you’re overwatering when soil stays soggy for days or water pools on the surface. Roots need air too—if they’re constantly wet, they suffocate and rot. I’ve seen entire gardens lost because someone thought "more water = better growth."
Fix it by sticking your finger 1 inch deep in the soil. If it feels damp, wait. If it’s dry at that depth, water deeply but only until it drains from the bottom. Use pots with drainage holes and saucers to catch excess water—never let plants sit in standing water. Yellowing leaves or mushy stems? That’s your warning sign.
☀️ Step 2: Ignoring Light Requirements (The Leggy Plant Syndrome)
Plants don’t just "adapt" to poor light—they stretch desperately toward any source, creating weak, spindly growth. You’ll spot this when stems grow 3x taller than normal with leaves spaced far apart. This is your plant begging for more light, and it’s often irreversible if left too long.
Move plants closer to a south-facing window or supplement with a grow light if natural light is insufficient. Rotate containers weekly so all sides get even exposure. If your plant leans toward one direction, it’s not getting enough light from the opposite side. Herbs and veggies like basil and peppers need 6+ hours of direct sun—no shortcuts.
💧 Step 3: Skipping Soil Testing (The Nutrient Guessing Game)
Using the same potting mix for everything is a recipe for disaster. Soil that’s perfect for tomatoes might kill your blueberries. You’ll notice problems like yellow leaves, stunted growth, or flowers that drop before opening—these are classic signs of nutrient imbalances. I’ve seen gardeners waste months trying to fix issues that started with the wrong soil pH.
Test your soil every 2-3 years (or when you notice odd growth). Amend with compost or specific fertilizers based on results. For example, azaleas need acidic soil (pH 4.5-5.5), while veggies thrive in neutral soil (pH 6.0-7.0). A simple soil kit from your garden center solves 90% of mystery plant problems.
✂️ Step 4: Pruning at the Wrong Time (The Growth Saboteur)
Cutting back too early or too late can stunt plants or encourage weak regrowth. You’ll know you’ve pruned incorrectly when new growth appears weak, leggy, or fails to bloom. For example, pruning spring-flowering shrubs after buds set means no flowers that season. I’ve seen gardeners hack away at roses in late summer, only to get sparse blooms the next year.
Prune perennials in early spring or right after flowering to encourage new growth. For flowering plants, wait until after the main bloom cycle—this gives them time to store energy for next year. Always use clean, sharp shears and cut at a 45-degree angle just above a leaf node. Never remove more than 1/3 of the plant at once.
🪴 Step 5: Using the Wrong Containers (The Root Strangler)
Plastic buckets, decorative bowls without drainage—these might look cute, but they’re death traps for roots. You’ll spot the problem when plants grow slowly, wilt frequently, or roots circle tightly around the inside of the pot. Roots need room to spread and oxygen to reach them. I’ve seen gardeners repot struggling plants only to find a dense, gnarled root ball that’s already too late.
Use containers with drainage holes and size up pots as plants grow. For herbs and veggies, aim for at least 6 inches deep and 12 inches wide per plant. Terra cotta pots dry out faster than plastic, which is great for drought-sensitive plants. If you’re growing root crops like carrots or potatoes, use deep containers or the ground—shallow pots will stunt their growth.
Tips & tricks for identifying and fixing common gardening mistakes
Here's what nobody tells you about the sneaky habits that sabotage even the most well-intentioned gardens.
Soil Check Secret: The 1-inch finger test from Step 1 is your best friend, but here's the thing—morning is always the best time to check soil moisture. Early morning soil gives you the most accurate reading because evening watering can leave false dampness. I learned this the hard way after overwatering my basil for three days because I checked in the evening. Also, if your soil feels damp but your plant still wilts, it might be suffering from compacted soil rather than too much water. Gently aerate the soil with a fork if you notice this.
Light Rotation Hack: When Step 2 mentions rotating containers weekly, I recommend marking the north side of each pot with a paint pen. This helps you remember which direction the plant was facing last time, so you can rotate it consistently. For indoor plants, a simple turntable or rotating tray makes this effortless. And if you notice leaves turning pale or yellowing toward the light source, that's your plant telling you it needs more light on that side.
Soil Testing Shortcut: While Step 3 suggests testing every 2-3 years, I recommend testing immediately if you notice any of these three red flags: yellow leaves with green veins, stunted growth despite proper watering, or flowers that drop before opening. These are classic signs of nutrient imbalances. For a quick fix, try adding a balanced fertilizer like 10-10-10 (nitrogen-phosphorus-potassium) if your soil test shows deficiencies across the board.
Pruning Precision: When Step 4 mentions cutting at a 45-degree angle, here's a pro move: use a ruler or measuring tape to ensure you're cutting just above a leaf node. The node is typically about ¼ inch below where the leaf stem meets the branch. This small detail makes a huge difference in how quickly your plant recovers and regrows. And if you're pruning flowering plants, always leave some of the old stems—they often produce next year's flowers.
Pro Tips for Bad Gardening Habits
- Here's what nobody tells you about the sneaky habits that sabotage even the most well-intentioned gardens.
- Soil Check Secret: The 1-inch finger test from Step 1 is your best friend, but here's the thing—morning is always the best time to check soil moisture.
- Light Rotation Hack: When Step 2 mentions rotating containers weekly, I recommend marking the north side of each pot with a paint pen.
Frequently asked questions
Got questions about those sneaky gardening mistakes that might be sabotaging your green thumb? Here are some of the most common concerns—and how to fix them before they turn your garden into a graveyard for plants.
Why do my plants look wilted even when I water them regularly?
Overwatering or poor drainage is often the culprit! If water pools at the base of pots or soil feels soggy, your plants may be drowning. Fix it: Use well-draining soil, elevate pots, and check for clogged drainage holes. Yellowing leaves? That’s a red flag for root rot.
How do I know if I’m fertilizing too much or too little?
Burnt leaf edges or stunted growth mean too much fertilizer, while pale leaves or slow growth signal too little. Fix it: Follow package instructions (less is often more!) and test soil every 2–3 months. Organic options like compost are gentler on plants.
What’s the best way to deal with pests without harming my plants?
Spraying harsh chemicals can kill beneficial bugs too! Start with physical removal (handpick pests) or natural predators (ladybugs for aphids). For stubborn infestations, try neem oil or insecticidal soap—always spot-test first.
Can I still save a plant that’s been neglected for weeks?
Maybe! Trim dead leaves, repot in fresh soil, and adjust watering. Signs of hope: New growth or firm stems. If roots are mushy or the plant smells foul, it’s likely beyond saving. Prevention is key—check plants weekly!
How do I fix overcrowded plants without losing them?
Crowding starves plants of nutrients and air. Fix it: Gradually thin out seedlings, transplant mature plants to larger pots, or divide clumps (like herbs or perennials). Space plants according to their mature size—check seed packets for guidelines!
Wrapping up and next steps
Breaking bad gardening habits is the first step to a thriving garden—your plants will thank you! 🌱 By recognizing common mistakes like overwatering, neglecting soil health, or ignoring pests, you’ve already taken control of your green space’s success.
The key is patience and consistency: small adjustments now will lead to big rewards later.
Ready to level up? Start with one habit to fix this week—whether it’s testing your soil, pruning properly, or simply observing your plants more closely. Every expert gardener began somewhere, and your journey starts with one right move today.