Landscaping
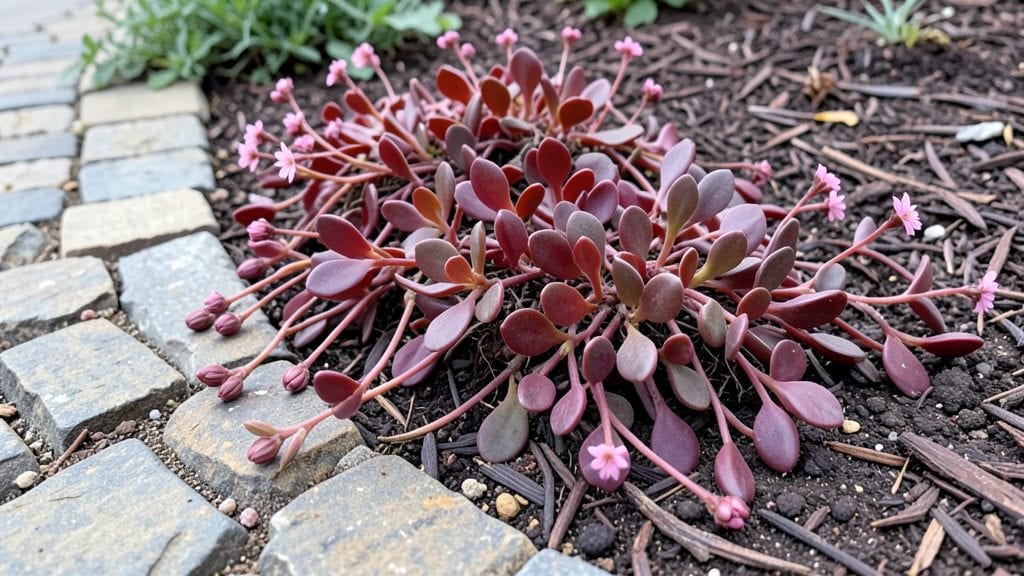
Cobble garden edging creates a rustic, long-lasting border that resists erosion and weeds while adding texture. Use smooth, flat stones (1.5–3 inches thick) laid in a staggered pattern, secured with landscape fabric and sand for stability. Avoid sharp edges to prevent plant damage and choose weather-resistant materials like granite or slate for durability.
Cobble borders are a favorite for gardeners who want a natural look that stands up to time and weather.
The staggered pattern isn't just for aesthetics—it locks the stones in place better, reducing movement from foot traffic or heavy rains. 💫 I've seen these borders last decades with minimal upkeep, especially when paired with drought-tolerant plants that thrive in the same conditions.
The key is choosing stones that match your climate; granite handles freezing well, while slate stays cooler in hot regions.
What makes cobble edging particularly versatile is how it blends with different garden styles. You can create a wild, organic feel with irregularly shaped stones or go for crisp, geometric lines with uniform cobblestones. The texture also provides excellent drainage for plants nearby, reducing root rot in moisture-sensitive varieties.
For pathways, I recommend using slightly larger stones (2-3 inches) to handle more weight while keeping the rustic charm.
💡 In This Article
- How to Install Cobble Garden Edging Properly
- Design Ideas for Cobble Edging in Landscapes
How to install cobble garden edging properly
Before laying a single stone, proper groundwork is the foundation of a lasting cobble border.
Start by marking your layout with landscape paint or stakes, then dig a trench about 3-4 inches deep—this depth accommodates a 1-inch layer of sand for drainage and a 1-inch layer of landscape fabric to suppress weeds.
The trench should be slightly wider than your stones (1-2 inches) to allow for adjustments during installation. Use a rubber mallet to tap the ground level in sections, ensuring no low spots where water could pool and displace stones over time.
The stone selection process is where durability meets design. Opt for 1.5–3-inch thick stones with smooth, flat surfaces to minimize gaps and maximize stability. Granite and slate are top choices due to their crystal structure, which resists freeze-thaw cycles and erosion—critical for northern climates.
For a more organic look, irregularly shaped stones (like fieldstone) create visual interest but require more sand (1.5 inches) to fill gaps. Pro tip: Rinse stones before installation to remove dirt and debris, which could weaken the sand adhesive over time.
Two patterns dominate cobble installations: the classic staggered layout and the more structured herringbone design. Staggering stones mimics natural stone formations and distributes weight evenly, making it ideal for gentle slopes (5-10° incline). For steeper terrain, use mortar or construction adhesive between stones to prevent shifting.
Herringbone patterns (stones laid at 45° angles) add visual drama but require precise cutting—use a wet saw for clean edges. Always leave ½-inch gaps between stones for flexibility; these gaps should be filled with coarse sand, not fine gravel, to allow water drainage while keeping stones locked in place.
Securing cobble edging on slopes presents unique challenges. On grades up to 15°, dig a trench with a slight backward slope (1-2°) to help water flow away from the border.
For steeper slopes, use galvanized metal pins (driven into the ground behind each stone) or landscape staples to anchor stones to the fabric layer. Avoid concrete unless absolutely necessary—it creates a permanent bond that can crack under shifting soil.
For pathways, interlocking stones with polyurethane adhesive on flat ground provides the most stability, while on slopes, a gravel base (4-6 inches deep) distributes weight and improves drainage.
Common pitfalls often stem from rushing the prep work. Skipping the landscape fabric can lead to weeds sprouting between stones within 6-12 months, while insufficient sand causes stones to shift with seasonal soil expansion. Another mistake? Using stones with sharp edges near plants—they can damage roots over time.
Always round edges with a chisel or sandpaper if planting directly against the border. For high-traffic areas, consider adding a 2-inch layer of compacted gravel beneath the sand to prevent stones from sinking into soft soil.
Tools you'll need for a professional finish include a level (to check for evenness), rubber mallet (for settling stones), wheelbarrow (for sand), and safety gloves (to protect against rough edges). Rent a plate compactor if working on large areas to ensure the base is firm.
The most critical step? Let the sand settle for 24 hours after installation before walking on it—this allows the grains to interlock and create a stable base. 💫
After installation, maintain your cobble edging by top-dressing gaps with fresh sand every 1-2 years and removing weeds promptly. The staggered pattern naturally sheds rainwater, reducing maintenance compared to solid borders.
For extra longevity, apply a stone sealer annually in high-traffic areas to prevent staining and erosion. With proper installation, your cobble border will become the timeless backbone of your garden's design.