
Tools
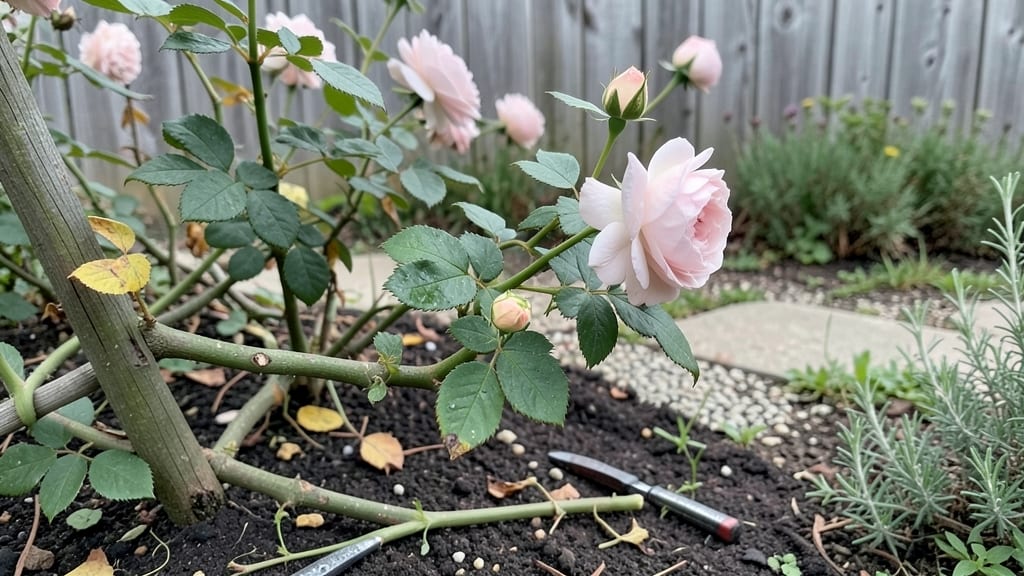
My cottage garden pathways began as a winding mess of bare soil and tripping hazards—until I discovered how a few well-placed stones and a dash of wildflowers could transform them into the garden's star attraction. 🌿 The key isn't perfection; it's creating a path that feels like an invitation to wander, where every step reveals something new—whether it's a cluster of lavender or a patch of sun-dappled moss.
You don’t need fancy materials to pull this off. Crushed gravel underfoot keeps weeds down while letting rain soak through, stepping stones in random sizes add rustic charm, and a single row of bricks can define a border without looking too structured.
Pair these with low-growing perennials like creeping thyme or sweet alyssum, and suddenly your path becomes a living carpet that blooms all season long.
The magic happens in the details: a slight curve here, a sunken section there to catch rainwater, or a bench tucked into the path where you can pause to admire the view.
By the time you’re done, your garden won’t just be functional—it’ll feel like a storybook, where every turn offers a new chapter of color and texture. And the best part? Maintenance stays simple once you get the layout right.
This works for any size yard, from a cozy backyard corner to a sprawling cottage garden. The same principles apply whether you’re working with limited materials or going all out with flagstone and roses. Let’s make your paths as inviting as they are beautiful.
📚 In This Guide
- What you need
- Instructions
- Tips and common mistakes
- Wrapping up and next steps
What you need
- ● Pathway Base: Crushed gravel or sand (1–2 inches deep, depending on pathway width)
- ● Landscape fabric (to prevent weed growth, cut to fit pathway area)
- ● Pathway Surfaces (Choose One or Mix!): Stepping stones (flat, irregularly shaped, 12–18 inches in diameter; quantity depends on pathway length)
- ● Flagstone or slate slabs (cut to size; ~3–4 inches thick)
- ● Gravel (pebbles or crushed stone, ½–1 inch in size; ~2–3 bags per 10 sq. ft.)
- ● Brick or cobblestone pavers (cut to fit; ~4–6 per sq. ft.)
- ● Edging & Border: Metal or plastic edging strips (or natural options like logs or bricks)
- ● Stakes and twine (for temporary edging)
- ● Tools: Wheelbarrow (for hauling materials)
- ● Shovel and rake (for leveling and spreading base)
- ● Level (to ensure pathway is even)
- ● Measuring tape and string (for marking layout)
- ● Safety gloves and knee pads (for comfort and protection)
- ● Hammer or mallet (for setting stones)
- ● Wheelbarrow or dolly (for heavy materials like stones)
- ● Moss or ground cover plants (to soften edges and add greenery)
- ● Solar-powered pathway lights (for enchanting evening ambiance)
- ● Paint or stain (to weather stones naturally for a rustic look)
- ● Mulch or bark chips (for a softer, woodland-inspired path)
- ● Decorative borders (like wildflowers, lavender, or boxwood shrubs)
Step-by-Step guide to creating charming cottage garden pathways
Here’s how to craft winding paths that invite exploration while keeping maintenance simple.
🪴 Step 1: Plan the Path Layout and Materials
Sketch your design on paper first—cottage paths should feel organic, not rigid. I like to start with a simple S-curve or spiral that meanders through garden beds. For 4 pathways, plan for 12-15 feet of total length (about 3-4 feet wide), leaving 18-24 inches of space between edges and plantings.
Gather your materials: flagstone slabs (12-18 inches long) for the base, gravel (3-4 inches deep) for drainage, and edging stones (4-6 inches tall) to keep pathways neat. Avoid straight lines—irregular shapes mimic the natural charm of cottage gardens. Mark the path with spray paint before digging to avoid mistakes.
💧 Step 2: Prepare the Base and Lay the Foundation
Dig down 4-6 inches along your marked path to create a solid base. Remove any weeds or grass—this prevents future regrowth. For drainage, add a 2-inch layer of coarse sand or crushed stone first, then tamp it down firmly with a plate compactor or even a 2x4 board. This keeps water from pooling under your stones.
Lay your flagstone slabs in a staggered pattern, like brickwork, to create visual interest. Leave ¼-inch gaps between stones for flexibility (they’ll shift slightly over time). Use a rubber mallet to tap stones into place—never hit them directly with a hammer. For curves, cut slabs with a wet saw to fit snugly.
☀️ Step 3: Secure Edges and Add Drainage Layers
Set edging stones along the pathway’s perimeter to define the border. Bury them 2-3 inches deep so they don’t shift. Fill the gaps between the flagstones and edging with 3-4 inches of gravel, then rake it evenly. This layer prevents weeds and allows water to drain away from the stones.
For extra stability, sprinkle polypropylene landscape fabric under the gravel (but skip this if you’re using a dense, weed-blocking material like decomposed granite). Press the gravel down lightly with a hand tamper—it should feel firm but not packed like concrete. Avoid compacting too much, or water won’t drain properly.
🌿 Step 4: Plant Border Flowers and Soft Edges
Now for the magic: line the pathways with low-growing perennials like creeping thyme, ajuga, or heuchera for color and texture. Plant them 6-12 inches apart along the edges, leaving 12-18 inches of clear space between the stones and foliage. Mulch lightly with shredded bark to suppress weeds without smothering plants.
Add taller flowers like delphiniums or hollyhocks behind the path edges to frame the walkway. These will spill over slightly, creating that classic cottage garden feel. Water deeply after planting, then every 2-3 days until roots establish (about 4-6 weeks). Once settled, they’ll thrive with weekly watering during dry spells.
⏰ Step 5: Maintain for Long-Term Beauty
Check pathways monthly for weeds poking through gaps—pull them before they seed. Refresh the gravel layer annually in spring, adding ½ inch of fresh stones to keep it even. If stones shift over time, lift and re-tamp the base with a hand tamper to restore stability.
In fall, trim back any overgrown border plants to keep the path edges tidy. A quick sweep with a leaf blower removes debris, preventing slips. With this setup, your pathways will stay charming for years with minimal effort—just enjoy the winding strolls through your flower-filled retreat.
Tips & tricks for perfect cottage garden pathways
Here's what I wish I'd known before starting my first cottage garden pathway—these tricks will save you time and frustration while keeping your paths looking effortlessly charming.
Design with Organic Flow: In Step 1, when sketching your S-curve or spiral, add subtle twists and turns every 3-4 feet to encourage exploration. I learned this the hard way—straight sections look boring and feel uninviting. Think of it like a conversation: meandering paths make visitors linger.
Material Selection Matters: For Step 1's flagstone slabs, choose stones with natural variations in color and shape—they create visual interest that cheap, uniform pavers can't match. I recommend visiting a local quarry or salvage yard for unique pieces that tell a story. The 12-18 inch length gives that perfect cottage scale, but don't be afraid to mix in a few larger accent stones for focal points.
Drainage is Non-Negotiable: In Step 2, when adding that 2-inch layer of coarse sand, make sure it slopes ever so slightly toward the center of the path. This subtle grade prevents water from pooling at the edges where it could erode your stones over time. I've seen pathways fail spectacularly when this step was skipped—trust me, it's worth the extra 10 minutes.
Plant Selection Strategy: For Step 4's border flowers, choose plants that have different bloom times. I pair creeping thyme (which blooms early) with ajuga (mid-season) and heuchera (late season) to ensure year-round interest. The 6-12 inch spacing gives them room to grow while maintaining that lush, overflowing look. Pro tip: Add a few delphiniums behind the path—their tall spikes create beautiful backdrops for photos.
Pro Tips for Cottage Garden Pathways
- Here's what I wish I'd known before starting my first cottage garden pathway—these tricks will save you time and frustration while keeping your paths looking effortlessly charming.
- Design with Organic Flow: In Step 1, when sketching your S-curve or spiral, add subtle twists and turns every 3-4 feet to encourage exploration.
- Material Selection Matters: For Step 1's flagstone slabs, choose stones with natural variations in color and shape—they create visual interest that cheap, uniform pavers can't match.
Frequently asked questions
Got questions about crafting the perfect cottage garden pathway?
You’re not alone! Here are some of the most common queries—plus straightforward answers to help you stroll (and stumble) with confidence.
What’s the best time of year to install a cottage garden pathway?
Spring or early fall are ideal! Spring lets you plant flowers alongside the path as the weather warms, while fall soil is still workable and weeds are less aggressive. Avoid winter (frozen ground) or peak summer (drought stress). Pro tip: If using stepping stones, lay them in dry weather to prevent muddy messes.
Do I need a gravel base under stepping stones or flagstone?
A 2–3 inch layer of compacted gravel (or crushed stone) ensures drainage, prevents sinking, and keeps your path stable. Skip this step, and you’ll risk uneven surfaces or weeds popping up between gaps. Bonus: Add landscape fabric under the gravel to block weeds long-term.
Can I use mulch or bark instead of pavers for a rustic look?
Yes! Mulch (straw, cedar, or pine bark) creates a soft, organic path perfect for cottage charm. For durability, opt for 3–4 inches of mulch and refresh it annually. Avoid dyed mulch—it fades and can leach chemicals into soil. Warning: Mulch attracts slugs, so pair it with slug-resistant plants like lavender or thyme.
How do I fix a sinking or uneven pathway over time?
Lift and retighten loose stones, then top off low spots with fresh gravel or sand. For deep sinks, dig out the affected area, add more base material, and recompact. Quick fix: Use a rubber mallet to tap sunken pavers back into place—just avoid hammering directly on them to prevent cracks.
What flowers or plants work best alongside pathways?
Go for low-maintenance, fragrant, and sprawling varieties like cosmos, sweet alyssum, or creeping thyme (drought-tolerant!). For height, add delphiniums or foxgloves—just avoid aggressive spreaders like mint. Design hack: Plant in odd-numbered clusters for that classic cottage “wild but intentional” vibe.
Wrapping up and next steps
Transforming your garden into a charming cottage garden pathway is all about blending rustic beauty with thoughtful design. Whether you’re using flagstone, gravel, or stepping stones, the key is to let nature guide your layout—twisting paths, wildflower borders, and cozy seating nooks create a serene escape. 🌸
Ready to bring your vision to life? Start small—pick one section of your garden, gather your materials, and let your creativity flow. Every step you take will lead to a garden that feels like a dream. Happy gardening!