
Tools
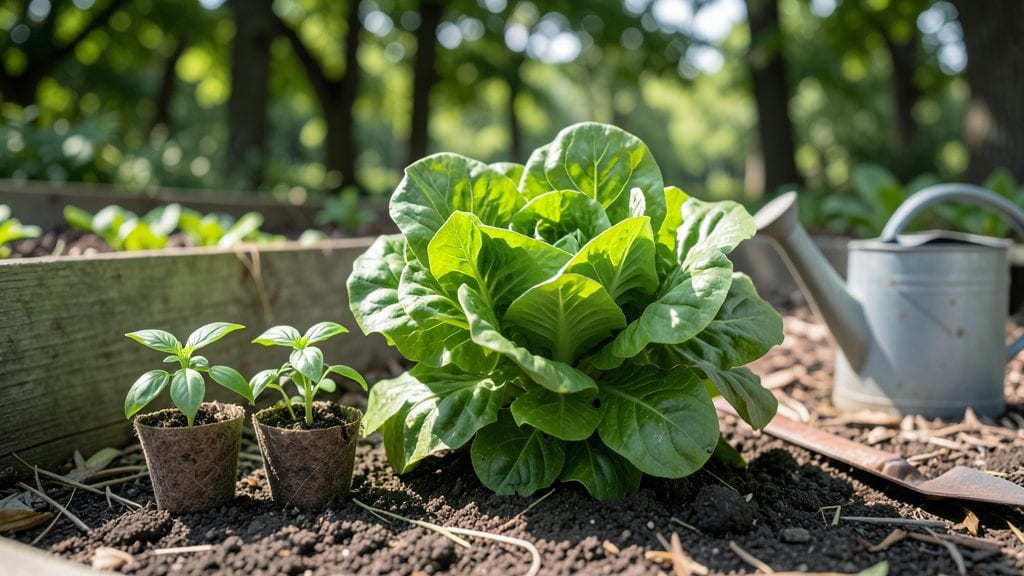
A low-cost garden doesn’t mean sacrificing beauty or productivity—it means getting creative with what you already have. I turned my tiny urban yard into a thriving space using discarded pallets, broken terracotta pots, and even an old dresser drawer as a planter.
The key isn’t spending money; it’s seeing potential in what others toss aside.
Start with what’s free: broken bricks for edging, plastic bottles as self-watering planters, or scrap wood for raised beds. My $20 garden now grows herbs, tomatoes, and flowers without a single new purchase.
The best part? Every upcycled piece tells a story—like the wine corks I turned into mulch or the old ladder now holding climbing beans.
You’ll end up with a garden that’s neighbor-jealousy levels of lush, all while keeping your wallet happy. The secret lies in matching plants to spaces—dwarf varieties for tight corners, sprawling vines for vertical spots—and letting nature do the heavy lifting once you set it up right.
Works in apartments, backyards, or even a sunny windowsill—no green thumb required. Let’s turn trash into treasure without breaking the bank.
📚 In This Guide
- What you need
- Instructions
- Tips and common mistakes
- Wrapping up and next steps
What you need
- ● Containers: 5–10 plastic bottles (2L or larger, cleaned & cut)
- ● 3–5 old buckets, tubs, or bins (5+ gallon size)
- ● 1–2 wooden crates or pallets (for vertical gardens)
- ● Soil & Growing Medium: 2–3 bags of potting mix ($5–$10 total, or compost yard waste)
- ○ 1 bag of perlite or sand (for drainage, optional but helpful)
- ● Tools: 1 pair of scissors or box cutter (for cutting bottles)
- ● 1 drill or strong knife (to make drainage holes)
- ● 1 watering can or spray bottle (or reuse an old one)
- ● Old window screens or mesh (for self-watering systems)
- ● Twine or zip ties (to secure vertical gardens)
- ● Paint or markers (to label plants)
- ● Egg cartons or toilet paper rolls (for seed starting)
- ● Free seeds from local plant swaps or saved from store-bought veggies
Instructions for building a low-cost, space-efficient upcycled garden
Here's how to transform discarded materials into a thriving garden without spending a dime.
Source and Prepare Your Upcycled Containers
Start by scavenging clean, sturdy containers from around your home—plastic buckets, wooden crates, or even old tires work perfectly. Rinse each thoroughly to remove residue, then drill drainage holes in the bottom if they don't exist. I like to use a hammer and nail for quick holes, then soak containers in a 1:10 bleach-water solution for 10 minutes to sterilize. This prevents mold and disease before planting.
For vertical space, repurpose wooden pallets or lattice panels by attaching them to a sturdy wall with screws. Sand rough edges to avoid splinters, then line the back with landscape fabric to contain soil. The key here is repurposing what you already have—no need for expensive planters when creativity solves the problem.
Create Lightweight, Nutrient-Rich Soil Mix
Combine equal parts of shredded newspaper, composted leaves, and garden soil to make a loose, airy mix that mimics natural forest floor conditions. The newspaper breaks down quickly, adding organic matter, while the leaves provide structure. Avoid using glossy paper—it contains inks that can harm plants. If you don’t have compost, use well-rotted manure or kitchen scraps buried in a corner of your yard for a few months.
For containers, fill them no more than 2/3 full to allow room for roots to expand. Tap the sides gently to settle the mix, then water it until moisture runs freely from the drainage holes. This ensures even hydration without waterlogging. You’ll know the mix is right when it holds together when squeezed but doesn’t clump tightly.
Select Fast-Growing, Space-Saving Plants
Choose compact varieties like bush beans, dwarf tomatoes, or leafy greens such as lettuce and spinach—they thrive in small spaces and produce quickly. Herbs like basil, thyme, and parsley also grow well in tight quarters and are perfect for beginners. Avoid root crops like carrots or potatoes, as they need deep soil and won’t do well in shallow containers.
Plant seeds or seedlings in clusters to maximize space, leaving just 4-6 inches between plants. Use the "square foot gardening" method if working in a grid: divide your container or pallet into 1-foot squares and place 16 plants per square for optimal yield. This system minimizes wasted space and ensures every inch produces food.
Implement a Watering System Using Recycled Materials
Repurpose an old plastic bottle by cutting the top off and inserting it upside-down into the soil near your plants. This creates a self-watering wick that slowly releases moisture as needed. Fill the bottle with water every few days—this method reduces evaporation and keeps roots consistently moist without overwatering. For larger setups, use a drip irrigation system made from perforated PVC pipes and a repurposed showerhead as the emitter.
Water in the morning to allow foliage to dry before evening, which prevents fungal diseases. Check soil moisture by sticking your finger 1 inch deep—if it feels dry, it’s time to water. Mulch with shredded leaves or grass clippings to retain moisture and suppress weeds. This simple layering keeps your garden low-maintenance and cost-free.
Maximize Sunlight and Airflow for Healthy Growth
Position containers where they receive at least 6 hours of sunlight daily, even if it means moving them throughout the day. South-facing windowsills or balconies work well for smaller setups. If natural light is limited, supplement with a DIY grow light made from a fluorescent bulb and a cardboard reflector. This setup costs under $10 and provides the light spectrum plants need to thrive.
Ensure good airflow by spacing containers at least 6 inches apart to prevent humidity buildup, which can lead to mold. Rotate containers weekly so plants grow toward the light evenly. You’ll notice leaves turning toward the sun—this is your cue to adjust their position. A well-ventilated, sunlit garden grows stronger and produces more efficiently.
Tips & tricks for perfect upcycled garden design
Transforming discarded materials into a thriving garden requires strategic thinking—here are the insights that'll help you avoid common pitfalls and maximize your space efficiently.
Container Selection Strategy: When scavenging containers in Step 1, prioritize materials with natural drainage properties like wooden crates or plastic buckets with pre-existing holes. For old tires, cut the sidewalls at an angle to create a wider planting surface while maintaining depth. The 10-minute bleach soak is non-negotiable—this prevents mold spores from competing with your plants. I've found that black containers absorb heat faster, which can be beneficial for cold climates but may require afternoon shade in hotter regions.
Soil Mix Optimization: In Step 2, the equal parts ratio of newspaper, composted leaves, and garden soil creates the perfect balance, but don't be afraid to adjust based on what you have. If your garden soil is particularly dense, increase the composted leaves to 1/3 of the mix for better aeration. The "squeeze test" is crucial—your mix should hold together when lightly compressed but not feel like wet sand. For urban gardeners with limited outdoor space, you can even use coffee grounds (from your kitchen) as a nitrogen source, but use them sparingly as they can become too acidic over time.
Plant Spacing Visualization: The 4-6 inch spacing in Step 3 might seem tight, but trust the science behind square foot gardening. For visual reference, imagine dividing your container into a grid where each square represents 1 foot. Place your plants in the center of each square—they'll naturally spread toward the edges without crowding. For bush beans, you can actually get away with 3 inches between plants since they'll climb and spread horizontally. This method isn't just about saving space; it's about creating an ecosystem where each plant supports the others.
Watering System Troubleshooting: When implementing your DIY watering system in Step 4, the plastic bottle method works best with containers that have drainage holes. If you notice water pooling at the bottom, reduce the bottle size or use a smaller container with fewer holes. For the drip irrigation setup, ensure your PVC pipes are slightly angled downward to prevent water from stagnating. The 1-inch moisture check is your best friend—this depth ensures you're monitoring root zone moisture rather than surface evaporation.
Pro Tips for Low Cost Garden
- Transforming discarded materials into a thriving garden requires strategic thinking—here are the insights that'll help you avoid common pitfalls and maximize your space efficiently.
- Container Selection Strategy: When scavenging containers in Step 1, prioritize materials with natural drainage properties like wooden crates or plastic buckets with pre-existing holes.
- Soil Mix Optimization: In Step 2, the equal parts ratio of newspaper, composted leaves, and garden soil creates the perfect balance, but don't be afraid to adjust based on what you have.
Frequently asked questions
Got questions about creating a low-cost garden?
You’re not alone! Here are answers to the most common concerns—plus pro tips to keep your project budget-friendly and stress-free.
Can I really make a garden with just upcycled materials?
Upcycled materials like pallets, tires, or even old containers can create functional, stylish planters. The key is repurposing what you already have—think creative reuse over buying new. Start small with containers you already own (e.g., yogurt cups, buckets) before investing in larger projects.
How much will this actually save me compared to buying new planters?
Savings vary, but upcycling can cut costs by 50–90%. A new raised bed might cost $100+, while a DIY version from scrap wood or cinder blocks could run $20–$40. Factor in free materials (e.g., pallets from local businesses) to maximize savings—just account for tools like screws or paint if needed.
How long does it take to build a low-cost garden?
Time depends on complexity:
- Quick wins: Container gardens (1–2 hours) or vertical pallet planters (3–4 hours).
- Larger projects: Raised beds (half-day) or trellises (4–6 hours).
What if my upcycled materials aren’t “garden-ready”?
No problem! Most materials just need cleaning and prep:
- Wood pallets: Sand rough edges, seal with non-toxic paint/stain.
- Plastic containers: Drill drainage holes (use a drill bit slightly smaller than the hole size to prevent splintering).
- Tires: Line with landscape fabric to block soil from sticking.
Can I grow food in a low-cost garden?
Yes! Focus on fast-growing, space-efficient crops like:
- Herbs (basil, mint)—thrive in small pots.
- Leafy greens (lettuce, spinach)—harvest in 3–4 weeks.
- Cherry tomatoes or peppers—use cages or stakes in containers.
Wrapping up and next steps
Creating a low-cost garden with upcycled materials isn’t just budget-friendly—it’s creative, sustainable, and rewarding! 🌱 You’ve got all the tools to transform limited space into a thriving oasis using what you already have.
Whether you’re a beginner or a seasoned green thumb, every small step counts toward a greener, happier home.
Ready to dive in? Start by picking one project from this list—like repurposing an old pallet or turning plastic bottles into planters—and watch your garden (and confidence) grow! 🌟