
Tools
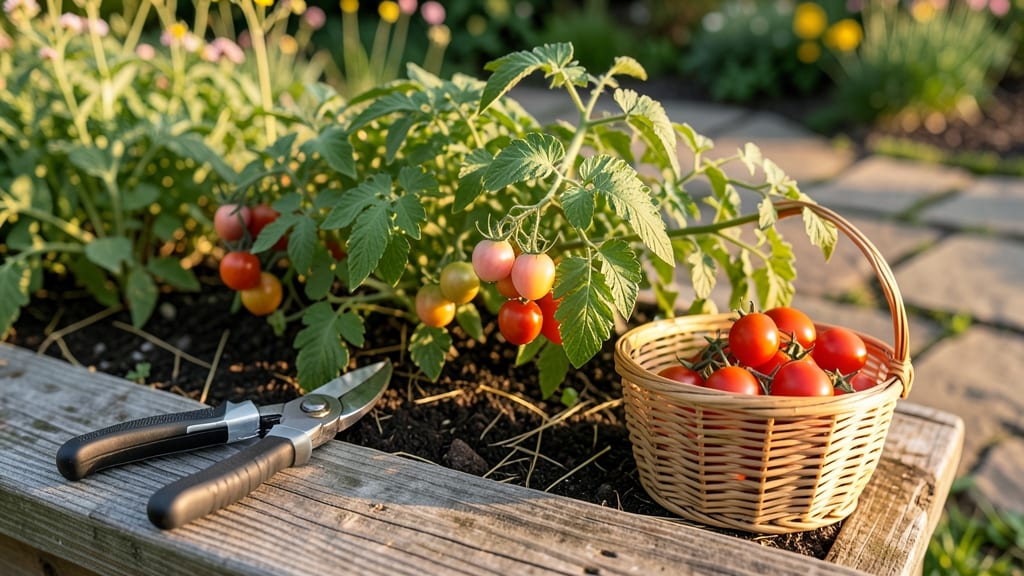
Stackable planters turned my deck into a productive veggie garden this summer. 🌱 The right setup lets you grow fresh tomatoes, peppers, and herbs without needing a yard—just sunlight and a little creativity. I started with three 12-inch-deep containers stacked vertically, saving space while maximizing harvest potential.
Most people assume deck gardening means sacrificing yield, but the opposite is true. Shallow-rooted vegetables like lettuce, radishes, and bush beans thrive in deep containers, while vining plants need trellises to climb upward.
My setup produced twice as many tomatoes as my in-ground garden because I could monitor water and pests more easily.
You’ll end up with a lush, accessible garden that looks as good as it tastes. The vertical design keeps everything within arm’s reach, and you can mix in flowers like nasturtiums to deter pests naturally.
Plus, no more bending over—just reach up and harvest fresh greens for salads or snip herbs for cooking.
Works for any deck size, from tiny balconies to spacious patios. The key is choosing lightweight, durable materials like plastic or cedar and ensuring proper drainage. Let’s get growing upward!
📚 In This Guide
- What you need
- Instructions
- Tips and common mistakes
- Wrapping up and next steps
What you need
- ● Stackable Planters: 2–4 units (depending on height preference; 12"–18" depth per tier is ideal for root veggies and greens).
- ● Material options: Cedar (naturally rot-resistant), recycled plastic (lightweight), or composite wood (low-maintenance).
- ● Potting Mix: 1–2 cubic feet per planter tier (check bags for "organic" or "container mix" labels).
- ○ Optional boost: Add compost or worm castings for nutrient-rich soil.
- ● Drainage Layers: Pebbles or broken pottery shards (1–2 inches per tier).
- ● Or pre-made fabric landscape fabric (to prevent soil clogging).
- ● Tools: Trowel or small hand shovel (for planting).
- ● Measuring tape (to ensure even spacing between tiers).
- ● Watering can or hose with a gentle spray nozzle.
- ● Sunlight: Ensure your deck gets 6+ hours of direct sun daily (south-facing is best in the Northern Hemisphere).
- ● Water Access: A nearby spigot or portable watering setup.
- ○ Optional Upgrades: Self-watering reservoirs (for busy gardeners).
- ● Herb planter inserts (for shallower-rooted plants like basil or chives).
- ● Decorative trellises (for climbing veggies like peas or cucumbers).
Step-by-Step instructions for building a deck veggie garden
Here's how to create a productive, space-saving deck garden using stackable planters.
🪴 Step 1: Select and Assemble Stackable Planters
Choose planters with drainage holes and sturdy bases to prevent tipping. I prefer 12-18 inch deep containers for root crops like carrots or radishes, while shallower 6-8 inch pots work for greens and herbs. Stack smaller pots on top of larger ones to maximize vertical space—just ensure each tier can support the weight above.
Assemble the stack according to your plant height hierarchy: tallest plants (like tomatoes) at the bottom, medium-height (peppers, bush beans) in the middle, and shortest (lettuce, herbs) on top. This prevents shading issues and makes harvesting easier. Use the included hardware to secure each tier tightly—wobbly stacks can topple in wind or when you reach for plants.
🌱 Step 2: Prepare and Fill Planters with Quality Soil
Fill each container with lightweight potting mix designed for vegetables, not garden soil. I like to mix in 1 cup of compost per 12-inch pot to give plants a nutrient boost right from planting. Leave 1 inch of space at the top to prevent spills during watering.
Tap the sides of each container gently to settle the soil without compacting it. The mix should feel like a damp sponge—not soaking wet or bone-dry. For stacked planters, fill the bottom tier first, then add plants before moving to the next level. This prevents soil from spilling into lower tiers during watering.
☀️ Step 3: Plant Vegetables for Vertical Harmony
Start with your tallest plants at the base of the stack. For example, place tomato or pepper seedlings in the bottom container, then add bush beans or cucumbers in the middle tier, and finish with lettuce, spinach, or herbs on top. Space plants according to their mature size—12-18 inches apart for bush varieties, 18-24 inches for vining plants.
Dig holes just deep enough to cover the root ball but no deeper—burying stems too far encourages rot. Gently firm the soil around each plant to eliminate air pockets, then water immediately to help roots settle. Avoid overwatering at this stage; you want the soil to be moist but not soggy.
💧 Step 4: Establish a Watering Routine
Water deeply at planting, then let the top 1 inch of soil dry out before watering again. Stacked planters dry out faster than ground-level gardens, so check moisture daily during hot weather. I use a watering can with a long spout to reach all tiers without disturbing plants.
Water in the morning to allow excess moisture to evaporate during the day. Avoid wetting foliage to prevent fungal diseases. If you notice leaves wilting by midday, your plants need more frequent watering—especially in the top tiers where wind exposure is greater.
✂️ Step 5: Maintain and Harvest for Continuous Production
Fertilize every 4-6 weeks with a balanced, slow-release fertilizer to keep plants thriving in confined spaces. Prune regularly to encourage bushier growth and better air circulation. For vining plants like cucumbers or beans, provide small trellises or stakes to guide them upward and save space.
Harvest frequently to encourage new growth. For example, pick lettuce leaves as soon as they reach 3-4 inches to prevent bolting. Watch for pests like aphids or spider mites, which love container gardens. Treat infestations immediately with neem oil or insecticidal soap to protect your investment.
Tips & tricks for perfect deck veggie garden
Real talk: Stackable planters are game-changers for small spaces—but only if you nail these key details. Here's what nobody tells you about making your vertical garden thrive.
Container Weight Matters: In Step 1, when assembling your stack, consider the cumulative weight of each tier—especially if you're using heavy materials like terracotta. I've seen stacks topple during wind gusts or when reaching for plants. For extra stability, place the heaviest tier at the bottom and secure each level with the included hardware. If you're worried, add a small weight (like a bag of soil) to the base container to anchor the whole stack.
Soil Settling Strategy: After filling your containers in Step 2, don't just eyeball the soil level. Tap the sides of each container firmly but gently to eliminate air pockets while preventing compaction. The soil should settle just enough to reach about 1 inch below the rim—this gives you room for watering without overflow. For stacked planters, work from the bottom up to avoid soil spillage between tiers.
Plant Placement Logic: The vertical hierarchy in Step 3 isn't just about aesthetics—it's about sunlight access. Tall plants at the bottom might seem counterintuitive, but they need the most light. If you're dealing with limited morning sun (common on north-facing decks), rotate your stack 180 degrees every few days to ensure even light exposure. Also, leave at least 6 inches of space between the top of your tallest plants and the rim to prevent shading of lower tiers.
Watering Precision: When establishing your routine in Step 4, remember that stacked planters have different moisture zones. The top tiers dry out fastest due to wind exposure, while bottom containers retain moisture longer. Use a moisture meter to check soil levels at different heights—what feels dry at the top might still be damp at the bottom. For even distribution, water each tier separately, starting from the bottom and working upward.
Pro Tips for Deck Veggie Garden
- Real talk: Stackable planters are game-changers for small spaces—but only if you nail these key details.
- Container Weight Matters: In Step 1, when assembling your stack, consider the cumulative weight of each tier—especially if you're using heavy materials like terracotta.
- Soil Settling Strategy: After filling your containers in Step 2, don't just eyeball the soil level.
Frequently asked questions
Got questions about transforming your deck into a thriving veggie garden? Here are some of the most common concerns—and their solutions—to help you grow with confidence!
How deep do deck veggie garden planters need to be?
Most vegetables thrive in 6–12 inches of soil depth. Shallow-rooted crops like lettuce, herbs, and radishes need just 6–8 inches, while deeper-rooted veggies (tomatoes, carrots) require 10–12 inches. Stackable planters solve this by adding layers—just ensure drainage holes are present to prevent soggy roots!
When is the best time to start planting in deck planters?
Timing depends on your climate! For cool-season crops (spinach, kale), plant 4–6 weeks before the last frost. Warm-season veggies (peppers, cucumbers) need soil temps above 60°F—wait until after frost or use a heat mat. In warmer zones, start in early spring or late summer for a fall harvest. Always check your local frost dates!
Are stackable planters worth the investment over traditional containers?
Stackable planters save space, maximize sunlight exposure, and make harvesting easier. They’re ideal for small decks or balconies. Plus, they’re often lighter and more portable than bulky containers. If budget is tight, start with 2–3 layers and expand as you gain confidence—your veggies (and back!) will thank you.
How do I keep pests away from my deck veggie garden?
Pests love deck gardens too! Prevent them naturally with:
- Row covers for flying insects (aphids, whiteflies).
- Neem oil or insecticidal soap for soft-bodied bugs.
- Companion planting (e.g., basil near tomatoes to repel mosquitoes).
- Regular checks—remove pests by hand early!
Can I grow anything in stackable planters besides veggies?
Yes! Deck planters are perfect for herbs (basil, parsley), strawberries, microgreens, and even small fruits like dwarf blueberries or cherry tomatoes. For non-edibles, try flowers (marigolds deter pests!) or succulents in the top layers. Just match plant needs to your planter’s depth and sunlight.
How do I protect my deck garden in winter?
If you live in a cold climate, empty and store planters or use them for winter greens (kale, spinach). For year-round growing:
- Move planters to a sheltered spot (under an overhang or against a wall).
- Use frost blankets or burlap wraps to insulate roots.
- Add mulch (straw or leaves) to retain warmth.
Wrapping up and next steps
A deck veggie garden with stackable planters is your ticket to fresh, homegrown produce—no sprawling yard required! 🌱 Whether you’re a beginner or a green-thumb pro, these space-saving solutions make gardening fun, efficient, and rewarding.
With the right setup, you’ll enjoy harvests in months and a greener thumb (and plate!) sooner than you think.
Ready to dive in? Start small—pick your favorite veggies, grab those planters, and let the growing begin! 🌿 For extra inspiration, browse seed catalogs or join local gardening groups to swap tips and celebrate your first homegrown bites.