
Landscaping
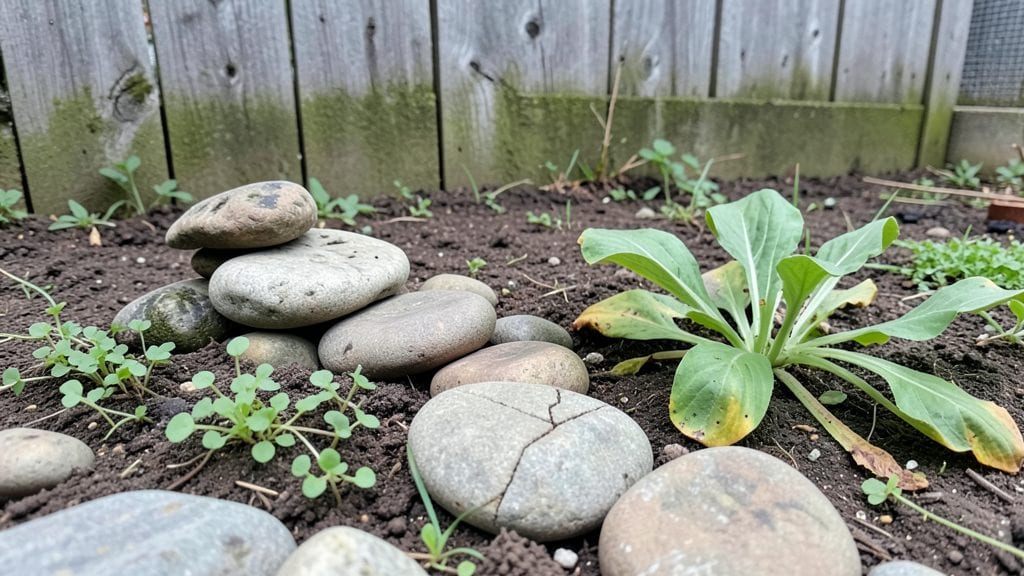
Decorating your garden with stones transforms a blank space into a textured, intentional landscape that tells your story. 🌿 I’ve spent years experimenting with stone layouts—from winding pebble paths to bold slate borders—and each design instantly elevates the mood of a garden, whether rustic or refined.
The key isn’t just placement; it’s how stones create rhythm, contrast, or even a meditative flow in your outdoor space.
You don’t need a degree in design to make stones work—just a few basics. Flat slate slabs work for modern edges, while rounded river rocks soften cottage gardens. Start small: a single 12-inch-wide border around a flower bed or a 3-foot-wide stepping path through the lawn.
The magic happens when stones guide your eye, define zones, or simply add organic texture to mulch or gravel.
What you’ll end up with is a garden that feels deliberate, not random. A winding stone path invites you to explore, while a carefully placed focal point—like a single large boulder—anchors the space.
The best part? Stones require almost no maintenance beyond an occasional sweep or moss removal. Let’s turn your yard into a curated, stone-enhanced retreat.
Works for any style—Zen gardens, cottage charm, or sleek modern landscapes. The only limit is your vision. Here’s how to start without overcomplicating it.
📚 In This Guide
- What you need
- Instructions
- Tips and common mistakes
- Wrapping up and next steps
What you need
- ● Stones: Flat stones (e.g., flagstone, slate, or river rocks) – Quantity depends on pathway size (e.g., ~50–100 stones for a 10’ x 3’ path, spaced 4–6” apart).
- ● Edge stones (larger, flat rocks) – 1–2 per linear foot for borders.
- ○ Optional: Stepping stones (pre-cut, ~12”–18” diameter) – 1–2 per step for defined walkways.
- ● Base Layer: Crushed gravel (¾”–1” size) – 2–3” depth for drainage.
- ● Sand (poly-sand or sharp sand) – 1–2” layer for leveling.
- ● Tools: Shovel and mattock for digging.
- ● Wheelbarrow (for hauling materials).
- ● Rubber mallet (to tap stones into place).
- ● Level (4’ or digital) – critical for even pathways!
- ● String line + stakes (to mark layout).
- ● Safety gear: gloves, knee pads, and goggles.
- ● Landscape fabric (to prevent weed growth under stones).
- ● Stone adhesive or polymeric sand (for extra stability).
- ● Edging restraints (metal or plastic) – keeps stones in place.
- ● Hose + spray nozzle (for rinsing stones post-install).
- ● Decorative elements: moss, mulch, or solar-powered lights for ambiance.
Step-by-Step guide to creating rustic stone pathways in your garden
Here's how to transform bare ground into a charming, functional pathway using natural stones.
🪴 Step 1: Plan and Mark Your Pathway Layout
Sketch your pathway on paper first—rustic designs often follow natural curves or meander through garden beds. Measure the length and width, keeping walkways at least 2 feet wide for comfort. I mark the outline with spray paint or a garden hose laid out in the desired shape, then walk along it to visualize the flow.
Check the slope—steep inclines need wider steps or terraced designs. If your yard has uneven terrain, use a level tool to ensure the path remains walkable. This step saves hours of backtracking later when you realize the stones won't fit the space.
💧 Step 2: Prepare the Base for Stability
Remove grass, weeds, and topsoil along your marked path to expose the subsoil. Dig down 4-6 inches to create a solid foundation—this prevents stones from shifting over time. For extra stability, especially in high-traffic areas, add a 2-inch layer of compacted gravel before proceeding.
I use a shovel and tamper to create an even base. The goal is firm but not rock-hard—you want roots to eventually grow through but stones to stay put. If working in clay soil, mix in sand to improve drainage before compacting.
🪴 Step 3: Select and Arrange Your Stones
Choose stones that complement your garden's aesthetic—flat river rocks for a smooth look, irregular flagstones for rustic charm, or cobblestones for a classic feel. Start at one end and work toward the exit, placing larger stones first along the edges to create natural borders. Leave ½-inch gaps between stones for flexibility.
For a cohesive look, sort stones by size and shape before laying them out. I arrange them in a staggered pattern (like brickwork) for stability, with the flat side up. If using irregular stones, rotate them until the most attractive face is visible. This is where your pathway's personality really comes alive!
⏰ Step 4: Secure Stones with Sand or Mortar
Sweep coarse sand into the gaps between stones, then use a plate compactor to settle it into place. The sand locks the stones in position while allowing for slight movement during freeze-thaw cycles. For permanent paths, mix a thin mortar bed (1 part cement to 3 parts sand) and spread it between stones before setting them.
I press each stone firmly into the base, then check for level with a 2-foot level. Adjust as needed by adding more sand or mortar underneath. Avoid over-tamping—you want the stones secure but not cracked. Let the mortar cure for 24-48 hours before walking on it.
☀️ Step 5: Add Finishing Touches for Longevity
Brush off excess sand or mortar with a stiff-bristle broom, then seal the stones with an outdoor-rated stone sealer to protect against weathering. This step extends your pathway's life by preventing moss growth and erosion. I apply sealer on a dry, 70°F+ day to ensure proper adhesion.
For extra rustic charm, edge the pathway with small boulders or decorative rocks. Plant low-growing ground covers like creeping thyme or moss along the edges to soften the look. Step back and admire your work—you've just created a functional and beautiful garden feature that will last for years!
Tips & tricks for perfect rustic stone pathways
A few key strategies will help you avoid common pitfalls and create a pathway that lasts for years. Here's what I've learned from building multiple stone pathways myself.
Layout is Everything: In Step 1, when sketching your pathway, walk the route several times—your natural path will often reveal the most functional design. I've found that curves feel more inviting than straight lines, and they naturally follow the way people actually move through the garden. Trust your instincts about where people will pause or turn, and design those moments into your layout. This saves hours of frustration later when you realize the stones don't quite fit the way you envisioned.
Base Prep Secret: For Step 2, don't skip the 4-6 inch dig depth—this is what prevents stones from shifting over time. I've seen pathways where people only dug 2 inches and the stones moved within weeks. If you're working with clay soil, mix in sand before compacting to prevent future cracking. The goal is firm but not rock-hard—you want roots to grow through while keeping stones stable. A good test is that your shovel should leave a clean edge when you cut into the base.
Stone Arrangement Technique: When arranging stones in Step 3, sort them by size and shape first—this makes the process go much faster. I like to start with the largest stones along the edges to create natural borders, then fill in with smaller stones. The ½-inch gaps between stones are crucial for flexibility, especially in freeze-thaw climates. For extra stability, arrange stones in a staggered pattern (like brickwork) with the flat side up. This creates a more secure foundation and prevents shifting over time.
Mortar Curing Wisdom: In Step 4, when using mortar, let it cure for the full 24-48 hours before walking on it—this is when the mortar reaches its maximum strength. I've learned this the hard way after cracking stones by walking on them too soon. For extra durability, apply sealer on a dry day when temperatures are above 70°F, as instructed in Step 5. This creates a protective barrier that extends your pathway's life by preventing moss growth and erosion.
Pro Tips for Decorating Garden With Stones
- A few key strategies will help you avoid common pitfalls and create a pathway that lasts for years.
- Layout is Everything: In Step 1, when sketching your pathway, walk the route several times—your natural path will often reveal the most functional design.
- Base Prep Secret: For Step 2, don't skip the 4-6 inch dig depth—this is what prevents stones from shifting over time.
Frequently asked questions
Got questions about transforming your garden with stones? Here are some of the most common ones—and their answers—to help you get started with confidence!
What’s the best type of stone for garden pathways?
It depends on your style and budget! Flagstone offers natural, rustic charm and works well for uneven terrain. Gravel is affordable and easy to install but may shift over time. Stepping stones (like slate or bluestone) create defined paths with minimal effort. For durability, granite or limestone are excellent choices.
When is the best time to install stone pathways?
The ideal time is spring or fall when temperatures are mild and rain is less frequent. Avoid installing during freezing weather (stones can crack) or peak summer heat (mortar may dry too quickly). If you must work in summer, water the area regularly to keep stones stable.
Can I decorate my garden with stones on a budget?
Skip expensive materials like marble and opt for local river rocks, recycled bricks, or leftover concrete pavers from construction sites. DIY layouts (like random patterns) save money too. Thrift stores or online marketplaces often sell affordable decorative stones for borders or accents.
How do I fix uneven or sinking stones over time?
If stones sink, excavate the area, add a layer of compacted gravel (1–2 inches), and level them with sand. For shifting pathways, consider edging with metal or plastic strips to keep stones in place. Reapply polymeric sand between gaps to prevent weeds and erosion.
Will stones harm my plants or grass underneath?
Not if installed correctly! Lay down landscape fabric before adding stones to prevent weeds from growing through. For grassy areas, use stepping stones with gaps (at least 1 inch) to allow water and air to reach the soil. Avoid placing heavy stones directly on delicate plants or young shrubs.
Wrapping up and next steps
Decorating your garden with stones isn’t just about aesthetics—it’s about crafting a space that feels timeless, functional, and uniquely yours. Whether you’re defining pathways, creating borders, or adding rustic charm, stones offer endless creativity with minimal effort.
Now that you’re inspired and equipped with tips, take the first step—start small with a single pathway or a cozy seating area. Your garden’s transformation is just a handful of rocks away! 🌿✨