
Tools
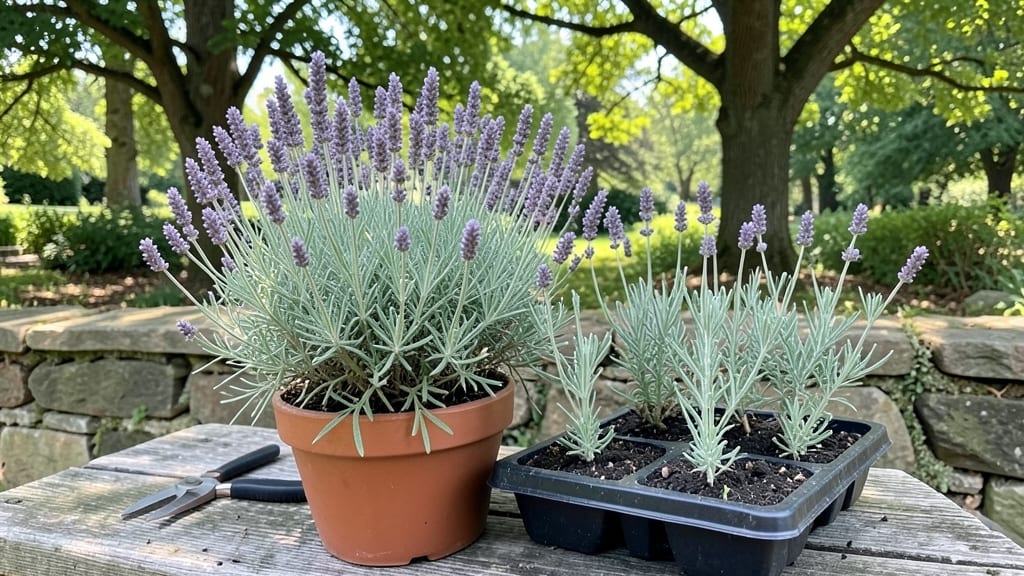
Digging a garden isn't just about turning dirt—it's about creating a layered foundation for a harvest that lasts all year. I learned the hard way that skipping soil prep means struggling with weeds, poor drainage, and plants that just won't thrive no matter how much you water them.
The right layout and soil mix can turn a patch of grass into a productive space within a single weekend.
You'll need basic tools like a shovel, rake, and garden fork, plus a soil test kit to check your pH and nutrient levels before you start. Most garden centers sell these for under $20, and knowing what your soil lacks saves you from guessing with expensive amendments.
The key is working with what you have—amending heavy clay or sandy soil to create that perfect crumbly texture where roots can spread easily.
Once you've marked your bed and removed weeds, you'll dig in layers: first the existing soil, then compost or aged manure, followed by a light top layer of mulch.
This setup keeps moisture locked in, suppresses weeds, and gives plants the nutrients they need to grow strong from spring through fall. By the time you plant, your soil will feel like a warm hug for roots—no more struggling to coax life from stubborn ground.
This method works for vegetable plots, flower beds, or even a small herb garden on a balcony. The beauty is in the layers: each season builds on the last, making your garden more productive with every year.
Start small, follow these steps, and you'll be harvesting fresh produce or cutting flowers in no time.
📚 In This Guide
- What you need
- Instructions
- Tips and common mistakes
- Wrapping up and next steps
What you need
- ● Shovel or Spade: Heavy-duty, 18–24" long (for digging trenches and soil prep).
- ● Garden Fork: Sturdy, 12–16" (for breaking up compacted soil and aerating).
- ● Rake: Bow rake (for leveling soil) + leaf rake (for debris cleanup).
- ● Wheelbarrow or Bucket: 3–5 cubic feet capacity (for hauling soil, compost, or mulch).
- ● Measuring Tape: 25-foot (to mark garden beds and spacing).
- ● Garden Twine or String: 50–100 feet (for staking or layout guides).
- ● Gloves: Heavy-duty, waterproof (to protect hands from thorns and dirt).
- ○ Knee Pads or Pad: Optional but highly recommended for comfort!
- ● Topsoil: 2–3 cubic yards (depends on garden size; aim for loamy texture).
- ● Compost: 1–2 cubic yards (for enriching soil; aged, not fresh manure).
- ● Mulch: 2–3 bags (straw, wood chips, or shredded leaves; 2–4 inches thick).
- ○ Organic Matter: Optional: peat moss, coconut coir, or worm castings (for moisture retention).
- ● Soil Test Kit: DIY or lab-tested (to check pH and nutrient levels).
- ● Level or String Line: For perfectly straight garden beds.
- ● Drip Irrigation Kit: Saves time and water (especially for layered gardens).
- ● Hose with Nozzle: Adjustable spray for watering.
- ● Plant Labels: Wooden or metal stakes (to track crops in layered beds).
Step-by-Step instructions for designing a layered garden layout
Here's how to create a functional, beautiful garden that produces year-round with minimal effort.
Plan Your Garden Layout
Start by sketching your garden space on paper, marking the sunniest areas and any existing structures like fences or trees. I divide my garden into three main layers: the tallest plants at the back, mid-height plants in the middle, and low-growing plants at the front. This creates natural shade progression and makes harvesting easier—no more bending over to reach your greens.
Measure your space and note where the sun hits strongest. Most vegetables and herbs need at least 6 hours of sunlight daily, while shade-tolerant plants like lettuce or spinach can thrive in 4-6 hours. Place sun-loving plants like tomatoes and peppers in the back, where they won’t be crowded by shorter plants stealing their light.
Prepare the Soil
Remove any grass, weeds, or debris from your garden bed using a shovel or garden fork. Work the soil to a depth of 12 inches, breaking up any compacted areas. This ensures roots can grow deeply and access nutrients without struggling. I like to add a 2-3 inch layer of compost to the top of the bed before mixing it in—this improves drainage and provides slow-release nutrients.
If your soil feels heavy or clay-like, mix in 2-3 inches of coarse sand or perlite to improve aeration. You’ll know the soil is ready when it crumbles easily between your fingers and holds moisture without becoming waterlogged. Avoid working the soil when it’s too wet—this can compact it further and make it harder for roots to establish.
Plant Your Tallest Specimens First
Begin by planting your tallest plants, such as sunflowers, corn, or trellised vegetables like pole beans, at the back of your garden. These plants will act as a natural windbreak and provide shade for shorter plants. Dig holes twice as wide as the root ball and just as deep, then gently place the plant in and fill the hole with soil, pressing lightly to remove air pockets.
Water each plant deeply after planting to help settle the soil and encourage root growth. If you’re using a trellis for vining plants like cucumbers or squash, install it now and secure the base firmly. This gives your plants something to climb early on, which strengthens their stems and keeps them off the ground, reducing disease risk.
Add Mid-Height and Low-Growing Plants
Next, fill in the middle layer with plants like bush beans, peppers, or herbs such as basil and dill. These should be spaced 12-18 inches apart to allow for airflow and easy maintenance. Use the same planting technique as before—dig a hole, place the plant, and firm the soil gently around the roots.
For the front layer, add low-growing plants like lettuce, radishes, or strawberries. These should be spaced 6-12 inches apart, depending on the variety. Mulch the entire bed with 2-3 inches of straw or wood chips to retain moisture, suppress weeds, and regulate soil temperature. This step is especially important in hot climates, where soil can dry out quickly.
Maintain and Adjust Through the Seasons
Once your garden is planted, monitor it regularly for signs of pests, diseases, or nutrient deficiencies. I check my garden every 2-3 days during the growing season, looking for yellowing leaves, wilting, or chewed foliage. If you notice problems early, you can often correct them with targeted solutions like neem oil for pests or a balanced fertilizer for nutrient issues.
As the season progresses, you may need to adjust your layout. For example, if a plant outgrows its space, consider transplanting it to another area of the garden or pot. Similarly, if a plant isn’t thriving, replace it with a more suitable variety. This flexibility keeps your garden productive and visually appealing throughout the year.
Tips & tricks for perfect layered garden design
Creating a thriving layered garden takes thoughtful planning—here are my go-to strategies to help you avoid common pitfalls and maximize your space.
Sunlight Strategy: In Step 1, when mapping your garden layout, pay special attention to how sunlight shifts throughout the day. I always mark the path of the sun across my garden at different times—this helps me place sun-loving plants like tomatoes and peppers where they'll get the most intense light between 10 AM and 2 PM, while shade-tolerant greens can thrive in the morning or afternoon sun. This simple adjustment can double your harvest potential by preventing plants from competing for light.
Soil Preparation Tip: When working the soil to a depth of 12 inches in Step 2, I like to use a garden fork to gently loosen the soil rather than digging deeply with a shovel. This preserves the soil structure while breaking up compaction. For clay-heavy soils, mix in 2-3 inches of coarse sand or perlite—this improves drainage without altering the soil's natural composition. The key is to work the soil when it's just moist enough to crumble easily between your fingers.
Planting Technique: In Step 3, when planting your tallest specimens, I recommend digging holes that are twice as wide as the root ball but only as deep. This encourages roots to spread outward rather than growing downward, which helps establish a stronger root system. For trellised plants, install supports immediately after planting—this gives vines something to climb early on, which strengthens their stems and keeps them off the ground where they're more vulnerable to disease.
Mulching Matters: The 2-3 inches of mulch in Step 4 is one of the most underrated garden investments. I use straw in most climates because it breaks down slowly and adds organic matter to the soil, but wood chips work well too—especially in hot areas where they help regulate soil temperature. Apply mulch after watering to prevent it from blowing away and to help seal in moisture. This simple step can reduce watering needs by up to 30%.
Pro Tips for Dig A Garden
- Creating a thriving layered garden takes thoughtful planning—here are my go-to strategies to help you avoid common pitfalls and maximize your space.
- Sunlight Strategy: In Step 1, when mapping your garden layout, pay special attention to how sunlight shifts throughout the day.
- Soil Preparation Tip: When working the soil to a depth of 12 inches in Step 2, I like to use a garden fork to gently loosen the soil rather than digging deeply with a shovel.
Frequently asked questions
Got questions about digging your garden for year-round productivity? Here are some common ones—and their answers!
When is the best time to dig a garden?
The ideal time depends on your climate. In most regions, early spring or fall (when soil is workable but not frozen) is best. Avoid digging during wet seasons—muddy soil compacts easily, smothering roots. If you’re in a warm climate, dig in late winter to avoid summer heat stress.
What tools do I really need beyond a shovel?
A basic setup includes a garden fork (for breaking up compacted soil), a trowel (for precision), and a wheelbarrow (to haul debris). Optional but helpful: a soil knife for weeding and a level to ensure even layers. Rent heavy-duty tools like a rototiller if your garden is large.
How deep should I dig for a layered garden?
Aim for 12–18 inches deep to accommodate roots, compost layers, and mulch. For deep-rooted plants (like tomatoes or carrots), dig 24 inches. Loosen the soil 6–12 inches below your planting depth to encourage root growth. Use a garden fork to aerate without turning the soil upside down.
What if my soil is rocky or clay-heavy?
Don’t let texture stop you! For rocky soil, dig out large stones (save them for borders!) and amend with compost or sand to improve drainage. For clay soil, mix in organic matter (peat moss, compost, or aged manure) to loosen it. Test your soil’s pH—most veggies thrive in 6.0–7.0.
Can I dig a garden in raised beds instead of in-ground?
Raised beds are ideal for layered gardens because they:
- Warm up faster in spring
- Drain better (critical for clay soil)
- Reduce bending (easier on your back!)
What should I do if my garden soil smells bad after digging?
A foul odor usually means too much organic matter decomposing at once or anaerobic conditions (lack of oxygen). Fix it by:
- Adding coarse materials (straw, wood chips) to improve aeration
- Mixing in lime if the soil is acidic
- Avoiding overwatering—let the soil dry slightly between waterings
Wrapping up and next steps
Digging into your garden with a layered layout isn’t just about aesthetics—it’s a game-changer for year-round productivity! 🌱 By stacking plants strategically, you’ll maximize space, extend harvests, and create a thriving ecosystem that works for you.
Whether you’re a seasoned green thumb or just starting, this approach makes gardening effortless and rewarding.
So, grab your tools, roll up your sleeves, and start planning your layers today! Ready to transform your garden into a lush, high-yielding paradise? Begin by sketching your design—then watch your vision (and veggies!) grow! 🌿