
Tools
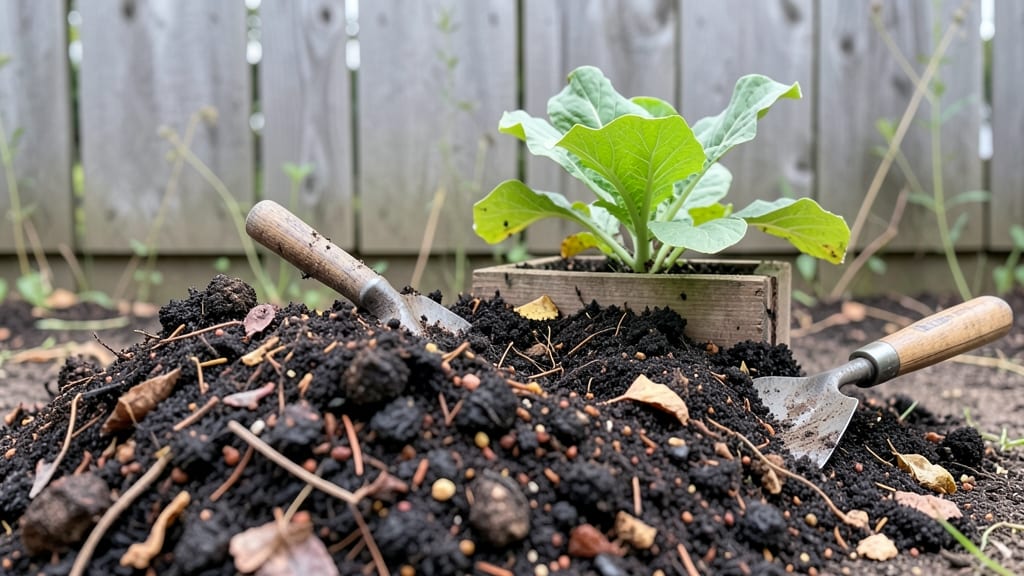
A garden dirt mixture isn’t just dirt—it’s the foundation that determines whether your plants thrive or struggle. 🌱 I learned the hard way when my tomatoes wilted every summer because the soil was too dense and waterlogged.
The right blend improves drainage, adds nutrients, and gives roots room to breathe, whether you're growing veggies, flowers, or herbs.
Start with 50% topsoil as your base, then adjust based on your soil type. Clay-heavy? Add 30% compost and 20% coarse sand to break up compaction. Sandy soil? Mix in 20% peat moss or coconut coir to hold moisture.
A simple wheelbarrow and shovel are all you need—no fancy tools required. The key is balance: too much sand drains too fast, too much clay suffocates roots.
Once mixed, your soil will look dark, crumbly, and inviting—like fresh forest floor. Plants grow faster, resist disease better, and produce 20-30% more than in plain garden soil. The first time I saw my peppers double in size after switching to this mix, I knew I’d cracked the code.
For beginners, start with a small batch and test before committing to a full garden bed.
This method works year-round, though spring is ideal for prepping new beds. If you’re in a rental or have limited space, try it in containers first—herbs and salad greens respond beautifully.
The same principles apply whether you’re fixing poor soil or creating premium growing conditions. Ready to transform your garden’s foundation?
📚 In This Guide
- What you need
- Instructions
- Tips and common mistakes
- Wrapping up and next steps
What you need
- ● Topsoil (60%): 3 parts by volume (e.g., 3 cubic feet for a 5-cubic-foot batch). Choose a well-draining, nutrient-rich variety (look for "garden soil" or "loam" blends).
- ● Compost (20%): 1 part by volume. Use finished compost (dark, crumbly, and earthy-smelling) to boost organic matter. Avoid fresh manure or wood chips.
- ● Perlite or Vermiculite (10%): ½ part by volume. Perlite (white, lightweight) improves aeration; vermiculite (golden) retains moisture better.
- ● Sand (10%): ½ part by volume. Opt for coarse builder’s sand (not fine beach sand) to prevent compaction.
- ● Wheelbarrow or large container: For mixing (minimum 5-gallon capacity per batch).
- ● Garden shovel or trowel: For scooping and layering.
- ● Gloves: Heavy-duty work gloves to protect your hands.
- ● Watering can or hose: To moisten the mix before planting.
- ○ pH testing kit (optional): To check soil acidity (ideal range: 6.0–7.0 for most plants).
- ○ Soil sieve (optional): For removing rocks or debris if your topsoil is gritty.
- ● Clear the planting area of weeds, rocks, or debris.
- ● Test your existing soil (if amending in-place) with a dig-and-squeeze test: Wet soil should hold shape but not be sticky.
- ● Choose a dry, overcast day to mix—wet conditions can clump materials.
How to build a layered loam mix for optimal root growth
This isn't just dirt—it's a science-backed foundation that boosts root systems and prevents compaction.
🌱 Step 1: Gather Your Base Components
Start with 2 parts topsoil—this is your foundation, rich in organic matter and essential nutrients. I use a high-quality garden soil that's been composted for at least 6 months to ensure it's broken down and ready to work. Next, add 1 part coarse sand—this isn't just any sand. Use builder's sand or horticultural sand with grains no finer than 1/16 inch to prevent clogging soil pores.
For the third base component, mix in 1 part peat moss or coconut coir. This holds moisture while still allowing airflow to roots. If you're in a humid climate, coconut coir is the better choice—it resists compaction and fungal issues better than peat. Weigh or measure these components by volume, not by hand, to keep the ratios consistent.
💧 Step 2: Layer for Maximum Aeration
In a wheelbarrow or large container, begin by placing a 4-inch layer of coarse sand at the bottom. This creates a drainage foundation that prevents waterlogging. Next, add a 3-inch layer of your topsoil, spreading it evenly. Then, layer in 2 inches of the peat moss or coir, breaking up any clumps to maintain fluffiness.
Here's the thing—don't mix these layers yet. The stratification mimics natural soil profiles and creates pockets of different textures. This encourages roots to grow downward through the sand while still finding organic matter in the upper layers. For a 4 cubic foot batch, repeat these layers twice to reach your total volume.
✂️ Step 3: Blend and Customize for Your Plants
Now, use a garden fork or sturdy trowel to gently combine the layers. Work from the bottom up, cutting through each layer and folding them together. You're not trying to create a homogeneous mix—just break up the distinct strata so they intermingle naturally. For heavy clay soils, add an extra 1/2 part perlite to improve aeration further.
For root crops like carrots or potatoes, I like to add 1/4 part composted manure at this stage. This boosts fertility without overwhelming the mix. If you're planting acid-loving plants like blueberries, mix in 1/2 cup of sulfur per cubic foot to adjust the pH. Test your soil first—this ensures you're not overcorrecting an existing imbalance.
☀️ Step 4: Condition and Test Before Use
Moisten the mixture until it reaches a damp sponge consistency—squeeze a handful, and just a few drops should come out. If it's too dry, roots will struggle to penetrate; if it's too wet, you'll create anaerobic pockets. Let it sit for 24-48 hours to allow the components to settle and begin interacting.
After conditioning, dig a small test hole about 6 inches deep and fill it with your mixture. Water it thoroughly, then wait 1 hour. If water drains away within that time but doesn't pool at the bottom, your mix is ready. If it drains too quickly, add more peat moss or coir. If it holds water like a swamp, incorporate additional sand or perlite.
🪴 Step 5: Apply in Raised Beds or In-Ground
For raised beds, fill them completely with your mixture, tamping down lightly in 2-inch layers as you go. This prevents settling later. In-ground applications work best when you amend the top 12 inches of existing soil, mixing in your loam in 4-inch increments. Use a broadfork to aerate compacted soil before adding your custom blend.
Here's where it gets fun—watch how plants respond. Roots will naturally seek out the sand layers for drainage while finding nutrients in the organic components. Within 4-6 weeks, you'll see stronger stems and deeper green foliage compared to plants in unamended soil. For container plants, use this mix as a 50/50 blend with standard potting soil to prevent compaction in pots.
Tips & tricks for perfect layered loam mix
Here's what nobody tells you about creating this game-changing soil blend that actually works.
Layering Secret: The reason this mix outperforms regular garden soil is the deliberate stratification in Step 2. That 4-inch sand base isn't just drainage—it creates vertical channels for roots to grow downward. When you blend everything in Step 3, you're not destroying this architecture, just breaking up the distinct layers so they intermingle naturally. Think of it like building a root highway system rather than a single dirt road.
Moisture Test Trick: After conditioning your mix for the required 24-48 hours, use this visual cue for the 1-hour drainage test: If water disappears completely within that hour but doesn't leave standing pools, you've hit the sweet spot. Too fast? Add more peat moss or coir to slow drainage. Too slow? Work in additional sand or perlite. This test is your quality control moment—don't skip it!
Customization Pro Tip: When adjusting pH for acid-loving plants in Step 3, I've found that sulfur works best when mixed into the damp (not dry) loam. Sprinkle it evenly over the surface before blending, then incorporate thoroughly. For alkaline soils, you can add 1/4 cup of elemental sulfur per cubic foot instead of the 1/2 cup recommended for acid adjustment. Always test your soil first—this prevents overcorrecting pH imbalances that can harm plants.
Application Strategy: For in-ground applications, work your loam mix into the top 12 inches of existing soil in 4-inch increments using a broadfork. This prevents compaction while allowing roots to explore both your new mix and the native soil below. The key is to loosen the existing soil first—compacted native soil will defeat the purpose of your beautiful layered blend.
Pro Tips for Garden Dirt Mixture
- Here's what nobody tells you about creating this game-changing soil blend that actually works.
- Layering Secret: The reason this mix outperforms regular garden soil is the deliberate stratification in Step 2.
- Too fast?
Frequently asked questions
Got questions about crafting the perfect garden dirt mixture?
You're not alone! Here are answers to common concerns to help you create the ideal layered loam for your plants.
What’s the best ratio of dirt, compost, and sand for a garden dirt mixture?
A balanced mix typically uses 60% topsoil, 30% compost, and 10% coarse sand or perlite. Adjust ratios based on your soil type—clay-heavy soil may need more sand for drainage, while sandy soil benefits from extra compost to retain moisture.
Can I use a garden dirt mixture immediately after mixing, or should I wait?
While you can plant right away, letting the mixture settle for 24–48 hours helps ingredients blend better. If using fresh compost, wait 1–2 weeks to avoid overheating roots. Test moisture levels before planting—it should feel like a damp sponge, not soggy or bone-dry.
What’s a good alternative if I don’t have sand or compost?
No sand? Swap it for perlite, vermiculite, or coconut coir to improve aeration. Skip compost? Use well-rotted manure, leaf mold, or peat moss (though peat is less eco-friendly). For drainage, crushed gravel or even chopped straw can work in a pinch!
Why is my garden dirt mixture clumping or waterlogged after mixing?
Clumping often means too much clay or organic matter without enough sand. Break up clods with a fork or trowel, then add 1–2 inches of coarse sand or gypsum to improve structure. Waterlogging? Mix in more perlite or compost to lighten the soil and boost drainage.
How long does a homemade garden dirt mixture last before needing refreshers?
A well-balanced mix lasts 1–2 seasons before nutrients deplete. Refresh by top-dressing with compost annually or remixing with 50% new topsoil and 50% existing mixture. Monitor plant health—wilting or yellowing leaves may signal it’s time for a nutrient boost!
Wrapping up and next steps
Creating the perfect garden dirt mixture is all about balance—layering loam, sand, and compost to give your plants the ideal foundation for growth. With the right blend, you’ll boost root development, improve drainage, and set your garden up for long-term success. You’ve got this!
Now that you’re armed with the knowledge, grab your tools and start mixing! Try a small test patch first, observe how your plants respond, and adjust as needed. Happy gardening—your future harvest will thank you! 🌱