How To
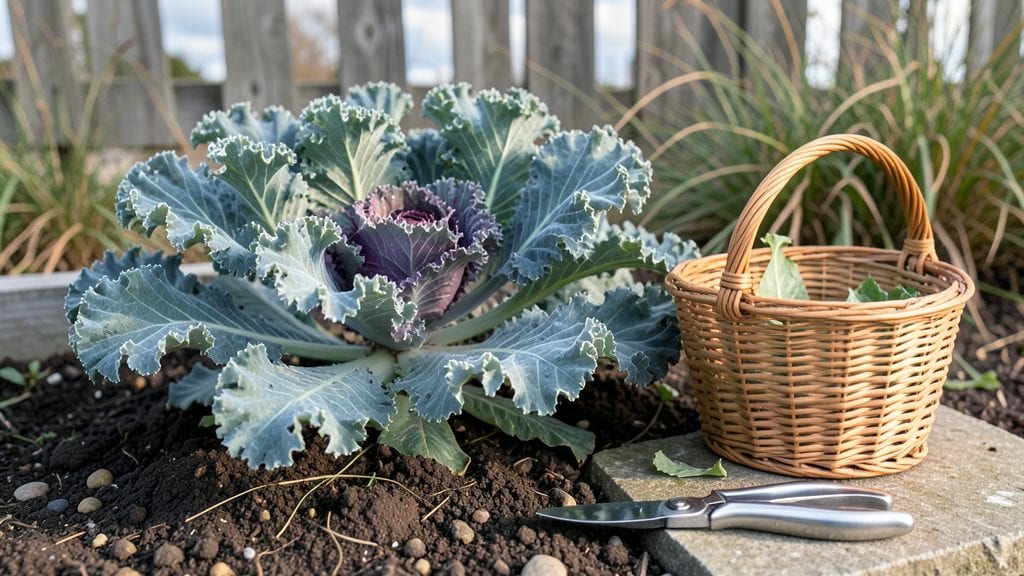
To pick kale from your garden 🥬 at the right moment means tender, flavorful leaves that keep producing—no more tough or bitter harvests.
Harvesting kale at the perfect time ensures crisp stems and nutrient-packed leaves—but timing, technique, and tool choice make all the difference. Learn how to pick kale from your garden like a pro for maximum flavor and yield.
You might think bigger leaves mean better harvests, but overpicking can stress your plants or leave them vulnerable to pests. The key is harvesting outer leaves first, leaving the inner ones to grow, so your kale keeps delivering for weeks.
In this guide, I’ll walk you through when to harvest (by leaf size and weather), the best tools to use, and how to store your fresh pick for longer crispness—plus common mistakes that ruin your crop.


When and how to harvest kale for maximum flavor and growth
Timing your kale harvest correctly is the secret to enjoying crisp, sweet leaves while keeping your plants productive. Kale thrives when harvested at the right leaf size and maturity stage, typically between 50-70 days after transplanting.
The key is to pick leaves before they become woody or bitter, which often happens as they mature beyond their prime. I’ve learned that harvesting outer leaves first preserves the plant’s center, allowing it to regrow for a continuous supply throughout the season.
Weather plays a crucial role too. Harvesting after a light morning frost can actually sweeten the flavor, but avoid picking when leaves are wilted or soggy from rain or humidity. The ideal time to harvest is on a cool, dry morning when the leaves are fully hydrated.
This ensures the best texture and taste, plus it minimizes stress on the plant. I always check the weather forecast before heading out to the garden to plan my harvest timing.
Now, let’s talk about how to spot perfectly ripe kale. Look for leaves that are 6-8 inches long, deep green (or purple/red for heirloom varieties), and firm but slightly tender when touched. Avoid harvesting leaves that feel tough or fibrous—these are past their prime.
The stems should also be plump and crisp, not shriveled or hollow. If you see yellowing or curling edges, it’s a sign of stress or pests, not ripeness.
How to Pick Kale from Your Garden
- Step 1: Wear gloves and inspect the plant for pests or damage before harvesting.
- Step 2: Use a sharp pair of pruners or clean knife to cut outer leaves at a 45-degree angle, leaving the center stem intact.
- Step 3: Harvest 1-2 leaves per plant at a time to encourage regrowth, or take half the plant if you need a larger harvest.
- Step 4: Avoid cutting into the main stem—this can kill the plant. Always leave 2-3 inches of stem attached to the leaf.
- Step 5: Rinse leaves gently in cool water to remove dirt, then pat dry with a clean towel or paper towel.
- Step 6: Store harvested kale in the fridge crisper drawer (unwashed) for up to 5-7 days or freeze for longer storage.
One of my biggest lessons came from overharvesting young plants. If you take too many leaves at once, especially from small or immature kale, the plant may struggle to recover.
I now follow the 30% rule: never remove more than 30% of the plant’s foliage in a single harvest. This keeps the plant healthy and ensures it can continue producing for weeks or even months, depending on the variety and growing conditions.
For winter kale varieties, like Lacinato or Red Russian, harvesting can continue well into the cold season. In fact, many gardeners find that light frosts enhance sweetness. Just be sure to harvest before a hard freeze (below 20°F), as this can damage the plant.
I’ve had great success with winter harvests by covering plants with row fabric on cold nights and harvesting the next morning.
Another pro tip: Rotate your harvest around the plant. This prevents uneven growth and ensures all parts of the plant receive equal sunlight. I mark my garden beds with small stakes to track which areas I’ve harvested recently, so I don’t accidentally over-pick one side.
This method also helps me spot nutrient deficiencies early—like yellowing between leaf veins—which signals a need for more magnesium or nitrogen.
If you’re growing kale for baby leaves, you can start harvesting as early as 30 days after sowing. These tiny leaves are delicate and sweet, perfect for salads. To encourage baby leaf production, I thin seedlings to 12 inches apart and harvest the smallest outer leaves first.
This keeps the plant bushy and productive, giving you a steady supply of microgreens-style kale throughout the season.
Finally, always sterilize your tools between harvests to prevent the spread of disease. A quick wipe with rubbing alcohol or a 10-minute soak in bleach water keeps your pruners and knives clean.
I also rotate tools between my kale patch and other vegetables to avoid cross-contamination. This simple habit has cut down on my plant’s susceptibility to downy mildew and other common issues.
With these techniques, you’ll enjoy homegrown kale that’s sweeter, crisper, and more abundant than store-bought. Happy harvesting! 🥬
Best tools and techniques to pick kale without damaging plants
Choosing the right tools and techniques when picking kale ensures your plants stay healthy and keep producing. A sharp harvesting knife or clean pruning shears prevents jagged cuts that invite disease, while gardening gloves protect your hands from thorns and rough stems.
The method you use—whether plucking individual leaves or cutting entire stems—directly impacts regrowth and yield.
For continuous harvests, focus on removing outer leaves first to avoid stressing the plant’s center. This approach mimics natural growth patterns, allowing younger leaves to mature while keeping your kale productive for weeks.
Whether you’re harvesting for salads, smoothies, or storage, the goal is to balance yield with plant health.
How to Pick Kale from Garden
Manual Harvesting (By Hand)
- Pros: Gentle on plants, no tools needed
- Cons: Slower for large batches, risk of tearing leaves
Tool-Assisted Harvesting (Knife/Shears)
- Pros: Faster, cleaner cuts, reduces damage
- Cons: Requires sterilized tools, slight risk of over-cutting
When harvesting, prioritize leaf-by-leaf removal over cutting entire stems unless you’re harvesting the whole plant. This method encourages regrowth from the center, giving you a steady supply of fresh leaves.
For large leaves, use a sharp knife to slice just above the stem’s base, leaving a small portion attached to the plant.
Wear gardening gloves to protect your hands from the thorny stems of mature kale varieties like Lacinato or Red Russian. Gloves also help you grip slippery leaves, reducing the chance of accidental tears. If your hands are dry, moisturize them beforehand for better grip and comfort during long harvests.
After harvesting, inspect your plants for signs of stress, such as yellowing leaves or wilted stems. These can indicate over-harvesting or nutrient deficiency. To support recovery, apply a balanced fertilizer (like 10-10-10) and ensure the soil stays consistently moist but not waterlogged.
For winter harvests, avoid picking during frost or when leaves are icy, as this can damage tender tissue. Instead, harvest on mild days when leaves are dry and crisp.
Store freshly picked kale in the crisper drawer of your fridge for up to 5 days or freeze for longer storage.