
Lawn
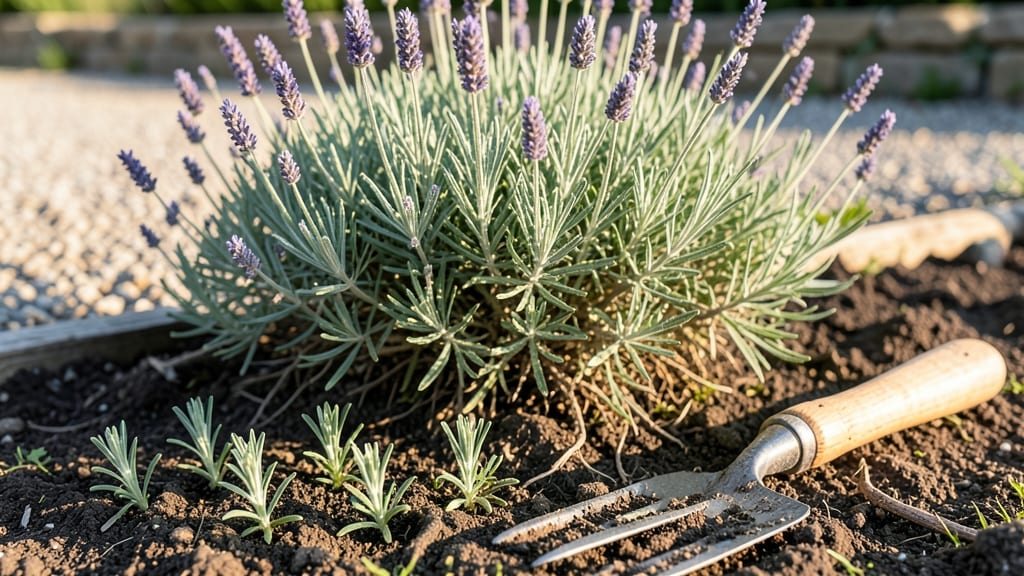
Turning grass into a garden starts with a blank canvas—no, really, that’s exactly what you’re creating when you replace lawn with layered plants. I’ve transformed my own patchy yard into a thriving, low-maintenance landscape using sheet mulching and native perennials, and the best part?
You don’t need to dig up every blade of grass to make it happen.
The secret lies in sheet mulching, a no-dig method that smothers grass over time while building rich soil. You’ll need cardboard, compost, mulch, and a few hours on a weekend—no heavy machinery required.
This approach saves your back, feeds the soil, and creates space for pollinators and birds to thrive, not just another patch of green.
By the time you’re done, you’ll have a garden that looks like it belongs there—textured, seasonal interest, and far less work than mowing. Imagine walking past lavender, coneflowers, and ornamental grasses instead of the same old lawn.
The first year is the hardest, but after that? Just add water and enjoy the show.
Works for small urban yards, large suburban lots, or anything in between. Whether you’re going for wildflower meadow vibes or a structured perennial border, this method adapts. Let’s get that grass working for you instead of against you.
📚 In This Guide
- What you need
- Instructions
- Tips and common mistakes
- Wrapping up and next steps
What you need
- ● Sod cutter or spade – For removing grass (rent or borrow if needed).
- ● Garden fork or tilling tool – Loosens soil to a depth of 12–18 inches.
- ● Topsoil or compost – Aim for at least 2–3 inches of high-quality topsoil or a 50/50 mix of topsoil and compost.
- ● Organic mulch – 2–4 inches of shredded bark, straw, or wood chips to retain moisture and suppress weeds.
- ● Garden hose with spray nozzle – For deep watering (aim for 1–1.5 inches per week).
- ● Gloves & knee pads – Protect your hands and joints from rough work.
- ● String & stakes – Mark out garden beds for clean, straight lines.
- ● Soil test kit – Check pH and nutrient levels (ideal range: 6.0–7.0).
- ● Slow-release fertilizer – Boosts soil health before planting.
- ● Landscape fabric – Prevents weeds from creeping into mulch.
- ● Wheelbarrow – Hauls soil, mulch, or plants with ease.
- ● Pruners & hand trowel – For edging and planting precision.
- ● Plant markers – Label perennials or herbs to remember their spots!
Step-by-Step instructions for transforming grass into a layered garden
Here's how to convert a grassy area into a thriving, multi-layered garden with minimal stress.
Plan Your Garden Layout and Mark Planting Zones
Start by sketching your design on paper, dividing the space into three layers: tall plants for the back, medium-height plants in the middle, and low-growing ground covers up front. Use a garden hose or spray paint to mark these zones directly on the grass—this prevents over-planning and keeps you flexible as you work. I like to place taller perennials like coneflowers or ornamental grasses at the back, where they won’t be crowded by shorter plants.
Measure each zone carefully—most mature perennials need 18-24 inches of space between them to grow without competing for sunlight or nutrients. If your area is small, focus on a single focal plant like a shrub or small tree, surrounded by complementary perennials. Walk through your design a few times to visualize how it will look when fully grown.
Remove Grass Using the Smothering Method
Lay down 6-8 sheets of thick cardboard or newspaper over the marked zones, overlapping edges by 4-6 inches. Secure the edges with rocks or bricks to prevent wind from shifting them. Water the cardboard thoroughly until it’s completely saturated—this helps it break down faster and blocks sunlight from reaching the grass underneath. Within 4-6 weeks, the grass will die, and the cardboard will decompose into nutrient-rich mulch.
If you’re impatient, you can also use a sod cutter to remove strips of grass first, then smother the remaining areas. Just be sure to dispose of the sod properly—don’t leave it piled up, as it can attract pests. Once the grass is fully dead (you’ll know when the area feels soft and spongy underfoot), remove any remaining cardboard scraps and loosen the soil with a garden fork.
Amend the Soil for Healthy Plant Growth
Test your soil’s pH using a simple kit—most perennials thrive in 6.0-7.0 range. If your soil is too acidic or alkaline, mix in 2-3 inches of compost and a slow-release fertilizer to improve drainage and nutrient content. Work the amendments into the top 6 inches of soil using a broadfork or shovel, breaking up any compacted layers. This step is especially important if your previous grass area was heavily trafficked, as compacted soil can stunt root growth.
For clay-heavy soil, add sand or perlite to improve aeration, while sandy soil benefits from peat moss or coconut coir to retain moisture. Water the amended soil lightly after mixing to help settle everything in place. Avoid working the soil when it’s wet—this can create clumps that hinder root development.
Plant Your Layered Garden in Phases
Begin by planting your tallest elements first—shrubs, small trees, or perennial stalwarts like black-eyed Susans. Dig holes twice as wide as the root ball but only as deep as the container’s base. Place each plant in the hole, ensuring the top of the root ball sits 1 inch below soil level—this prevents stem rot from sitting too low. Fill the hole with native soil, firming gently around the roots to eliminate air pockets.
Next, add medium-height perennials like coneflowers or Russian sage, spacing them 12-18 inches apart. Finish with low-growing ground covers such as creeping thyme or ajuga to fill gaps and suppress weeds. Water each plant deeply after planting to encourage root establishment. Mulch with 2-3 inches of organic mulch (like shredded bark) to retain moisture and regulate soil temperature.
Maintain and Refine Over the First Growing Season
Water newly planted areas 1-2 times per week for the first 4-6 weeks, ensuring the soil stays 1-2 inches deep moist but not soggy. Avoid overhead watering, which can spread disease—use a soaker hose or drip irrigation instead. Monitor for weeds, pulling them by hand before they compete with your plants for nutrients. In late summer, add a light layer of compost around established plants to boost their resilience for the following year.
Adjust your design as needed—if a plant struggles, replace it with a more suitable variety. By the second year, your garden will fill in naturally, requiring only occasional deadheading and seasonal mulching. The key is patience; a well-planned layered garden only gets better with time, offering year-round interest and reduced maintenance.
Tips & tricks for perfect layered garden transformation
Transforming grass into a layered garden takes patience and planning, but these key strategies will help you avoid common pitfalls and create a thriving landscape that looks like it belongs in a magazine.
Design Flexibility: In Step 1, when sketching your layout, remember that your garden will evolve over time. I always leave 6-12 inches of extra space between plants—this gives you room to adjust as plants mature or if you decide to swap out varieties. You can also use temporary stakes or flags to mark plant locations before committing to permanent paint marks. This way, you can easily rearrange your design without stressing about permanent markings on the grass.
Grass Removal Shortcuts: For Step 2, if you're working with a large area, consider breaking down the smothering process into smaller sections. Instead of covering the entire space at once, focus on one 4'x4' section every few days. This makes the process more manageable and allows you to work around your schedule. Also, if you're using newspaper instead of cardboard, choose at least 4-6 sheets thick—thinner layers won't block enough sunlight to kill the grass effectively.
Soil Amendment Secrets: When amending your soil in Step 3, don't be afraid to go a little deeper than the recommended 6 inches if your soil is particularly compacted. Use a broadfork to loosen the soil down to 8-10 inches in heavily trafficked areas—this gives plant roots room to establish properly. For clay-heavy soil, mix in equal parts sand and compost to create a more balanced growing medium. This combination improves both drainage and nutrient retention without overwhelming the soil structure.
Planting Phase Strategy: In Step 4, I recommend planting your tallest elements first, but also consider their mature height when spacing them. For example, a shrub that will reach 6 feet tall needs at least 4-5 feet of space from other tall plants to prevent overcrowding. You can use small wooden stakes to mark these mature heights in your design sketch—this visual reminder helps prevent planting too closely. Also, consider adding a few evergreen plants to your tall layer—they provide year-round structure and visual interest.
Pro Tips for Turn Grass Into A Garden
- Transforming grass into a layered garden takes patience and planning, but these key strategies will help you avoid common pitfalls and create a thriving landscape that looks like it belongs in a magazine.
- Design Flexibility: In Step 1, when sketching your layout, remember that your garden will evolve over time.
- Grass Removal Shortcuts: For Step 2, if you're working with a large area, consider breaking down the smothering process into smaller sections.
Frequently asked questions
Got questions about transforming your grassy patch into a vibrant garden? You’re not alone! Here are some of the most common queries—and their straightforward answers—to help you get started with confidence.
How long does it take to see results after planting?
Most layered gardens show noticeable changes within 4–6 weeks, but full lushness takes 3–6 months, depending on plant types, climate, and care. Fast-growing ground covers (like clover or creeping thyme) may fill gaps quicker, while perennials and shrubs establish roots over time. Patience pays off—think of it as nurturing a living tapestry!
Is this more expensive than just reseeding the lawn?
Initially, yes—layered gardens require more materials (mulch, plants, soil amendments) and labor, but they save money long-term. Unlike grass, which demands constant mowing, watering, and fertilizing, a well-designed garden reduces upkeep by 50–70%. Plus, native plants cut water bills by up to 30% once established!
Can I do this in hot/dry or cold climates?
The key is choosing the right plants for your zone. For hot/dry areas, opt for drought-tolerant plants like lavender, succulents, or ornamental grasses. Cold climates thrive with hardy perennials (e.g., hostas, heucheras) and evergreens. Always check the USDA Plant Hardiness Zone for your location—local nurseries are a great resource!
What if weeds keep coming back after I plant?
Weeds are a normal part of the process! Start with landscape fabric under mulch to suppress them, and use organic mulch (like wood chips) to smother weeds naturally. Hand-pulling early and planting densely (so weeds have less space) helps too. A vinegar-based spray (10% acetic acid) can target stubborn weeds without harming your garden. Persistence wins!
What’s the best time of year to start?
The ideal window is early spring or early fall—when soil is workable but not freezing. Spring (March–April) gives plants a head start before summer heat, while fall (September–October) lets roots establish before winter. Avoid extreme heat or frost; young plants need gentle conditions to thrive. Check your last frost date for precise timing!
| Quick Troubleshooting Guide |
|---|
|
Problem: Plants wilting after planting Fix: Water deeply (1–2 inches) and mulch to retain moisture. Avoid overwatering—soggy soil suffocates roots! |
|
Problem: Slow growth Fix: Check soil pH (test kits are cheap!) and amend with compost. Most gardens need 6–7 months to mature—don’t rush! |
|
Problem: Uneven layers Fix: Plan vertically! Use tall plants (like ornamental grasses) at the back, mid-height perennials in the middle, and ground covers up front. |
Wrapping up and next steps
Transforming your grassy patch into a thriving garden is 100% achievable—one layer, one plant, and one season at a time! 🌱 Whether you’re dreaming of a vibrant flower bed, a cozy herb nook, or a lush vegetable patch, the key is patience, planning, and a little creativity.
Start small, celebrate every bloom or harvest, and soon, you’ll be surrounded by nature’s beauty.
Ready to take the next step? Pick one corner of your lawn and sketch a simple design today! Grab your tools, gather inspiration, and let your green thumb shine. Your future garden is waiting—what will you plant first? 🌿