Container Gardens
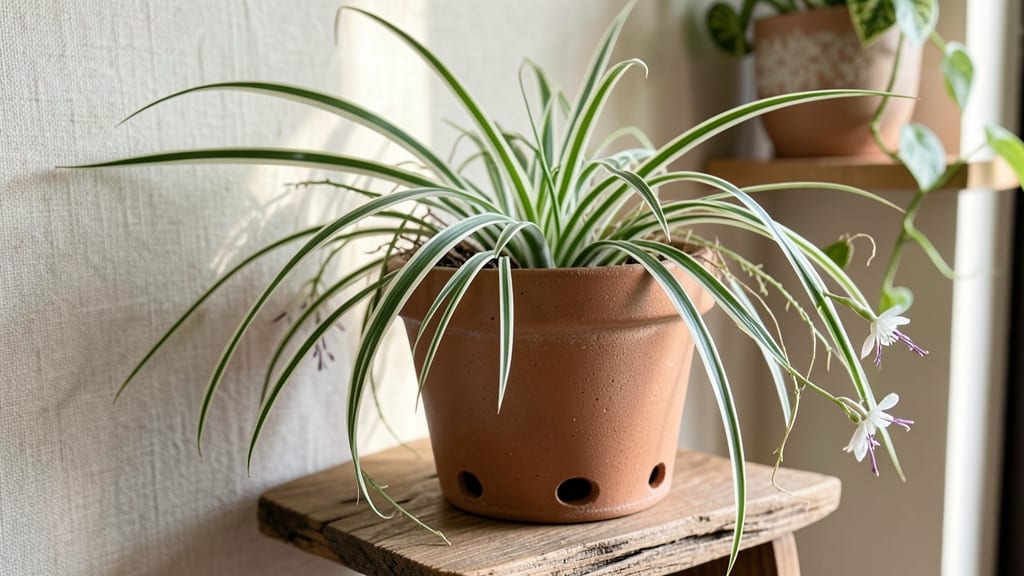
Indoor apartment gardens can transform even the tiniest corner into a thriving green sanctuary—no yard required. 🌿 I learned this the hard way when my first apartment plant collection died from poor light and cramped conditions. The solution? Stackable planters that maximize vertical space while keeping everything accessible.
Start with lightweight, interlocking containers that fit your windowsill or shelf dimensions. Herbs like basil and parsley thrive in shallow pots, while trailing plants like pothos or string of pearls need deeper, tiered setups.
A sunny south-facing window or a basic grow light keeps everything happy—no green thumb needed, just consistent care.
Within weeks, you'll have lush foliage cascading down shelves, fresh herbs within arm's reach, and a space that feels alive year-round. The best part? You can rotate plants seasonally to keep things fresh, and the vertical design hides soil mess while maximizing your square footage.
Works for any apartment size, from studio studios to multi-room layouts. The key is matching plant needs to light levels and container depth—simple adjustments that make all the difference. Let's get growing vertically!
📚 In This Guide
- What you need
- Instructions
- Tips and common mistakes
- Wrapping up and next steps
What you need
- ● Stackable planters: 3–5 units (choose self-watering or modular designs for efficiency). Look for drainage holes and lightweight materials like plastic, fabric, or ceramic.
- ● Potting mix: 1–2 bags (use a well-draining, peat-free blend for indoor plants or a hydroponic mix if using self-watering planters).
- ● Drainage trays: 1–2 (to catch excess water and protect surfaces).
- ● Small hand trowel: 1 (for gentle soil adjustments).
- ● Spray bottle: 1 (for misting delicate plants like ferns or herbs).
- ○ Grow lights (optional but recommended): LED full-spectrum bulb (6000K–6500K) for 6–8 hours/day.
- ● Clip-on or adjustable light for low-light plants (e.g., snake plants, ZZ plants).
- ● Low-light tolerant plants (for dim apartments): 1–2 snake plants, ZZ plants, or pothos (hardy and forgiving!).
- ● Medium-light plants (for brighter spots): 1–2 herbs (basil, mint, or parsley), succulents, or peperomias.
- ○ Humidity-loving plants (optional): 1 fern or calathea (pair with a pebble tray for moisture).
- ● Self-watering planter kit: Automates care (great for busy schedules!).
- ● Soil moisture meter: Prevents over/under-watering.
- ● Decorative cache pots: Match your apartment’s aesthetic (ensure they’re not airtight).
- ● Fertilizer (liquid or slow-release): Use every 4–6 weeks for herbs/veggies.
- ● Plant labels: Track varieties and care notes.
How to build space-saving stackable planters for apartment gardens
Maximize vertical space with this modular system—ideal for small apartments where square footage is precious.
🪴 Step 1: Select and Prepare Stackable Planter Trays
Choose 4 modular stackable planter trays with built-in drainage holes—these are the foundation of your vertical garden. I prefer the tiered plastic models because they nest neatly when not in use and distribute weight evenly. Measure each tray’s footprint before assembly to ensure stability; the bottom tray should be at least 12 inches wide to support the combined weight of all four layers.
Clean each tray thoroughly with a 10% bleach solution (1 part bleach to 9 parts water) to kill any existing bacteria or mold. Rinse well and let them dry completely before assembly. This step prevents root rot and fungal issues down the line—trust me, you’ll thank yourself later when your plants thrive instead of wilt.
🌱 Step 2: Layer Soil and Drainage Materials
Start with the bottom tray. Add a 1-inch layer of coarse gravel or hydroponic clay pebbles to the drainage holes to prevent soil from washing out while allowing excess water to escape. This is critical—skipping this layer clogs drainage and drowns roots. Next, fill each tray with 2 gallons of lightweight potting mix, leaving 1 inch of space below the rim for watering.
Press the soil down gently but firmly—you want it to hold moisture without being compacted. For the top three trays, reduce the soil depth to 1.5 inches per layer to maintain balance. The top tray will hold the least soil, so distribute it evenly to avoid uneven plant growth. Here’s the thing—uneven soil layers cause wobbling, and wobbling trays topple.
☀️ Step 3: Choose and Plant Dwarf Varieties
Select plants that thrive in shallow root zones and tolerate partial shade—ideal candidates include dwarf herbs like thyme, oregano, and parsley, or compact foliage plants such as peperomia, fittonia, or string of pearls. Avoid deep-rooted plants like tomatoes or carrots; their needs outgrow this system. Plant 3-4 small starter plants per tray, spacing them 3-4 inches apart to allow airflow and prevent overcrowding.
Water each tray immediately after planting to settle the soil around the roots. Use a spray bottle for the top trays to avoid oversaturating the bottom layers. You’ll notice the soil in the top trays dries faster—this is normal due to increased exposure. Adjust your watering schedule accordingly, aiming for every 2-3 days until the soil feels dry to the touch 1 inch deep.
💧 Step 4: Position for Optimal Light and Stability
Place your stackable planter in a location with bright, indirect light—a south- or east-facing window is ideal. If natural light is limited, supplement with a grow light on a timer set for 12-14 hours daily. Avoid placing the stack near drafts, such as open windows or vents, which can stress plants and cause uneven growth. Stability is key: place the entire unit on a non-slip mat to prevent shifting, especially if you’re in a high-traffic area.
Rotate the trays quarter-turn weekly so all plants receive even light exposure. You’ll see this in action when one side of the leaves turns paler—this is your cue to adjust. For humidity-loving plants like fittonia, place a shallow tray of water with pebbles beneath the bottom tray to create a microclimate. Just ensure the pebbles stay above water to avoid root rot.
✂️ Step 5: Maintain and Prune for Long-Term Growth
Fertilize lightly every 4-6 weeks with a balanced liquid fertilizer diluted to half-strength. Over-fertilizing in a closed system leads to salt buildup, which burns roots. Prune leggy or overgrown plants immediately to encourage bushier growth—snip just above a leaf node with clean, sharp scissors. This keeps the plants compact and prevents them from outgrowing their trays.
Monitor the top tray first for signs of stress—it’s the most vulnerable to drying out. If you notice crispy leaf edges, increase humidity by misting the foliage lightly in the morning. Conversely, if the bottom tray feels soggy, reduce watering frequency. The goal is consistent moisture without waterlogging. With this system, you’ll enjoy lush greenery year-round, even in the tightest of spaces.
Tips & tricks for perfect indoor apartment gardens
Here's how to transform your stackable planters into a thriving vertical garden that actually works—without the common pitfalls.
Drainage is Non-Negotiable: In Step 2, that 1-inch layer of coarse gravel isn't optional—it's the difference between thriving plants and root rot. If your trays don't have drainage holes, drill them yourself using a 1/4-inch bit. For extra insurance, line the bottom with landscape fabric before adding gravel to prevent soil from escaping through the holes.
Soil Weight Distribution: The instructions mention reducing soil depth for top trays, but here's the secret: use the same potting mix throughout, just less of it. I've found that mixing in 20% perlite to the top tray's soil prevents compaction and helps maintain that crucial balance. This keeps your stack from toppling while ensuring even moisture distribution across all levels.
Light Rotation Strategy: That quarter-turn weekly rotation in Step 4 is brilliant, but here's what nobody tells you—mark the rotation direction with a tiny dot on the back of each tray. This prevents you from rotating back to the original position after two turns, which defeats the purpose. I use a fine-tip permanent marker for this—it's invisible from the front but works perfectly.
Humidity Microclimate: For humidity-loving plants like fittonia, take the pebble tray concept further. Place a small electric humidifier near the stack on a low setting (around 30% humidity) during winter months. The pebble tray alone won't be enough when indoor air gets dry from heating systems. Just position it so the mist doesn't directly hit the plants—you want ambient moisture, not dripping water.
Pro Tips for Indoor Apartment Gardens
- Here's how to transform your stackable planters into a thriving vertical garden that actually works—without the common pitfalls.
- Drainage is Non-Negotiable: In Step 2, that 1-inch layer of coarse gravel isn't optional—it's the difference between thriving plants and root rot.
- Soil Weight Distribution: The instructions mention reducing soil depth for top trays, but here's the secret: use the same potting mix throughout, just less of it.
Frequently asked questions
Got questions about indoor apartment gardens?
You’re not alone! Here are answers to the most common queries to help you grow your green space with confidence.
What are the best low-light plants for indoor apartment gardens?
Opt for plants like snake plants, pothos, or ZZ plants—they thrive with minimal sunlight. Place them near north-facing windows or under grow lights if natural light is scarce. Avoid fussy varieties like ferns or orchids unless you can provide consistent humidity and indirect light.
How often should I water my indoor apartment garden?
Watering depends on your plants and environment. Check soil moisture first—stick your finger 1-2 inches deep. Most indoor plants need water every 1-2 weeks, but succulents may only need it monthly. Overwatering is the #1 killer, so always use pots with drainage holes!
Are stackable planters worth the investment for small spaces?
Stackable planters maximize vertical space, making them perfect for apartments. Look for lightweight, durable materials like plastic or fabric. Just ensure each level has proper drainage—some systems require trays or saucers to catch excess water.
How do I keep pests out of my indoor apartment garden?
Pests like spider mites or fungus gnats love indoor plants. Prevent them by wiping leaves with neem oil, avoiding overwatering, and isolating new plants for a week. If pests appear, treat with insecticidal soap or introduce beneficial insects like ladybugs.
Can I grow herbs or veggies in stackable planters indoors?
Yes! Herbs like basil, mint, and parsley grow well indoors with 6+ hours of light daily. For veggies, try leafy greens (spinach, lettuce) or compact varieties like cherry tomatoes. Use grow lights if natural light is limited, and rotate plants weekly for even growth.
Wrapping up and next steps
Transforming your apartment into a lush indoor garden is easier—and more rewarding—than you think! With space-saving stackable planters, you can enjoy year-round greenery without sacrificing square footage. Whether you’re growing herbs for cooking, calming succulents, or vibrant flowers, these setups bring nature indoors while boosting your mood and air quality.
Ready to greenify your space? Start small—pick one planter, a few low-maintenance plants, and let your creativity grow! 🌱 Next step: Sketch a layout, gather your supplies, and watch your tiny urban jungle thrive.