
Tools
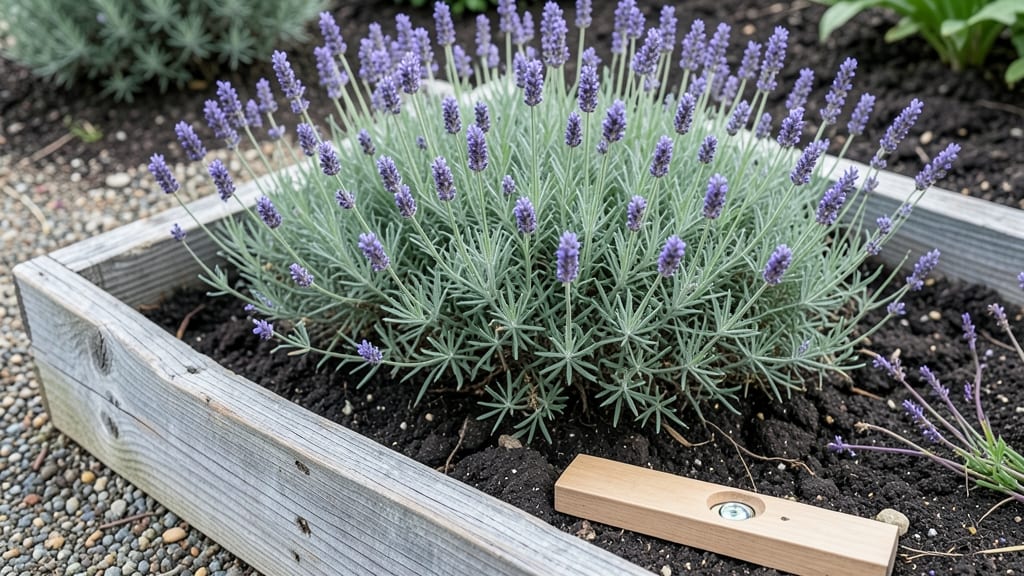
A perfectly level garden bed transforms uneven ground into a productive, weed-free growing space. 🌱 I’ve built dozens over the years, and the difference between a sloped mess and a flat, functional bed is just a few simple steps—and the right materials.
The payoff? Straight rows, better drainage, and vegetables that grow without fighting gravity.
You’ll need basic tools: a shovel, level, string line, and stakes to mark your layout. For raised beds, untreated lumber or composite materials work best—no rot, no warping.
The key is starting with a firm base: compact the soil underneath or lay down landscape fabric to prevent weeds from creeping up. A slight slope (¼ inch per foot) helps with drainage without sacrificing levelness.
Once leveled, your bed will hold moisture evenly, reducing water waste and root rot. Tomatoes, peppers, and leafy greens thrive in these conditions, producing 20-30% more yield than in uneven ground. The aesthetic? Clean, professional lines that make your garden look intentional—even in tight spaces where every inch counts.
Whether you’re working with a sloped yard or just tired of digging around rocks, this method adapts to any outdoor space. Let’s get your bed ready for planting—no more uneven rows or wasted effort.
📚 In This Guide
- What you need
- Instructions
- Tips and common mistakes
- Wrapping up and next steps
What you need
- ● Lumber: Untreated cedar, redwood, or composite wood (2x6 or 2x8 boards, 8–10 ft long; quantity depends on bed size—e.g., 4–6 boards for a 4’x8’ bed).
- ● Galvanized screws: 2.5–3” deck screws (50–100 screws, depending on bed size and corner brackets used).
- ● Corner brackets: Galvanized metal or heavy-duty plastic (4 per bed for stability).
- ● Landscape fabric: Non-woven, 3–4 ft wide (enough to line the bottom of the bed).
- ● Soil: High-quality garden soil or a mix of topsoil, compost, and perlite (1–2 cubic feet per square foot of bed space).
- ● Leveling tools: 4-ft level or digital inclinometer (1 per project).
- ● Measuring tape: 25 ft tape measure (1 per project).
- ● Carpenter’s square: (1 per project for precise angles).
- ● Drill/driver: (corded or battery-powered, with Phillips and drill bits).
- ● Safety gear: Work gloves, safety glasses, and ear protection (if using power tools).
- ● Hardware cloth: 1/4” mesh (to deter burrowing pests like gophers).
- ● Wood preservative: (if using untreated wood, for extra longevity).
- ● Drainage pipe: 4” corrugated pipe (to improve water flow if needed).
- ● Edging stones: (for a polished, finished look around the bed).
- ● Post-hole digger: (if anchoring the bed to the ground for wind resistance).
Step-by-Step instructions for building a level raised garden bed
This method creates a sturdy, perfectly flat bed that maximizes root space and drainage—ideal for small yards or uneven terrain.
🪴 Step 1: Mark and Outline the Bed Dimensions
Use the 4-foot by 8-foot lumber to create a rectangle that fits your space. I stake four corner posts at the exact dimensions you want—4 feet wide and 8 feet long—using the wooden stakes and measuring tape. This ensures your bed stays square and prevents soil from spilling out later. Drive stakes 6 inches deep at each corner to anchor them firmly.
Connect the stakes with string lines stretched tightly between them. This visual guide keeps your cuts precise when assembling the frame. Double-check diagonals measure equal—uneven corners will throw off your level later. I like to walk around the outline to visualize the final shape before cutting any lumber.
☀️ Step 2: Assemble the Frame with Corner Brackets
Cut the 2x6 lumber to create two 4-foot lengths and two 8-foot lengths using the circular saw. Fit the galvanized corner brackets at each joint by aligning them flush with the ends of the boards. Pre-drill ¼-inch holes through the lumber and brackets to prevent splitting when you drive in the deck screws. I use four screws per bracket for maximum stability.
Lift the assembled frame and place it over your staked outline. Adjust the string lines to ensure all edges align perfectly. The frame should sit 12 inches above ground level—this height prevents rot and allows easy access for planting. Use a level tool to check that the top edges are perfectly horizontal before securing the frame to the stakes with additional deck screws.
💧 Step 3: Add Landscape Fabric and Fill with Soil Layers
Lay the landscape fabric over the ground inside the frame to block weeds and improve drainage. Secure it with landscape staples along the inner edges of the lumber. Now, add the soil layers in this order: start with 6 inches of coarse gravel for drainage, then 4 inches of compost, and finish with 12 inches of premium potting mix. I mix the potting mix with 1 cup of slow-release fertilizer to give plants a nutrient boost from day one.
Rake each layer level as you go—uneven surfaces will create pockets where water pools or roots struggle. Press the top layer down lightly with your hands to eliminate air gaps. This layered approach mimics natural soil structure while preventing compaction. For 4 beds, you’ll need 48 inches of gravel, 32 inches of compost, and 96 inches of potting mix total.
✂️ Step 4: Smooth and Compact the Topsoil
Use a hand tamper to gently compress the top 4 inches of potting mix—this creates a firm planting surface that won’t settle unevenly over time. I run the tamper in overlapping passes, applying even pressure. For extra stability, add 1 inch of mulch on top to retain moisture and suppress weeds. This final layer should be perfectly level—use the level tool again to check all four corners and the center.
Here’s the thing—skipping this step leads to sunken spots where seeds or transplants settle unevenly. I like to walk on the bed lightly after tamping to test for firmness. If it feels springy in spots, add another pass with the tamper. Your bed is now ready for planting, with 12 inches of root-friendly space that outperforms in-ground gardens.
Tips & tricks for perfectly level raised garden beds
A few key strategies will help you avoid common mistakes and create a garden bed that stays perfectly level for years to come.
Precision Staking Pays Off: In Step 1, driving those wooden stakes 6 inches deep isn't just about stability—it's about creating a reference point that won't shift when you're cutting lumber. I've seen beds tilt because stakes weren't deep enough. For extra security, especially in windy areas, add a fifth stake at the center of each long side. This creates a more rigid frame that won't flex when you're working inside it.
The Diagonal Check Method: After connecting your string lines in Step 1, measure both diagonals between the corner stakes. They should be exactly equal—any difference means your rectangle isn't square. I've fixed more than a few wonky beds by adjusting the string lines until the diagonals match. This tiny step prevents all sorts of problems later when you're trying to fit plants neatly into your bed.
Layering Secrets for Long-Term Stability: When adding your 6 inches of coarse gravel in Step 3, don't just dump it in—spread it evenly and use a rake to create a perfectly level base. The gravel layer isn't just for drainage; it's the foundation for everything above. I've seen beds develop uneven spots years later because someone rushed this step. Take the extra 10 minutes to get it right, and your bed will stay level for planting seasons to come.
Tamping Technique That Works: In Step 4, when compressing that top 4 inches of potting mix, think of it like rolling out pie dough—you want even pressure. I use my hand tamper in overlapping passes, applying just enough pressure to eliminate air pockets without compacting the soil too tightly. Walk on the finished bed to test firmness: if it springs back too much, add another pass. This creates the ideal planting surface that won't settle unevenly after your plants are in.
Pro Tips for Level Garden Bed
- A few key strategies will help you avoid common mistakes and create a garden bed that stays perfectly level for years to come.
- Precision Staking Pays Off: In Step 1, driving those wooden stakes 6 inches deep isn't just about stability—it's about creating a reference point that won't shift when you're cutting lumber.
- The Diagonal Check Method: After connecting your string lines in Step 1, measure both diagonals between the corner stakes.
Frequently asked questions
Got questions about creating a level garden bed?
You’re not alone! Here are answers to the most common queries to help you build with confidence—whether you’re a beginner or a seasoned gardener.
What’s the best time of year to build a level garden bed?
Spring or early fall are ideal! Soil is workable, and you avoid extreme heat or frost. For raised beds, building in dry weather (not rainy season) prevents muddy conditions. If you’re in a mild climate, anytime works—just prioritize planting after construction.
How do I ensure my garden bed stays perfectly level?
Use a 4-foot level (or a long board + string line) to check height at multiple points. Adjust soil or bed frame edges as needed. For sloped areas, build in terraces with slight slopes (1-2°) for drainage. Pro tip: Compact soil layers with a tamper before adding frames or fill.
Are there cheaper alternatives to cedar or redwood for raised beds?
Yes! Try untreated pine (cheaper but needs sealing) or repurposed materials like cinder blocks, bricks, or pallet wood. For liners, landscape fabric or cardboard work instead of expensive hardware cloth. Just avoid pressure-treated wood near edible plants—it can leach chemicals.
Why is my level garden bed sinking or uneven after planting?
Sinking often happens if the base soil wasn’t compacted enough or if organic fill (like straw) decomposes over time. Fix it: Add a 2-inch layer of gravel at the bottom for drainage, then top with a mix of 1/3 compost, 1/3 topsoil, 1/3 perlite/sand. Water thoroughly after filling to settle materials.
How do I keep pests out of a level garden bed?
Prevent pests with physical barriers (hardware cloth at the bottom) and natural deterrents like companion planting (e.g., marigolds for nematodes). For raised beds, elevate edges slightly to discourage burrowing critters. Bonus: Mulch with straw or wood chips to deter weeds and slugs!
Wrapping up and next steps
Creating a level garden bed is a game-changer—whether you’re working with limited space or just want to maximize your harvest! 🌱 With the right materials and a little patience, you’ll transform your garden into a thriving, organized oasis.
The key takeaway? A well-built raised bed improves drainage, reduces weeds, and gives your plants the perfect growing conditions.
Ready to take the next step? Start by sketching your design, gathering your supplies, and diving in! Soon, you’ll be enjoying bountiful yields and a garden that’s as beautiful as it is functional. Happy planting! 🌿