
Tools
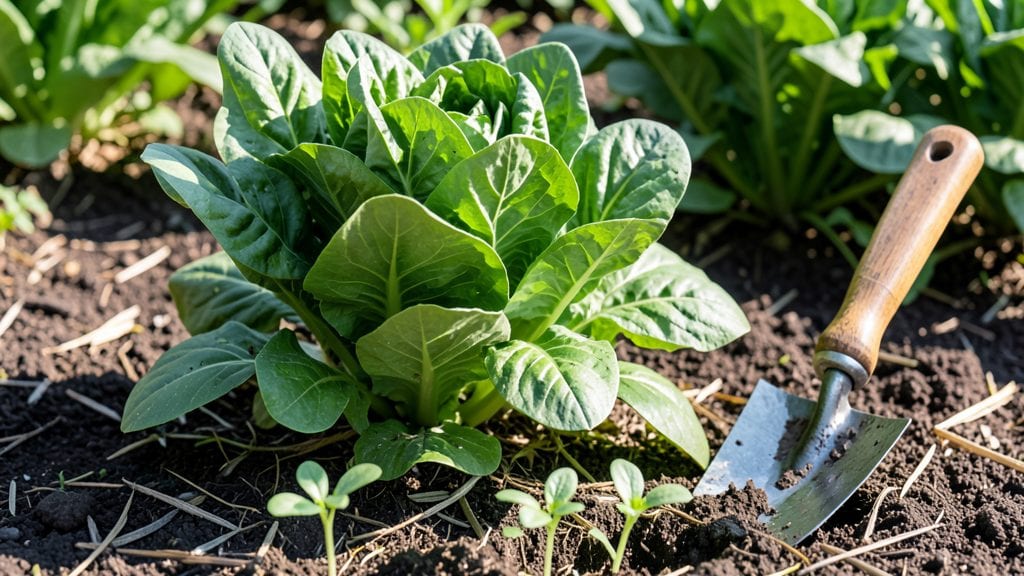
Designing a potager garden that feeds both your table and your soul starts with a plan that balances beauty and bounty.
I’ve spent years refining my own edible landscape, and the key is treating it like a living painting—where every plant has a place, every season has its stars, and the whole garden hums with purpose.
The first sketch I ever drew transformed my backyard from a patchwork of trial-and-error beds into a cohesive space that produces harvests from April through November without looking like a vegetable factory.
Here’s the secret: group plants by their needs, not just their flavors. Herbs like thyme and oregano thrive in the same dry, sunny spot as rosemary, while leafy greens and root crops prefer partial shade and richer soil.
Raised beds solve drainage issues and let you customize soil mixes for each plant family, while winding pathways make maintenance a pleasure—not a chore. Think of it as a foolproof system where aesthetics and productivity go hand in hand.
What you’ll end up with is a garden that feels like an extension of your home—lush borders of edible flowers framing rows of heirloom tomatoes, fragrant herbs spilling over stone edges, and seasonal blooms that never clash with the harvest.
The best part? You’ll spend less time fighting weeds and more time enjoying the view, knowing every stem has a purpose. Ready to sketch your first bed?
This approach works whether you’ve got a sun-drenched backyard or a shady corner plot, though sun-loving crops like peppers and eggplants will demand the brightest spots. Start small with one 4x8-foot bed to test your design, then expand as your confidence (and harvests) grow.
The first season is about laying the foundation—soil, structure, and the bones of your edible masterpiece.
📚 In This Guide
- What you need
- Instructions
- Tips and common mistakes
- Wrapping up and next steps
What you need
- ● Garden Plot: 4’x4’ to 10’x10’ cleared space (adjust based on your design)
- ● Soil: 6–12 inches of high-quality compost-enriched garden soil (or 50% topsoil + 50% compost blend)
- ● Organic Mulch: 2–3 inches of straw, wood chips, or shredded leaves
- ● Compost: 2–3 bags (or 1 cubic yard for larger plots)
- ● Fertilizer: Balanced organic fertilizer (e.g., 10-10-10 or compost tea)
- ● Drip Irrigation or Soaker Hoses: 50–100 ft (depending on plot size)
- ● Garden Stakes & Twine: 10–20 stakes (for trellises or support)
- ● Hand Trowel & Pruners: 1 each
- ● Wheelbarrow: 1 (for hauling soil/mulch)
- ● Seedlings/Seeds: Choose 6–12 varieties (e.g., herbs, veggies, flowers like nasturtiums)
- ● Raised beds (if avoiding soil compaction)
- ● Garden kneeler/pad (for comfort)
- ● Row covers (to protect plants from pests)
- ● Decorative borders (stone, brick, or metal edging)
- ● Pathway materials (gravel, stepping stones, or mulch)
- ● Garden journal (to track planting dates & harvests)
Step-by-Step instructions for designing a functional potager garden
Here's how I structure a potager to balance beauty, productivity, and ease of maintenance.
Define Your Garden Layout and Zones
Start by sketching your space on paper, marking permanent features like fences, walkways, or existing plants. A potager thrives on organization, so divide it into three key zones: the center for tall plants (like trellised tomatoes or sunflowers), the middle for medium-height crops (bush beans, peppers, or herbs), and the edges for low-growing plants (salad greens, strawberries, or thyme). This creates natural shade and airflow, reducing pests and diseases.
Measure your space and note sunlight patterns—most edibles need at least 6 hours of sun daily, but some like lettuce tolerate partial shade. I always place the sunniest area toward the south (in the Northern Hemisphere) and work outward. Leave 2-3 feet of walking space between rows to prevent soil compaction and make harvesting easier. Real talk: Skipping this step leads to overcrowding and frustrated digging later.
Prepare the Soil for Maximum Productivity
Clear weeds and debris, then loosen the top 12 inches of soil with a broadfork or tiller to improve drainage and root growth. Potagers benefit from raised beds or mounds—they warm up faster in spring and stay drier, which is critical for preventing fungal diseases. Mix in 3-4 inches of compost (from your list) evenly across the area, then till it in lightly to avoid disrupting soil structure.
Test your soil’s pH—most vegetables prefer 6.0-7.0. If yours is off, add wood ash (sparingly) to raise pH or sulfur to lower it. I like to spread a thin layer of mulch (from your list) after planting to retain moisture and suppress weeds. This isn’t just about looks; healthy soil means fewer pests and stronger plants. Don’t skip the compost—it’s the foundation of a thriving potager.
Plan Your Planting Schedule by Season
Divide your potager into four seasonal blocks to ensure year-round harvests. Start with cool-season crops (like kale, carrots, or radishes) in early spring, followed by warm-season plants (tomatoes, peppers, basil) after the last frost. In late summer, add fall crops (spinach, broccoli, or lettuce), and reserve a corner for winter greens (kale, Swiss chard) that tolerate frost. I always plant fast growers (radishes, lettuce) near slower ones (squash, corn) to maximize space.
Use succession planting for continuous harvests—sow a new row of beans or lettuce every 2-3 weeks once the first batch is harvested. This keeps the garden productive without overwhelming you. Mark your planting dates on a calendar to avoid gaps. Here’s the thing—potagers aren’t just about aesthetics; they’re about strategic timing to feed your family all year.
Incorporate Companion Planting for Pest Control
Group plants that benefit each other—basil near tomatoes to repel pests, marigolds around vegetables to deter nematodes, or carrots with onions to improve flavor and reduce fly infestations. Avoid planting alliums (onions, garlic) near beans or peas—they stunt growth. I also intersperse flowers like nasturtiums (edible and pest-repellent) throughout the garden for color and function.
Tall plants like sunflowers or corn should face north to avoid shading shorter crops. Leave open spaces between rows for airflow—this reduces humidity and fungal diseases. Think of your potager like a living ecosystem, not just a vegetable patch. The right pairings mean fewer sprays and healthier plants. Don’t guess; use a companion planting chart to guide your layout.
Maintain with Seasonal Care
Water deeply once a week (or daily in extreme heat) to encourage deep root growth, focusing on the base of plants to avoid fungal issues. Mulch again in late spring and early fall to retain moisture and regulate soil temperature. Prune regularly—pinch back leggy herbs, trim overgrown basil, and deadhead flowers to redirect energy to fruit production. I also rotate crops yearly to prevent soil depletion and pest buildup.
Monitor for pests daily—handpick tomato hornworms or spray neem oil on aphids before they spread. Keep a garden journal to track what works and what doesn’t. By late fall, remove spent plants, add another layer of compost, and plant cover crops like clover or winter rye to protect the soil over winter. A potager isn’t a set-it-and-forget-it project; it’s a living, evolving space that rewards attention.
Tips & tricks for perfect potager garden design
Designing a functional potager requires more than just planting—it's about creating a thriving ecosystem. Here are the key strategies that'll transform your garden into a year-round harvest haven.
Zone with Purpose: When creating your three zones in Step 1, consider vertical space too. Add trellises for climbing plants like beans or cucumbers to maximize your center zone without sacrificing sunlight for shorter plants below. I've found that using 6-foot tall trellises creates perfect shade for lettuce and herbs planted underneath, while still allowing full sun exposure for the climbers.
Soil Prep Shortcut: For Step 2, if you're working with heavy clay soil that drains poorly, create raised beds with a 50/50 mix of native soil and compost. This improves drainage dramatically while maintaining the nutrient benefits. I've seen gardens transform from waterlogged messes to thriving beds just by adding 12 inches of this mix in raised beds. The key is to work the compost in thoroughly but gently—don't over-till or you'll disrupt the soil structure.
Seasonal Planning Hack: In Step 3, when planning your four seasonal blocks, leave a small buffer area between each block for future expansion. You'll be surprised how quickly your gardening ambitions grow! I recommend marking these buffer zones with temporary stakes or flags. This gives you flexibility to add new plant varieties without disrupting your existing layout. The 2-3 week succession planting schedule works best when you have this extra space to rotate crops.
Pest Prevention Pro Tip: For Step 4's companion planting, add a ring of chives around the perimeter of your entire potager. The strong aroma deters many common pests while being completely edible. I've found this works particularly well against carrot flies and aphids. The bonus is you get fresh chives for cooking! Just be sure to keep them contained—they can spread aggressively if left unchecked.
Pro Tips for Potager Garden Plans
- Designing a functional potager requires more than just planting—it's about creating a thriving ecosystem.
- Zone with Purpose: When creating your three zones in Step 1, consider vertical space too.
- Soil Prep Shortcut: For Step 2, if you're working with heavy clay soil that drains poorly, create raised beds with a 50/50 mix of native soil and compost.
Frequently asked questions
Got questions about planning your potager garden?
Here are answers to the most common ones to help you get started with confidence!
What’s the best layout for a beginner’s potager garden?
A simple, rectangular or square design works best for beginners. Divide your garden into four quadrants—herbs, vegetables, fruits, and flowers—to keep things organized. Use raised beds or rows with clear paths (2–3 feet wide) for easy access. Start small (10’x10’ or less) to avoid overwhelm!
When is the ideal time to plant a potager garden?
Timing depends on your climate! In cool regions, start in early spring (March–April) for cold-hardy crops like kale and peas. In warmer zones, plant in late winter (February) or early fall (September–October) to avoid summer heat. Succession planting (every 2–3 weeks) ensures a continuous harvest.
How much does it cost to start a potager garden?
Costs vary widely—budget $50–$500 for a basic setup. Essential expenses include soil amendments ($20–$50), seeds/seedlings ($30–$100), tools ($50–$150), and mulch ($10–$30). Repurpose materials (like pallets for raised beds) to cut costs! Prioritize high-value crops (e.g., tomatoes, herbs) for the first year.
What’s the easiest way to keep pests out of a potager garden?
Prevention is key! Use physical barriers (row covers, netting), companion planting (e.g., basil with tomatoes), and natural repellents (neem oil, garlic spray). Encourage beneficial insects (ladybugs, lacewings) with pollinator-friendly flowers. Crop rotation and healthy soil (rich in compost) also deter pests. Monitor plants daily for early signs of trouble!
Can I grow a potager garden in containers or small spaces?
Use large pots (12"+ deep), vertical gardening (trellises, hanging baskets), or window-box planters for herbs and greens. Dwarf varieties (e.g., ‘Tiny Tim’ tomatoes, ‘Midget’ blueberries) thrive in containers. Ensure containers have drainage holes and use lightweight, nutrient-rich soil. A balcony or patio can easily support a mini potager with 5–10 plants!
Wrapping up and next steps
Creating a potager garden is more than just a gardening project—it’s a celebration of beauty, sustainability, and fresh flavors right at your doorstep! Whether you’re a seasoned gardener or just starting out, these plans offer a flexible, year-round approach to edible landscaping that blends aesthetics with harvests.
The key? Start small, stay organized, and let your creativity grow alongside your plants. 🌱
Ready to turn your vision into reality? Sketch your layout today, gather your tools, and take the first step—your future meals (and your garden’s curb appeal) will thank you!