
Lawn
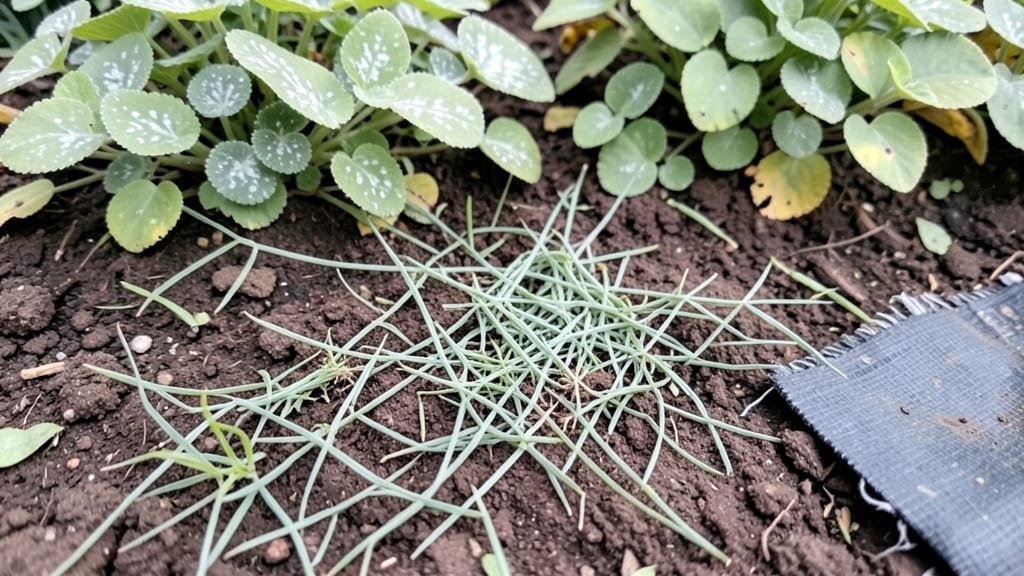
Turn your boring lawn into a thriving garden by removing lawn for garden—swap that mowing chore for a year-round privacy screen of fast-growing native shrubs that finally works for you. 🌿 I’ve done this twice now, and the second time went smoother because I knew exactly which shrubs to pick for my climate and how to prep the soil right.
The first year, you’ll see dramatic changes by fall, with full privacy by year two.
Here’s the game-changer: skip the smothering cardboard method unless you’re in a rush. Instead, we’ll use a no-till approach with thick layers of newspaper and mulch to suffocate grass roots without turning your yard into a construction zone.
You’ll need a broadfork (or sturdy shovel), compost, and a handful of fast-growing shrubs like arborvitae, elderberry, or serviceberry—all of which handle your local conditions like pros. Most of the heavy lifting happens in the first weekend.
By summer’s end, you’ll have a living wall that blocks nosy neighbors and traffic noise while supporting local wildlife. The shrubs grow tall enough to obscure views within 12-18 months, and their roots stabilize the soil better than grass ever could.
Plus, no more watering restrictions—once established, these plants drink deeply but rarely. The best part? Your new garden will look intentional, not like a half-finished project.
Works in any yard size, from narrow strips between properties to full backyard conversions. The key is matching plants to your sunlight and soil, which we’ll tackle next—no guesswork, just results. Let’s get started.
📚 In This Guide
- What you need
- Instructions
- Tips and common mistakes
- Wrapping up and next steps
What you need
- ● Safety gear: Work gloves (2 pairs: heavy-duty for digging, lightweight for planting)
- ● Safety goggles (ANSI-rated)
- ● Knee pads (for comfort during long sessions)
- ● Long-sleeve shirt and pants (to protect from sun/brambles)
- ● Digging & removal: Shovel (flat-edged for turf, pointed for roots) – 1–2 units
- ● Matchet or pruning saw (for stubborn roots/shrubs) – 1 unit
- ● Garden fork (for aerating soil) – 1 unit
- ○ Lawn roller (optional but helpful for smoothing soil) – 1 unit (30–50 lbs)
- ● Soil prep: Compost or aged manure (2–3 cubic yards for a 10’x10’ area)
- ● Garden lime (if soil test shows acidity) – 10–20 lbs
- ● Organic mulch (wood chips or straw) – 1–2 cubic yards
- ● Native shrubs (privacy screen): Fast-growing shrubs (e.g., Arborvitae, Holly, or Elderberry) – 10–15 plants per 10’ length
- ● Root stimulator (powder or gel) – 1 bottle
- ● Wheelbarrow (for hauling soil/debris) – 1 unit (2–3 cubic feet capacity)
- ● Soil pH test kit (to customize amendments)
- ● Drip irrigation system (for post-planting care)
- ● Edging tool (to define garden borders neatly)
- ● Post-hole digger (if adding trellises for vines)
Step-by-Step instructions for creating a fast-growing privacy screen
Here's how to transform that grassy space into a lush, year-round privacy haven.
🪴 Step 1: Mark and Remove the Existing Lawn
Use a garden hose to outline your 8-foot-wide by 10-foot-long planting area—this will be your privacy screen's footprint. I like to use wooden stakes and twine to mark the edges clearly. Once marked, cut the grass down to about 1 inch with a string trimmer or lawnmower. This makes removal easier and reduces regrowth.
Remove the sod in 2-foot-wide strips using a flat shovel or sod cutter. Work slowly to avoid tearing the roots—you want to pull up clean sections of grass and soil. Pile the sod aside for composting later. If the soil beneath is compacted, loosen it with a garden fork to about 6 inches deep. This aeration helps roots establish faster in your new shrubs.
🌱 Step 2: Prepare the Soil for Planting
Test your soil's pH and adjust if needed—most native shrubs thrive in slightly acidic to neutral soil (6.0-7.0). Mix 3 gallons of compost into the top 6 inches of soil to improve drainage and fertility. I like to blend it in with a garden fork until the soil looks dark and crumbly.
If your soil is heavy clay, add 2 gallons of coarse sand to help with drainage. Spread a 2-inch layer of mulch (like pine straw or shredded bark) over the entire area, leaving a 6-inch gap around where plants will go. This keeps weeds down and retains moisture while your shrubs get established.
☀️ Step 3: Plant Fast-Growing Native Shrubs
Dig holes twice as wide and deep as the root balls of your shrubs. Space them 3-4 feet apart for a dense screen—closer spacing encourages faster fill-in. Place each shrub in its hole, ensuring the top of the root ball sits level with the surrounding soil. Fill the hole with soil, pressing gently to remove air pockets.
Water each plant deeply until water drains from the bottom of the hole. This settles the soil and eliminates air gaps around the roots. Mulch again around each plant, keeping it 2 inches away from the stems to prevent rot. Native shrubs like arrowwood viburnum or elderberry grow quickly and handle your climate well.
💧 Step 4: Water and Maintain for Rapid Growth
Water deeply 2-3 times per week for the first 3 months—until the soil is 6 inches deep and moist. You’ll know it’s right when water runs out the bottom of the holes. After that, reduce to once a week unless it’s unusually dry. Native shrubs are drought-tolerant once established, but young plants need consistent moisture.
Fertilize lightly in early spring with a balanced, slow-release fertilizer (like 10-10-10). Avoid heavy feeding—native shrubs grow best with minimal intervention. Prune back any leggy growth in late winter to encourage bushier, denser growth. Within 1-2 years, you’ll have a full, private screen that thrives with almost no effort.
Tips & tricks for creating a fast-growing privacy screen
Transforming lawn into a lush privacy screen is faster than you think—here’s how to avoid common pitfalls and speed up the process.
The Marking Trick: For a perfectly straight outline in Step 1, use a garden hose to trace your 8-foot-wide by 10-foot-long area before marking with stakes. This gives you a visual guide to follow while cutting the grass—no more guessing where the edges should be. I’ve found that using a 4-foot level along the hose helps maintain perfect straight lines, especially if your space has curves.
Sod Removal Efficiency: When removing sod in Step 1, work in those 2-foot-wide strips but don’t rush—slow, steady pulls prevent tearing roots. I learned this the hard way after ruining three sections by yanking too quickly. Once removed, pile the sod in neat rows for composting later; it breaks down surprisingly fast and makes great mulch for future projects.
Soil Prep Shortcut: In Step 2, if you’re short on time, focus on amending just the top 4 inches of soil rather than the full 6 inches. The critical part is where the roots will first establish. For heavy clay soil, mix in the 2 gallons of coarse sand in layers—this prevents clumping better than dumping it all at once.
Planting Strategy: For Step 3, dig your holes twice as wide as the root balls but only slightly deeper—this encourages roots to spread horizontally for faster fill-in. I’ve noticed that planting in early spring or fall gives shrubs a head start, but if you’re planting now, water deeply right after planting to help them establish quickly.
Pro Tips for Remove Lawn For Garden
- Transforming lawn into a lush privacy screen is faster than you think—here’s how to avoid common pitfalls and speed up the process.
- The Marking Trick: For a perfectly straight outline in Step 1, use a garden hose to trace your 8-foot-wide by 10-foot-long area before marking with stakes.
- Sod Removal Efficiency: When removing sod in Step 1, work in those 2-foot-wide strips but don’t rush—slow, steady pulls prevent tearing roots.
Frequently asked questions
Got questions about transforming your lawn into a lush, private garden oasis? Here are some of the most common concerns—and practical answers—to help you get started confidently.
What’s the best time of year to remove my lawn and plant shrubs?
The ideal window is early spring (March–April) or fall (September–October). These seasons offer mild soil temps, steady rainfall, and fewer weeds. Avoid extreme heat or drought—your shrubs will thank you with faster root establishment!
How do I prepare my lawn soil for planting native shrubs?
Start by smothering the grass with thick cardboard or a tarp for 4–6 weeks to kill it. Then, till the soil to loosen it and mix in 2–3 inches of compost. Native shrubs thrive in well-draining soil, so avoid heavy clay by amending with sand or organic matter if needed.
Will removing my lawn increase my water bill?
Not if you choose the right plants! Native shrubs like Arborvitae or Holly are drought-tolerant once established. After the first year, most require only 1 inch of water per week. Mulching (3–4 inches) also locks in moisture and cuts evaporation.
Can I still have a lawn if I plant shrubs for privacy?
Try a mixed design: plant shrubs in rows or clusters along property lines, leaving open spaces for grass. For a low-maintenance twist, replace lawn with clover or creeping thyme—they’re drought-resistant and pollinator-friendly!
What if weeds pop up after I remove the lawn?
Weeds are normal but manageable. Use mulch (wood chips or straw) to block sunlight and smother them. For stubborn weeds, spot-treat with vinegar-based herbicide (avoid harsh chemicals near shrubs). Regularly pulling weeds by hand keeps them in check—plus, it’s a great way to stay active!
How long until my new shrubs provide full privacy?
Fast-growing natives like Leyland Cypress or Bamboo can reach 10–15 feet in 3–5 years, while slower growers (e.g., Boxwood) take 5–10 years. Plan ahead: taller shrubs = quicker privacy, but smaller varieties offer layered, textured screens that mature beautifully over time.
Wrapping up and next steps
Transforming your lawn into a thriving, private garden isn’t just a dream—it’s a rewarding project that boosts curb appeal and supports local ecosystems. By choosing fast-growing native shrubs, you’ll enjoy year-round beauty, reduced maintenance, and a lush, eco-friendly space that feels like a sanctuary. 🌿
Ready to take the next step? Start small—sketch a design, gather supplies, and dive in! Whether you’re a seasoned gardener or a beginner, every plant you add brings you closer to a private, vibrant oasis. Happy planting! 🌱