
Vegetables
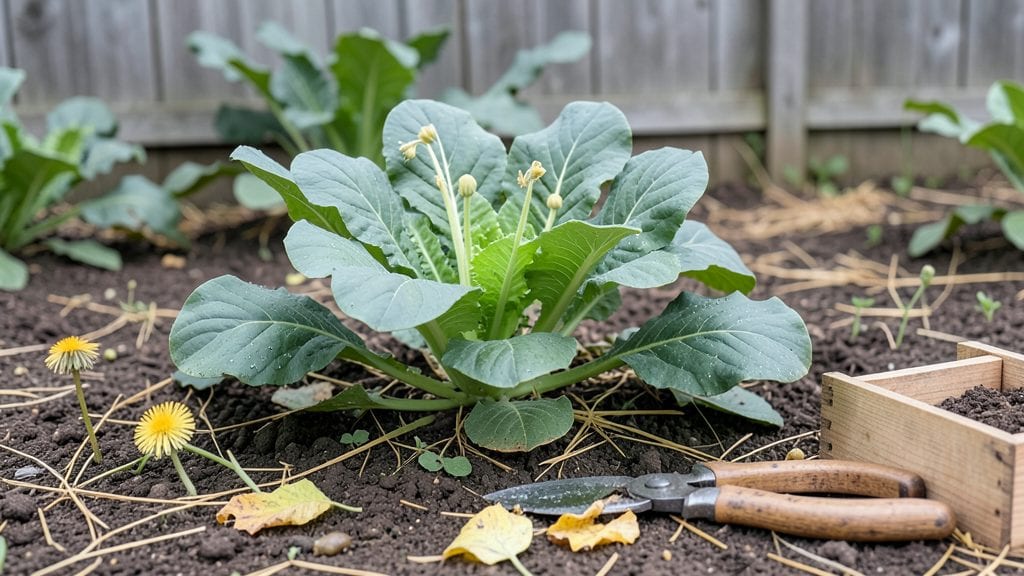
World War I victory gardens weren't just patches of dirt—they were the original "farm-to-table" movement, growing food that kept families fed and troops supplied. 🌱 I first stumbled upon their story while researching how small backyards became wartime powerhouses, and the layout principles still inspire gardeners today.
The original victory gardens focused on high-yield crops like potatoes, carrots, and beans—plants that packed nutrition into small spaces. They used every inch of available ground, often with raised beds or trellises to maximize harvests.
Even urban families with just a balcony could contribute by growing herbs or greens in containers.
What makes these gardens relevant today is their adaptability. Modern small-yard heroes can recreate the same spirit by prioritizing space-efficient crops and community sharing. Imagine a front yard bursting with tomatoes, a sidewalk planter full of lettuce, or a shared community plot where neighbors trade harvests.
This layout works for any yard size, from a city balcony to a suburban lot. The key is focusing on what you'll actually eat, not just what looks pretty. Let's bring that wartime ingenuity into your garden today.
📚 In This Guide
- What you need
- Instructions
- Tips and common mistakes
- Wrapping up and next steps
What you need
- ● Garden Space: Minimum 4’ x 8’ area (raised beds, containers, or in-ground plots).
- ● Full sun exposure (6+ hours/day) for most veggies.
- ● Soil: 2–3 cubic yards of high-quality garden soil or compost mix (aim for pH 6.0–7.0).
- ○ Optional: 1–2 lbs of balanced fertilizer (e.g., 10-10-10) or composted manure.
- ● Seeds or Seedlings: Fast-growing, high-yield crops (prioritize these for WWI-style efficiency!): Radishes (1 lb seeds) – 30-day harvest!
- ● Green beans (½ lb seeds) – bush or pole varieties
- ● Carrots (¼ lb seeds) – short varieties like ‘Paris Market’
- ● Lettuce (½ lb seeds) – leaf types for quick cuts
- ● Potatoes (5–10 lbs seed potatoes) – early-maturing like ‘Yukon Gold’
- ● Onions (1 lb sets or seeds) – ‘Red Baron’ or ‘Sweet Spanish’
- ● Tools: Trowel or hand fork
- ● Garden gloves
- ● Watering can or hose with soaker nozzle
- ● Pruners (for harvesting)
- ● Measuring tape (for layout)
- ● Improvements: Raised bed kit (4’ x 8’ x 12”) for better soil control.
- ● Drip irrigation system to save water and time.
- ● Row covers (frost cloth) to extend the growing season.
- ● Companion Plants: Marigolds (10 plants) – pest-repellent superstars!
- ● Nasturtiums (5 plants) – edible + deters pests
- ● Storage: Wooden crates or mesh bags for harvested produce.
Step-by-Step instructions for designing a world war I victory garden layout
Here's how to create a patriotic, space-efficient harvest plan inspired by original WWI gardens.
🌱 Step 1: Plan Your "Four F" Layout
The original WWI victory gardens focused on food, fiber, fuel, and flowers—a concept still brilliant today. For a small yard, prioritize potatoes, carrots, cabbage, and onions (the "Four F" staples) in dedicated beds. I recommend a 4x4-foot square-foot grid for each crop, making harvests easy to track and rotate yearly.
Sketch your layout on graph paper first. Place the most sun-hungry crops—like tomatoes or corn—along the south side of your yard. In WWI gardens, they often used raised beds with 12-inch paths between for easy access. This also prevents soil compaction from frequent harvesting.
💧 Step 2: Prepare Soil Like a 1918 Farmer
Victory gardeners knew soil health meant survival. Work in 3-4 inches of compost before planting, just as they did with horse manure and kitchen scraps. I mix mine with a handful of bone meal for phosphorus—critical for root crops like carrots and beets. Turn the soil only until it’s loose, not powdery, to preserve soil structure.
Add a 2-inch layer of straw mulch after planting to retain moisture and suppress weeds. The original gardens used whatever was available—hay, leaves, or even old newspapers. Water deeply once a week rather than daily, as WWI gardeners did with rainwater barrels. You’ll see stronger roots and fewer pests.
☀️ Step 3: Plant in Successive Waves
Victory gardens thrived on staggered planting to ensure a continuous harvest. Start with early crops like peas and lettuce in March, followed by potatoes and cabbage in April, and finish with corn and beans in May. This mirrors the original WWI strategy of avoiding "hungry gaps" in the kitchen garden.
Use succession planting for fast growers like radishes or spinach—sow new seeds every 2-3 weeks until early summer. I mark planting dates on a chalkboard near the garden so I don’t forget. The goal is to keep the harvest table full, just as it was in war-torn Europe.
✂️ Step 4: Maintain Like a Wartime Gardener
Victory gardeners hand-weeded religiously—there were no chemical shortcuts. Set aside 15 minutes daily to pull weeds before they seed. They also practiced crop rotation strictly, moving families of plants (like tomatoes and peppers) to new beds each year to prevent disease buildup.
Water in the early morning to reduce fungal diseases, just as they did with dawn watering. I’ve found that a 5-gallon bucket of water per plant, applied at the base, mimics the deep soak of WWI’s hand-watered gardens. Avoid wetting leaves to prevent blight—something they learned the hard way during the war.
🌿 Step 5: Harvest and Preserve the Bounty
Victory gardens weren’t just about growing—they were about saving food for lean times. Harvest every other day for leafy greens like lettuce or spinach, and weekly for root crops like carrots. Store extras in root cellars or canning jars, just as families did during the war.
I preserve surplus tomatoes by canning them in quart jars and store potatoes in burlap sacks in a cool, dark corner. The original gardens also dried herbs and froze berries in ice blocks—techniques you can adapt today. Every bite you preserve is a victory in itself.
Tips & tricks for perfect world war I victory garden design
These battle-tested strategies will help you transform your small yard into a productive, patriotic harvest zone inspired by original WWI gardens.
The Layout Secret: When sketching your 4x4-foot square-foot grid in Step 1, use colored pencils to mark each crop's position—this visual helps track rotation patterns year after year. I add a small flag icon next to sun-loving crops like tomatoes to remind myself they need the southern exposure mentioned. The 12-inch paths between raised beds aren't just for access; they create microclimates that reduce soil-borne diseases in root crops like carrots and beets.
Soil Science: For Step 2, don't skimp on the 3-4 inches of compost—this is your foundation. I've found that adding a handful of bone meal (about 1 tablespoon per square foot) to the compost mix gives root vegetables that extra phosphorus boost WWI gardeners relied on during shortages. The 2-inch straw mulch layer works best when applied immediately after planting; it mimics the old-fashioned technique of using whatever organic matter was available, from hay to newspaper.
Planting Precision: The staggered planting schedule in Step 3 requires discipline. I set calendar reminders for each planting window (March for peas, April for potatoes, etc.) and include notes about moon phases—original victory gardeners tracked these too! For succession planting every 2-3 weeks, I use a simple whiteboard near the garden to mark planting dates with colored dots for each crop family. This visual system prevents "hungry gaps" in your harvest, just as the original gardens aimed to do.
Maintenance Mindset: The 15 minutes daily weeding in Step 4 might seem daunting, but I've found that breaking it into three 5-minute sessions (morning, noon, and evening) makes it manageable. For watering, invest in a 5-gallon bucket with a spout—it's the perfect WWI-era tool for delivering that deep soak at the base of plants. Remember, early morning watering isn't just about fungal prevention; it gives plants time to dry before evening dew, which was a key lesson from wartime gardens.
Pro Tips for World War I Victory Gardens
- These battle-tested strategies will help you transform your small yard into a productive, patriotic harvest zone inspired by original WWI gardens.
- The Layout Secret: When sketching your 4x4-foot square-foot grid in Step 1, use colored pencils to mark each crop's position—this visual helps track rotation patterns year after year.
- Soil Science: For Step 2, don't skimp on the 3-4 inches of compost—this is your foundation.
Frequently asked questions
What’s the best layout for a small Victory Garden?
Prioritize vertical space and high-yield crops! Use trellises for beans, peas, and cucumbers, and interplant fast growers (like radishes) with slower ones (like carrots). A classic WWI layout was a 4x8-foot raised bed with rows of potatoes, tomatoes, cabbage, and carrots—adjust based on your sunlight and space.
When should I plant a Victory Garden?
Start 6–8 weeks before your last frost date for cool-season crops (like kale or peas) and 2–3 weeks after for warm-season veggies (tomatoes, peppers). WWI gardens often planted successive crops—like lettuce in early spring, then beans in summer—to maximize harvests. Check your local planting zone for precision!
Can I grow a Victory Garden without a yard?
Container gardening is your ally—use 5-gallon buckets for tomatoes, hanging baskets for herbs, or a balcony rail planter for lettuce. Even a windowsill herb garden (basil, parsley) counts! WWI-era city dwellers grew food in community plots or rooftops—get creative with what you’ve got.
How do I keep pests away naturally?
WWI gardeners relied on companion planting (e.g., marigolds repel nematodes, garlic deters aphids) and handpicking pests (like tomato hornworms). Try neem oil or soapy water sprays for mild infestations. Crop rotation also breaks pest cycles—just like the original Victory Gardens did!
What if my soil is poor?
No soil? No problem! Amend with compost (homemade or store-bought) or use raised beds with a mix of topsoil and compost (ratio: 2/3 soil, 1/3 compost). WWI gardens often used manure or kitchen scraps—just avoid meat/fish waste. For quick fixes, try worm castings or aged manure to boost nutrients.
How much food can I really harvest?
A well-planned 100 sq. ft. garden can yield 20–30 lbs of potatoes, 8–10 lbs of tomatoes, and 5 lbs of carrots per season. WWI gardens aimed for self-sufficiency—track your progress with a simple harvest log. Start small, then scale up!
Wrapping up and next steps
World War I Victory Gardens weren’t just about growing food—they were a powerful act of patriotism and resilience. Whether you’re working with a tiny balcony or a modest backyard, your harvest can honor history while feeding your family today. 🌱
Ready to dig in? Start small—plant a few easy crops like lettuce, radishes, or herbs—and watch your confidence (and garden!) grow. Every seed sown is a victory in the making.
- 📝 Next step: Sketch your layout, grab your tools, and plant your first row!
- 💬 Share your progress: Tag us or a fellow gardener—let’s celebrate this patriotic harvest together!