
Landscaping
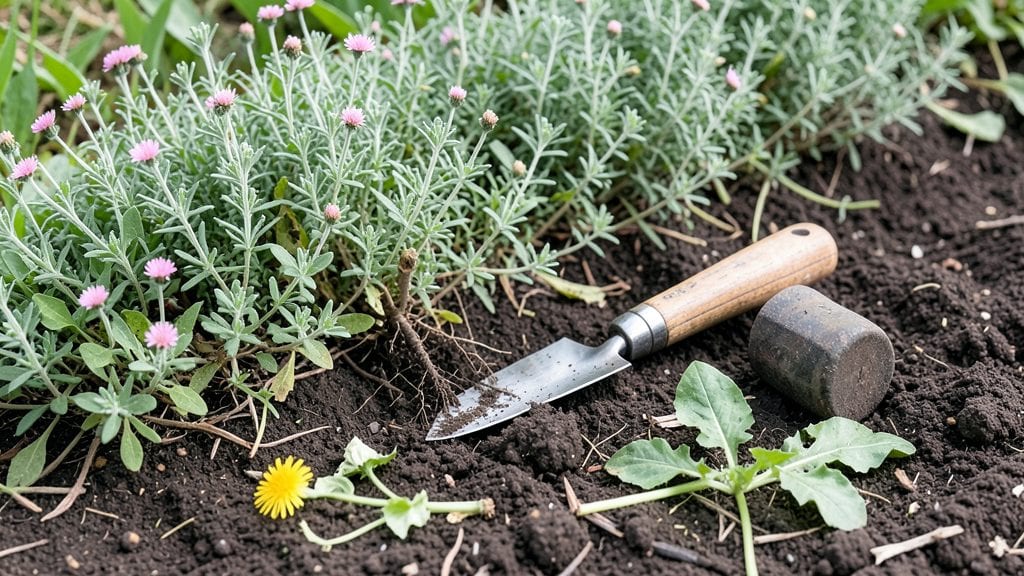
My garden beds used to look like they were fighting for space with the lawn—until I discovered how gardening edging tools transform messy borders into clean, intentional lines. ✨ The right tool makes all the difference between a scraggly edge and a polished look that elevates every plant arrangement.
Edging tools come in metal, plastic, or even stone varieties, each with its own purpose. Metal edgers cut through tough soil like a hot knife, plastic ones are lightweight for quick fixes, and stone borders add permanent elegance.
I’ve used them all, and the best choice depends on your garden’s style—whether you want crisp modern lines or a rustic cottage feel.
With the right tool, you’ll spend less time weeding at the edges and more time enjoying the sharp definition it creates. A well-edged border keeps mulch where it belongs, prevents soil from spilling into lawns, and makes your garden look like it belongs in a magazine spread.
From formal French parterres to wildflower meadows, edging tools adapt to any design. Here’s how to pick the perfect one for your space—and why your garden will never look the same again.
📚 In This Guide
- What you need
- Instructions
- Tips and common mistakes
- Wrapping up and next steps
What you need
- ● Edging Tool: Choose one based on your project: Handheld Edging Shears (for small, precise cuts in mulch or grass)
- ● Half-Moon Edger (ideal for tight spaces and curved edges)
- ● Rolling Edger (perfect for large, straight borders—rent or buy)
- ● Measuring Tape (25–50 ft, with a locking mechanism)
- ● Stakes & String (or a laser level for pros—10–20 stakes, ¼" twine)
- ● Spade or Mattock (for digging trenches, 6–12" deep)
- ● Garden Gloves (heavy-duty, cut-resistant)
- ○ Knee Pads (optional but highly recommended for comfort!)
- ● Edging Materials: Metal (aluminum or steel, ½–1" height)
- ● Plastic or rubber (flexible, great for curves)
- ● Stone or brick (natural, long-lasting)
- ● Wood (cedar or redwood, 2x4s or pre-cut edging)
- ● String Trimmer/Weed Whacker (for trimming grass after edging)
- ● Level (2–4 ft, to ensure straight lines)
- ● Post Hole Digger (if installing stakes or permanent edging)
- ● Safety Gear: Goggles, ear protection (for power tools), and a dust mask
Step-by-Step guide to using gardening edging tools for clean borders
Here's how to create sharp, professional-looking borders that last—no guesswork involved.
🪴 Step 1: Choose the Right Tool for Your Project
First, match your tool to the job. For soft, flexible lines like curves or around plants, a flexible plastic edging works best. For straight, rigid borders, a metal or vinyl edging tool gives the cleanest finish. I always check the depth of the edging—most tools create a 2-4 inch deep trench, so plan your border width accordingly.
If you're working with a handheld edger, it's perfect for tight spaces and detailed work. For larger areas, a long-handled edging shovel saves your back and keeps lines perfectly straight. Measure your border area first—this ensures you buy the right length of edging material without gaps or overlaps.
✂️ Step 2: Mark and Dig the Border Line
Use a garden hose or string line to outline your border before digging. Stake the line at 6-foot intervals to keep it taut and straight. This is your guide—any deviation now will show later. I like to sprinkle a thin layer of sand or flour along the line for visibility, especially in grassy areas.
Dig along the marked line using your edging tool. Work at a 45-degree angle to create a clean, tapered edge. For plastic or metal edging, dig a trench 1-2 inches deeper than the edging depth—this ensures the tool sits flush with the ground. If you hit rocks or roots, adjust slightly but don’t force it. A slight curve is better than a broken tool.
🌱 Step 3: Install the Edging Material
Place the edging material into the trench, pressing it 1-2 inches into the soil for stability. For flexible edging, bend it to follow curves naturally. Use landscape staples to secure it every 12-18 inches—this keeps it from shifting over time. I always test the fit by stepping on it gently; if it wobbles, it’s not secure enough.
For straight borders, use a level to ensure the edging stays even. If you’re using a cap or topper, slide it over the edging to finish the look. Leave a small gap at corners or joints—this prevents buckling when soil shifts. Water the area lightly after installation to settle everything in place.
☀️ Step 4: Finish and Maintain the Border
Fill the trench behind the edging with mulch or soil, depending on your design. For a polished look, use landscape fabric first to block weeds. I like to add a 1-inch layer of gravel behind the edging for extra stability and drainage. Press it down firmly to eliminate air pockets.
Check your edging after the first rain—this is when shifts happen. Adjust any loose sections immediately. Over time, edging settles, so do a quick inspection every 3-4 months. If weeds sneak through, pull them before they seed. A well-maintained border keeps your garden looking sharp for years.
Tips & tricks for perfect gardening edging tools
Here's what I've learned after creating countless borders—these tricks will help you achieve professional results without the common pitfalls.
Tool Selection Wisdom: Don't overlook the importance of tool weight for your project. For larger areas, a long-handled edging shovel reduces strain on your back, but it requires more strength to drive into the ground. I've found that a 16-ounce shovel strikes the best balance between control and ease of use for most gardeners. For tight spaces, a lightweight handheld edger gives you precision without the fatigue.
Marking Made Easy: Instead of just using a garden hose or string line, I add a few extra visual cues for accuracy. After staking your line at 6-foot intervals, place small plastic flags or colored stakes at each corner and every 10 feet along straight sections. This creates a clear visual path and prevents misalignment when you start digging. The flags also help you adjust your trench depth consistently.
Digging Technique: When working at that 45-degree angle in Step 2, think of it like slicing a pie—you want equal parts vertical and horizontal pressure. Use short, controlled strokes rather than long, forceful ones. This prevents the tool from bouncing and creates a cleaner, more uniform trench. If you're working in clay soil, I recommend wetting the area slightly first—it makes digging easier and prevents the trench walls from caving in.
Installation Insight: For that 1-2 inch deep installation in Step 3, don't just eyeball it. Use your edging tool itself as a depth gauge by pressing it into the trench until the top edge aligns perfectly with the ground level. This ensures consistent depth along your entire border. When securing with landscape staples, I always place them slightly behind the visible edge—this hides them from view while maintaining stability.
Pro Tips for Gardening Edging Tools
- Here's what I've learned after creating countless borders—these tricks will help you achieve professional results without the common pitfalls.
- Tool Selection Wisdom: Don't overlook the importance of tool weight for your project.
- Marking Made Easy: Instead of just using a garden hose or string line, I add a few extra visual cues for accuracy.
Frequently asked questions
Got questions about gardening edging tools? You’re not alone—every gardener wants to create crisp, professional borders without the hassle. Here are answers to the most common queries to help you choose and use the right tools for the job!
What’s the best type of edging tool for my garden size?
For small gardens or flower beds, handheld edging tools (like half-moon or serrated blades) work perfectly. Larger areas or heavy soil? Opt for power edgers or walk-behind edgers for efficiency. Always match the tool to your space—no need to overpower a tiny border!
When is the best time of year to install garden edging?
The ideal time is early spring or fall, when soil is workable but not frozen. Avoid peak summer heat, as dry soil can crack edging materials like concrete or metal. Pro tip: Install after planting but before heavy rains to ensure stability!
Are there affordable alternatives to metal or plastic edging tools?
Try wooden edging (like cedar or redwood) for a natural look, or stone borders (flagstone or pavers) for durability. DIY options include recycled materials like bricks or even landscaping fabric with decorative stakes for a budget-friendly solution.
How do I fix uneven or wobbly edging after installation?
Start by removing the edging and checking for obstacles (roots, rocks). For metal/plastic, use a level and stakes to secure it firmly. For concrete, dig a trench slightly wider than the edging and pack it with gravel before setting. Patience pays off—take your time for a flawless finish!
Can I use edging tools on grassy areas without harming the lawn?
Yes! Use blunt or serrated edging tools (like a half-moon edger) to trim grass cleanly. For power tools, set the blade depth shallowly (¼ inch) to avoid scalping. Always mow first to reduce resistance and protect your lawn’s health.
Wrapping up and next steps
Choosing the right gardening edging tools is the secret to achieving crisp, professional-looking borders that elevate your landscape’s curb appeal. Whether you opt for durable metal edging, flexible vinyl, or natural stone, the key is selecting a tool that matches your project’s needs and your DIY comfort level.
With the right setup, you’ll transform your garden from cluttered to curated in no time!
Ready to roll up your sleeves? Start by sketching your design, gathering your tools, and taking it one edge at a time. Your polished garden borders are just a few strokes away! 🌿✨