Lawn
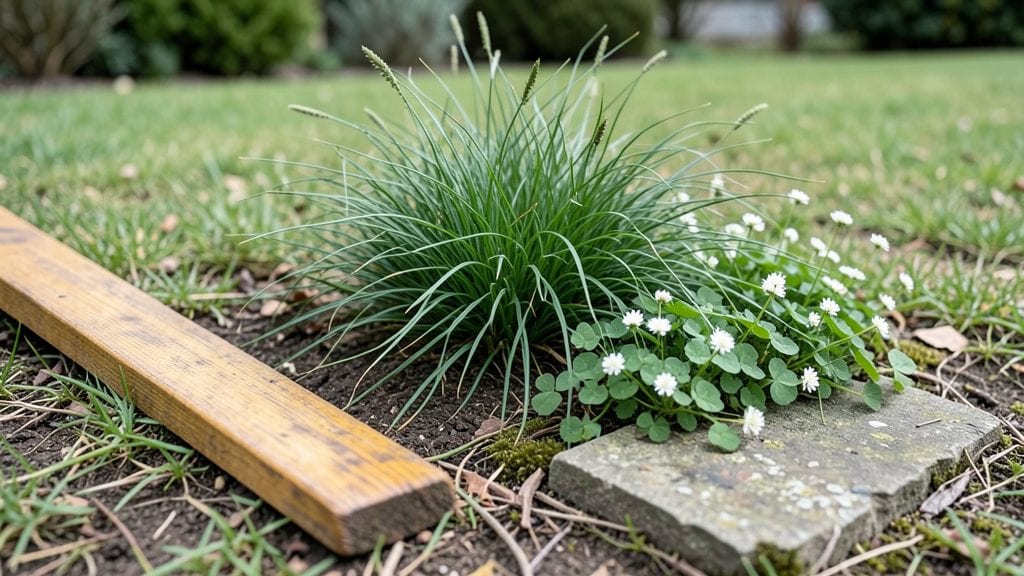
Grass roots gardening turns your yard into a thriving ecosystem that feeds you, your neighbors, and the local wildlife—without needing a green thumb or a big budget. 🌱 I started my first patch in a cracked sidewalk with just a handful of native seeds, and now my front yard produces more food than my old vegetable garden ever did.
The beauty of this approach is that it works anywhere: urban sidewalks, suburban strips, even cracked concrete.
You don’t need fancy tools or expensive soil—just a shovel, some mulch, and a willingness to let nature do the work. Native plants and ground covers like clover or creeping thyme crowd out weeds naturally, while edible perennials like asparagus and raspberries keep coming back year after year.
The best part? Once established, these systems need far less water and maintenance than traditional lawns. My clover lawn, for instance, stays green all summer with just an inch of rain a week.
What you end up with is a garden that grows food, supports pollinators, and looks better than any manicured lawn—all while cutting your water bill and chemical use. Imagine fresh herbs, berries, and greens growing right underfoot, with zero upkeep after the first year.
This isn’t just gardening; it’s rewilding your space in the most practical way possible. Let’s get your patch started!
Whether you’re working with a tiny balcony or a half-acre backyard, these principles adapt to any scale. The key is starting small—one square foot at a time—and letting the system evolve naturally.
Before you know it, your "lawn" will be a lush, productive garden that your whole neighborhood can learn from. Ready to ditch the grass?
📚 In This Guide
- What you need
- Instructions
- Tips and common mistakes
- Wrapping up and next steps
What you need
- ● Soil: 5-10 yards of compost-rich topsoil (or mix garden soil with 30% compost). Test pH (aim for 6.0–7.0).
- ● Seeds/Plants: Perennials (e.g., asparagus, rhubarb, berries) – 3–5 plants per variety.
- ● Annuals (e.g., kale, lettuce, herbs) – 10–20 seeds per square foot.
- ● Cover crops (e.g., clover, vetch) – 1 lb per 100 sq ft.
- ● Watering: Drip irrigation kit ($20–$50) or soaker hoses.
- ○ 5-gallon watering can (optional for seedlings).
- ● Tools: Garden fork ($15–$30) for aerating soil.
- ● Pruners ($10–$25) for trimming.
- ● Wheelbarrow ($50–$100) for hauling materials.
- ● Gloves (2 pairs) – one for heavy-duty work, one for delicate plants.
- ● Mulch (straw, wood chips) – 2–3 inches to retain moisture.
- ● Compost bin ($30–$100) for closed-loop sustainability.
- ● Seedling trays ($10–$20) for starting plants indoors.
- ● Pest deterrents (neem oil, copper tape) – $10–$20.
- ● Sunlight meter ($15–$30) to track plant placement.
How to start a grass roots gardening system
Here's how to build a thriving garden that mimics nature's cycles for low-maintenance abundance.
🌱 Step 1: Observe and Design Your Microclimates
First, walk your space at different times of day. Note where sun hits hardest by 10 AM and where shade lingers by 4 PM. Grass roots gardening thrives on understanding these natural patterns—this is where your plants will ultimately live, so get to know their future homes.
Sketch a simple map marking sun exposure zones. I always mark full sun areas (6+ hours), partial shade (3-6 hours), and deep shade (<3 hours). This helps you place moisture-loving plants near water sources and drought-tolerant varieties in sunnier spots. Don't worry about perfection—just note what you see.
🪴 Step 2: Build Soil Layers Like Nature Stacks Them
Grab your 3 cubic yards of compost, 2 bags of aged manure, and 1 bale of straw. Spread the compost in a 4-inch layer over your garden area. This mimics forest floors where decomposed leaves and organic matter create rich topsoil naturally.
Next, mix in the aged manure—it's the slow-release fertilizer that builds microbial life. Top with a 2-inch layer of straw to prevent erosion and retain moisture. Water everything until the soil feels like a damp sponge. You'll know it's right when water pools slightly but drains within minutes.
☀️ Step 3: Plant Perennials as Your Foundation
Use the 10 perennial plants you selected (like asparagus, rhubarb, or comfrey) to anchor your system. These are the "grass roots" of your garden—they return year after year and improve soil as they grow. Plant them in clusters of 3-5 spaced 18-24 inches apart according to their mature size.
Dig holes just deep enough to accommodate roots without bending them. The top of the root ball should sit 1 inch below soil level—this prevents stem rot while encouraging strong root growth. Water each plant deeply until soil 6 inches down is moist. Mulch immediately with an extra inch of straw to lock in moisture.
🌿 Step 4: Layer in Annuals and Self-Seeding Plants
Now add your 5 annual seed packets and 3 self-seeding varieties. Scatter seeds according to package directions—most grass roots gardeners oversow slightly because thinning later creates better airflow. Lightly cover with ¼ inch of soil (or none at all for tiny seeds like lettuce).
Water gently with a fine mist until the surface is damp but not soggy. Place a clear plastic dome over seedlings until they sprout—this keeps humidity high while preventing soil from drying out. Remove the dome once you see first true leaves (not the initial seed leaves) emerging.
⏰ Step 5: Establish Maintenance Cycles
Set a weekly 30-minute check to monitor moisture levels. Grass roots gardening thrives on consistency—water when the top 2 inches of soil feel dry. Use a drip irrigation system if possible; it delivers water slowly at the roots where plants need it most.
Every 2-3 months, add a 1-inch layer of compost to the surface. This feeds soil life without disturbing roots. Watch for volunteer plants (like dandelions or clover)—these are nature's way of filling gaps. Pull only the invasive ones; let beneficial weeds stay to prevent erosion and attract pollinators.
Tips & tricks for perfect grass roots gardening
Between us, these little details make all the difference between a struggling garden and one that thrives with minimal effort. Here's what nobody tells you about creating a truly resilient system.
Sun Mapping Secret: In Step 1, don't just guess at sun exposure—actually walk your space at 10 AM and 4 PM on a clear day with a notebook. I've seen gardeners place sun-loving plants in shade spots because they only checked at noon. Use a simple app or even a piece of chalk to mark where shadows fall at different times. This precision pays off when your tomatoes actually ripen instead of staying green.
Soil Layering Technique: When building your 4-inch compost layer in Step 2, think of it like lasagna—each layer serves a purpose. After spreading compost, sprinkle a thin layer of wood ash (just ½ cup per square yard) to raise pH slightly. Then add your aged manure and straw. The ash helps break down the manure faster while preventing compaction. Trust me on this—your soil microbes will thank you.
Perennial Planting Pro Tip: For Step 3, when planting your 10 perennial plants, dig holes that are twice as wide as the root ball but only as deep as the root ball itself. This encourages roots to spread outward rather than growing downward. After planting, press the soil gently around the roots—don't pack it down. You want air pockets for oxygen, not a concrete base. The extra inch of mulch you add will help maintain this loose structure.
Seed Starting Strategy: In Step 4, that clear plastic dome over seedlings isn't just for humidity—it's also a greenhouse that regulates temperature. On hot days, lift one edge to let excess heat escape. And here's a game-changer: once your seedlings have their first true leaves, remove the dome for 30 minutes daily to harden them off. This prevents shock when you eventually transplant them to the garden.
Pro Tips for Grass Roots Gardening
- Between us, these little details make all the difference between a struggling garden and one that thrives with minimal effort.
- Sun Mapping Secret: In Step 1, don't just guess at sun exposure—actually walk your space at 10 AM and 4 PM on a clear day with a notebook.
- Soil Layering Technique: When building your 4-inch compost layer in Step 2, think of it like lasagna—each layer serves a purpose.
Frequently asked questions
Got questions about grass roots gardening?
Here are answers to the most common ones—whether you're just starting or troubleshooting your green thumb challenges.
What’s the best time of year to start a grass roots garden?
For most climates, spring or early fall are ideal—soil is warm enough for root growth but not scorching, and pests are less aggressive. In warmer regions, you can start in late winter with shade cloth. Pro tip: Test your soil pH (aim for 6.0–7.0) before planting to avoid nutrient struggles!
How often should I water a grass roots garden?
Water deeply 2–3 times per week (or daily in extreme heat) to encourage deep root growth. Morning watering (before 10 AM) reduces evaporation and fungal risks. Use a drip irrigation system or soaker hose to deliver moisture directly to roots—avoid overhead sprinklers that waste water and spread disease.
Can I grow vegetables using grass roots gardening?
Grass roots gardening thrives with root crops like carrots, beets, and radishes, but you can also grow leafy greens (spinach, kale) and even shallow-rooted herbs (basil, cilantro). Key trick: Interplant fast growers (radishes) with slower ones (carrots) to maximize space and soil health.
How do I keep pests away without chemicals?
Start with healthy soil—happy plants resist pests! Use row covers for early-season protection, companion planting (e.g., marigolds repel nematodes), and neem oil or soapy water sprays for targeted treatments. Prevention tip: Remove weeds and debris regularly to break pest life cycles.
What if my grass roots garden isn’t producing well?
Check these first:
- Soil quality: Amend with compost or aged manure if soil is compacted or nutrient-poor.
- Sunlight: Most root crops need 6+ hours of sun daily—relocate or thin nearby plants if shaded.
- Watering: Overwatering can drown roots; underwatering stresses plants. Aim for consistent moisture.
- Pests/disease: Inspect leaves and roots for damage and treat early.
If issues persist, rotate crops next season to refresh the soil.
Wrapping up and next steps
Grass roots gardening isn’t just about growing plants—it’s about nurturing a sustainable, thriving ecosystem that benefits you, your community, and the planet. By embracing permaculture principles like observation, diversity, and regeneration, you’re not only ensuring year-round harvests but also building resilience in your backyard. 🌱
Your journey starts small, but every seed planted is a step toward a greener future. Ready to dig deeper? Start with one permaculture technique—whether it’s swales, companion planting, or composting—and watch your garden (and confidence!) grow. What will you plant first?