
Tools
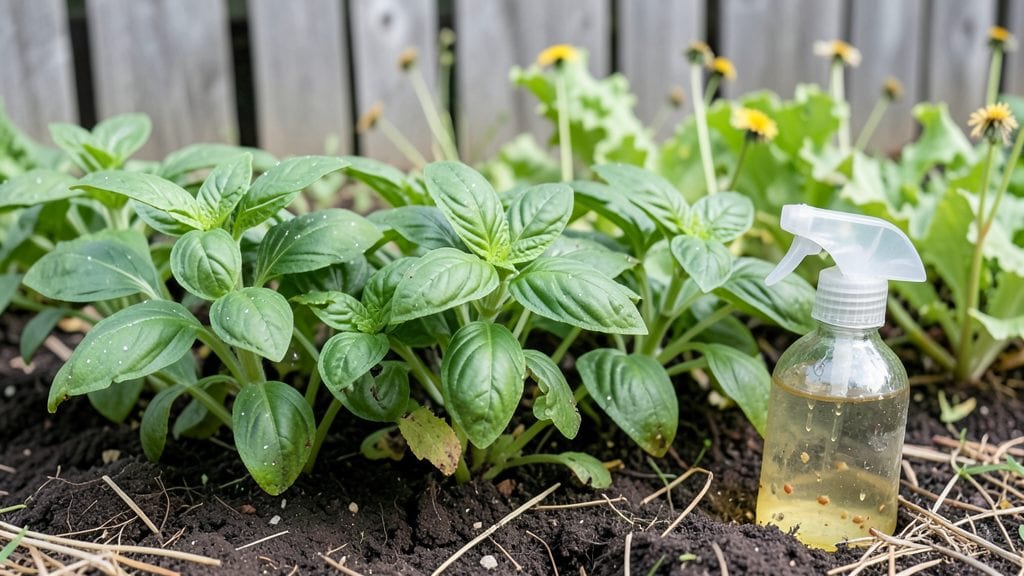
My homemade garden pesticide saved my tomatoes from aphids last summer—no toxic chemicals, just a spray bottle and ingredients I already had. The first time I saw those tiny green invaders turn tail after a single application, I knew I’d never go back to store-bought sprays again.
It’s not just about saving money; it’s about keeping bees buzzing and kids safe while you’re gardening.
The best part? You can whip up effective sprays in 10 minutes with stuff like dish soap, garlic, or neem oil—no fancy equipment needed. I’ve tested these recipes on everything from roses to squash, and they work just as well as commercial products, minus the harsh fumes.
Plus, your garden’s soil stays healthy, which means stronger plants that can fend off pests on their own over time.
By the end of the season, you’ll notice fewer chewed leaves, no more sticky residue on your veggies, and a garden that thrives without the guesswork.
The spray works best when applied in the early morning or evening, when bugs are most active and the sun isn’t evaporating it too fast. It’s a game-changer for anyone tired of chemical warfare in their yard.
Whether you’re dealing with aphids, slugs, or fungal issues, these homemade solutions adapt to your specific problems—no one-size-fits-all here. Let’s get your garden back to its natural, pest-free glory without breaking the bank or harming the planet.
📚 In This Guide
- What you need
- Instructions
- Tips and common mistakes
- Wrapping up and next steps
What you need
- ● 1 gallon of water (distilled or tap water, filtered if possible)
- ● 1 tablespoon of dish soap (unscented, like Dawn—helps the spray stick to pests)
- ● 1 tablespoon of vegetable oil (like canola or olive oil—smothers insects)
- ○ 1 tablespoon of baking soda (optional but boosts effectiveness against soft-bodied bugs)
- ● Garlic or onion (1-2 cloves/chopped, for sulfur compounds that repel pests)
- ● Cayenne pepper or chili powder (1 tsp, adds capsaicin for spicy defense)
- ● Neem oil (1 tsp, natural fungicide and insect repellent)
- ● Citrus peels or lemon juice (½ cup, deters ants and aphids)
- ● A spray bottle (16 oz or larger, with a fine mist nozzle)
- ● Glass jar or container (for mixing, if not using the spray bottle directly)
- ● Strainer or cheesecloth (if using garlic/onion to avoid clogs)
- ○ Gloves (optional, for handling strong ingredients like cayenne)
- ● Label & marker (to mark your spray as "organic" and avoid accidental misuse)
Step-by-Step instructions for making a nontoxic garden pesticide spray
This simple spray uses common household items to create an effective, chemical-free defense against garden pests.
Gather and Prepare Your Materials
You’ll need 1 quart of water, 1 tablespoon of dish soap (preferably mild and unscented), 1 tablespoon of vegetable oil, and 1 tablespoon of rubbing alcohol. The dish soap helps break down pests' protective coatings, while the oil smothers soft-bodied insects like aphids and mites. The rubbing alcohol adds a quick knockdown effect on bugs.
Fill a clean spray bottle with the 1 quart of water—room temperature is best. Add the 1 tablespoon of dish soap and swirl gently to mix. Next, pour in the 1 tablespoon of vegetable oil and the 1 tablespoon of rubbing alcohol. Shake the bottle vigorously for about 30 seconds to fully combine the ingredients. The mixture should look cloudy but well-blended.
Test the Spray on a Small Area
Before spraying your entire garden, test the mixture on a small, inconspicuous plant or leaf. This ensures the solution won’t cause damage or discoloration. Spray lightly and wait 24 hours to observe any reactions. If the plant looks unaffected, it’s safe to proceed.
Here’s the thing—some plants, like delicate flowers or succulents, may react poorly to even natural sprays. If you notice wilting, yellowing, or spots after 24 hours, dilute the spray further by adding ½ cup more water and retesting. You’ll know it’s working when pests like aphids or spider mites drop off or stop moving within minutes.
Apply the Spray to Affected Plants
Hold the spray bottle 6-12 inches away from the plants and apply the mixture until the leaves are evenly damp but not dripping. Focus on the undersides of leaves, where many pests hide. For heavy infestations, you may need to spray every 2-3 days until the bugs are gone. Early morning or late afternoon is ideal—spraying in direct sunlight can cause the solution to dry too quickly and reduce effectiveness.
Don’t skip the undersides of leaves. That’s where aphids, mites, and other soft-bodied pests love to cluster. If you miss them, the spray won’t reach them, and they’ll keep feeding. After spraying, avoid watering the plants for at least 4 hours to let the mixture fully adhere to the leaves and work its magic.
Reapply as Needed and Monitor Results
Check your plants daily for the first week after application. You’ll see the best results when pests stop moving or drop off within 24-48 hours. If bugs return, reapply the spray. This homemade pesticide isn’t a long-term residual treatment, so consistency is key. Store any leftover mixture in a cool, dark place for up to 1 week, shaking well before each use.
Real talk: Some pests, like slugs or beetles, won’t respond as well to this spray. For those, combine this solution with other natural methods like diatomaceous earth or hand-picking. The spray works best on soft-bodied insects, so don’t expect miracles against tougher critters. If you see signs of new pests, act fast—catching infestations early makes them much easier to control.
Tips & tricks for perfect homemade garden pesticide
When it comes to creating an effective homemade garden pesticide, a few key strategies can make all the difference in how well it works and how long it lasts.
Mixing Technique: The 30-second vigorous shaking in Step 1 is crucial for creating an effective emulsion. The vegetable oil and water don't naturally blend, so that shaking helps create tiny oil droplets that will coat pests more effectively. If you notice separation after a few hours, give it another good shake before use. This ensures the oil remains suspended and can do its job of smothering insects.
Testing Strategy: The 24-hour test period in Step 2 is your safety net. I've learned this the hard way—once I sprayed my prized roses without testing first, and they developed brown spots that took weeks to recover. Always test on a small, inconspicuous leaf first, and keep an eye out for any signs of stress beyond just the pests. Healthy plants should show no wilting, yellowing, or discoloration after this time.
Application Timing: The 4-hour waiting period after spraying in Step 3 is often overlooked but critical. This gives the mixture time to fully adhere to the leaves. If you water immediately after spraying, you'll essentially rinse away your pesticide. The early morning or late afternoon application timing also matters—spraying in direct sunlight can cause the alcohol to evaporate too quickly, reducing effectiveness.
Monitoring Results: The 24-48 hour window mentioned in Step 4 is when you'll see the most dramatic results. If you don't see pests dropping off within this timeframe, it might be because you missed some hiding spots (especially those undersides of leaves) or because the pests aren't soft-bodied insects that this spray targets best. For stubborn infestations, consider adding a few drops of neem oil to your next batch for enhanced effectiveness.
Pro Tips for Homemade Garden Pesticide
- When it comes to creating an effective homemade garden pesticide, a few key strategies can make all the difference in how well it works and how long it lasts.
- Mixing Technique: The 30-second vigorous shaking in Step 1 is crucial for creating an effective emulsion.
- Testing Strategy: The 24-hour test period in Step 2 is your safety net.
Frequently asked questions
Got questions about making your own garden pesticide? Here are some of the most common ones—plus straightforward answers to help you get started with confidence!
Can I use homemade pesticides on edible plants?
Yes!
Many natural sprays (like neem oil or soapy water) are safe for edible plants—just avoid harsh ingredients like vinegar or citrus oils on leafy greens. Always test a small area first and wait 24 hours before harvesting. Stick to USDA-approved recipes for peace of mind.
How often should I reapply homemade pesticides?
Frequency depends on the pest and weather. Rain washes sprays away, so reapply every 7–14 days or after heavy rain. For stubborn pests (like aphids), spray every 3–4 days until they’re gone. Consistency is key—think of it like watering your plants!
Will these sprays harm beneficial insects like bees?
Mostly yes, but with precautions! Avoid spraying directly on flowers when bees are active (early morning or late evening is safest). Opt for bees-friendly options like garlic-chili spray or insecticidal soap, and skip neem oil near blooms. Always shake well before spraying to avoid clogging sprayers.
What if my homemade spray doesn’t work?
Don’t panic! Try these fixes:
- Mix it stronger (e.g., add more garlic or cayenne pepper).
- Spray undersides of leaves—many pests hide there.
- Add a surfactant (like dish soap) to help it stick.
- Rotate recipes—pests can build resistance!
Are there any plants I should avoid spraying?
Yes!
Skip homemade pesticides on:
- Young seedlings (they’re sensitive).
- Plants with hairy or fuzzy leaves (like lamb’s ear)—sprays can clog pores.
- Herbs like basil or mint (strong scents can alter flavor).
Wrapping up and next steps
Creating your own homemade garden pesticide is a simple, eco-friendly way to protect your plants without harsh chemicals. 🌱 With just a few natural ingredients—like neem oil, soap, or garlic—you can craft effective sprays that repel pests while keeping your garden thriving.
Start small, experiment with recipes, and enjoy the satisfaction of a chemical-free solution!
Ready to take the next step? Test one of these sprays this weekend and observe how your plants respond. Happy gardening!