Landscaping
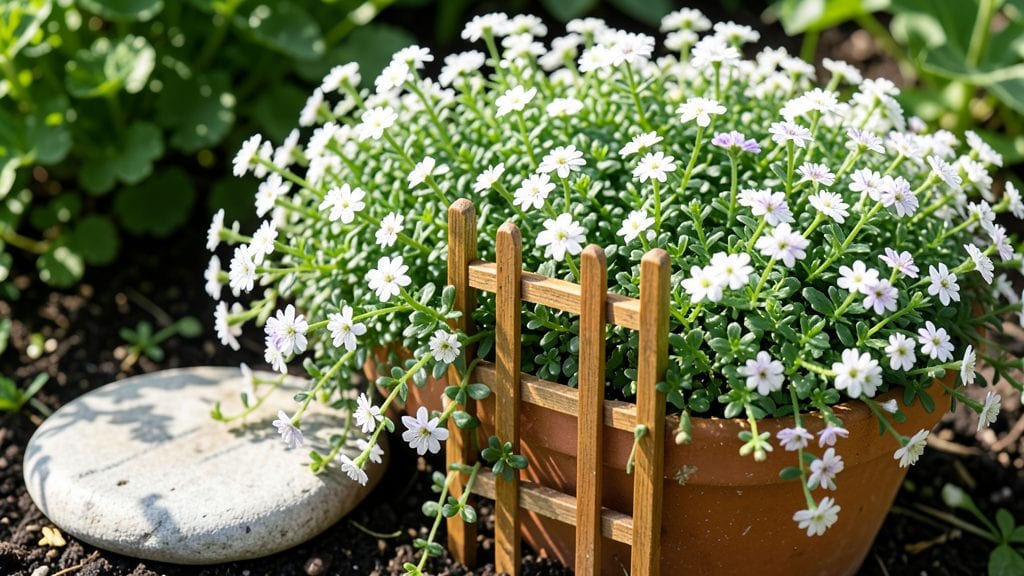
Transforming a tiny patch of land into a productive little garden design starts with thinking upward, not outward. 🌿 I turned my 4x8-foot balcony into a lush, high-yield space by stacking plants vertically—herbs climbing trellises, strawberries spilling from pockets, and lettuce tucked into wall pockets where sunlight hits just right.
The magic lies in layers: raised beds on pallets, hanging baskets for trailing vines, and tiered shelves for shallow-rooted plants. You don’t need fancy materials—just sturdy containers, a drill for trellis mounts, and plants that thrive in compact conditions like dwarf tomatoes, bush beans, and compact peppers.
Even a 10-square-foot space can yield enough for small meals.
By summer’s end, you’ll have a garden that feels generous, not cramped—fragrant herbs within arm’s reach, cascading flowers that soften the space, and vegetables that outperform their in-ground cousins. The best part? Less bending, more blooms, and a design that works year-round with seasonal swaps.
Whether you’re working with a windowsill or a full patio, this approach scales effortlessly. Let’s build something that feels like a retreat, not a compromise—starting with what you’ve got and growing from there.
📚 In This Guide
- What you need
- Instructions
- Tips and common mistakes
- Wrapping up and next steps
What you need
- ● Vertical Planter System: Wall-mounted pockets (fabric or plastic, 6–12 pockets per panel)
- ● OR hanging planters (macramé, plastic, or ceramic, 3–5 per plant type)
- ● OR pallet wood planters (reclaimed pallets, 4x4 ft or smaller)
- ● Growing Medium: High-quality potting mix (1–2 bags, 1–2 cubic feet each)
- ○ Coco coir or peat moss (optional, for moisture retention)
- ● Perlite or vermiculite (1 small bag, for drainage)
- ● Plants: Succulents (e.g., sedum, echeveria—low-maintenance, drought-tolerant)
- ● Herbs (basil, thyme, mint—compact and high-yield)
- ● Leafy greens (lettuce, spinach, or microgreens—fast-growing)
- ● Flowers (petunias, pansies, or nasturtiums—add color + pollinators)
- ● Hardware & Fasteners: Stainless steel or galvanized screws (1/4"–3/8", 10–15 pieces)
- ● L-brackets or heavy-duty hooks (2–4, for wall mounting)
- ● Waterproof sealant (if using wood)
- ● Drip irrigation kit (for automated watering—saves time!)
- ● Self-watering planters (if you travel often)
- ● LED grow lights (for indoor vertical gardens or low-light spots)
- ● Decorative elements (painted pots, solar-powered lights, or trellises for climbing plants)
- ● Compost or worm castings (for nutrient boost)
- ● Sunlight assessment: At least 4–6 hours of direct sunlight daily (south-facing walls ideal).
- ● Wall or fence: Sturdy enough to support 10–20 lbs per square foot (check with a landlord if renting!).
- ● Basic DIY skills: Ability to drill/screw or follow assembly instructions.
- ● Water source: Easy access to a hose or watering can (extendable spouts help!).
Instructions for creating a vertical layered little garden
This space-efficient design transforms tight spots into lush, productive gardens using vertical layers.
🪴 Step 1: Plan Your Vertical Structure and Base Layer
Start with a sturdy vertical garden frame or wall-mounted trellis that can support 3-4 layers of plants. I like to use a 4-foot tall wooden frame with built-in shelves for stability. The bottom layer should be 12-18 inches deep to accommodate root-heavy plants like herbs or shallow-rooted veggies.
Fill the base layer with 2-3 gallons of well-draining potting mix—this ensures roots won’t suffocate. Press it down gently so it’s firm but still loose enough for roots to penetrate. Add a slow-release fertilizer (like 1 tablespoon per gallon) to give plants a nutrient boost right from the start.
🌱 Step 2: Add Mid-Layer Plants for Texture and Growth
For the second layer (12-18 inches above ground), plant medium-height perennials or trailing annuals like nasturtiums, ferns, or dwarf shrubs. These fill vertical space beautifully while providing shade for lower layers. Use 1-2 gallons of potting mix here, mixing in compost for extra nutrients.
Space plants 6-12 inches apart, depending on their mature size. You’ll see them fill in quickly—within 4-6 weeks, they’ll create a lush, living backdrop. Water this layer every 2-3 days until roots establish, then taper to once weekly once growth is steady.
☀️ Step 3: Install Top-Layer Trailing Plants for Drama
The third layer (18-24 inches up) is where trailing plants like sweet potato vine, creeping thyme, or strawberries take center stage. Use 1 gallon of lightweight potting mix—these plants need air around their roots to prevent rot. Plant them 4-6 inches apart so they cascade evenly.
Secure them with soft plant ties or coco fiber strips to guide their growth downward. This layer gets the most light, so position it where it receives at least 6 hours of sun daily. You’ll notice new growth within 2-3 weeks, and by 8 weeks, they’ll spill over beautifully.
💧 Step 4: Integrate Watering and Drainage Systems
Install a drip irrigation line or self-watering reservoir at the base to deliver moisture evenly to all layers. I like to use a 1-gallon watering reservoir with a slow drip emitter—this keeps the topsoil moist without oversaturating roots. Test the system by running water for 10 minutes and checking if all layers drain properly.
Ensure each layer has drainage holes covered with landscape fabric to prevent soil loss. Overwatering is the biggest mistake here—let the top inch of soil dry between waterings to avoid root rot. Mulch the top layer with ½ inch of organic mulch to retain moisture and suppress weeds.
✂️ Step 5: Maintain and Prune for Long-Term Growth
Prune leggy growth every 4-6 weeks to encourage bushier, fuller plants. Pinch back tips of trailing vines to redirect energy into root and leaf growth. I also fertilize once monthly with a balanced liquid fertilizer (10-10-10) during the growing season to keep plants thriving.
Watch for pests like aphids or spider mites—these love crowded vertical gardens. Spray with neem oil at the first sign of trouble. With proper care, your vertical layers will mature into a self-sustaining ecosystem within 3-4 months, doubling your growing space effortlessly.
Tips & tricks for perfect vertical layered garden design
A few strategic moves will transform your vertical garden from good to extraordinary. These insights come from years of trial and error—don't skip the details that make all the difference.
Layer Depth Matters: In Step 1, that 12-18 inch depth for your base layer isn't arbitrary—it's the sweet spot for root-heavy plants like herbs. Shallow-rooted veggies will still thrive, but if you're growing anything with deeper roots (like carrots or beets), consider extending that bottom layer to 24 inches. The middle layer's 12-18 inches above ground creates perfect shade for lower plants while still getting enough light for medium-height perennials. Think of it like architectural planning—each layer serves a purpose in the ecosystem.
Soil Composition Strategy: The instructions mention well-draining potting mix, but here's what nobody tells you: mix in 20% perlite or vermiculite to that 2-3 gallons in your base layer. This improves aeration without compromising moisture retention. For the top layer's 1 gallon of lightweight mix, I add 30% coconut coir—it holds moisture better than regular potting mix while preventing compaction. The compost in your middle layer should be well-aged; fresh compost can burn delicate roots during the critical 4-6 week establishment period.
Sunlight Layering Technique: That top layer's need for at least 6 hours of sun daily is non-negotiable, but here's how to maximize it: position your vertical garden where the morning sun hits the trailing plants first. This prevents scorching while giving them the energy boost they need for that dramatic 8-week cascade. For the middle layer, I recommend placing it where it gets 4-5 hours of dappled sunlight—this creates the perfect microclimate for shade-loving plants while preventing legginess. The bottom layer can handle 3-4 hours of indirect light, making it ideal for herbs that prefer partial shade.
Watering System Secret: When testing your drip irrigation for 10 minutes in Step 4, pay attention to how water distributes—you want even saturation without pooling. Here's my pro move: install a small submersible pump in your 1-gallon reservoir to create gentle pressure. This ensures water reaches all layers without creating waterlogged pockets. The "let the top inch dry" rule applies to all layers, but check the bottom layer first—it's most prone to overwatering. I use a soil moisture meter to verify before watering again, especially during the critical 4-6 week establishment period when roots are developing.
Pro Tips for Little Garden Design
- A few strategic moves will transform your vertical garden from good to extraordinary.
- Layer Depth Matters: In Step 1, that 12-18 inch depth for your base layer isn't arbitrary—it's the sweet spot for root-heavy plants like herbs.
- Soil Composition Strategy: The instructions mention well-draining potting mix, but here's what nobody tells you: mix in 20% perlite or vermiculite to that 2-3 gallons in your base layer.
Frequently asked questions
Got questions about maximizing your small space with vertical garden design? Here are some answers to help you get started—and keep your green thumbs happy!
What are the best plants for a vertical garden in a small space?
Opt for compact, fast-growing plants like herbs (basil, thyme, mint), leafy greens (lettuce, spinach), and trailing vines (strawberries, cherry tomatoes). Choose varieties bred for containers, and avoid heavy root systems. Dwarf or bush varieties save space while delivering big flavor!
How long does it take to see results in a vertical garden?
Fast-growing plants like radishes or microgreens sprout in 2–4 weeks, while herbs and strawberries take 6–8 weeks to mature. Patience pays off—layering plants with different growth rates keeps your garden productive year-round. Pro tip: Start with quick wins like sprouting seeds in jars to test your setup!
Can I build a vertical garden on a budget?
Repurpose materials like pallets, old gutters, or hanging shoe organizers for frames. Skip expensive soil—use coconut coir or hydroponic mats for lightweight moisture control. Dollar-store trays or recycled plastic bottles work too. DIY tutorials abound online for zero-cost setups!
How do I keep a vertical garden from drying out or getting too wet?
Use self-watering systems (like wicking fabric or drip irrigation) to maintain moisture. For dry climates, add mulch or moss to retain humidity. Overwatering? Ensure pots have drainage holes and avoid soggy soil. A moisture meter ($10) prevents guesswork—your plants will thank you!
What’s the easiest vertical garden setup for beginners?
Start with a hanging pocket planter (like Kallista or GrowItAll)—no assembly required! For DIYers, a wall-mounted grid with fabric pockets is simple and customizable. Avoid heavy systems; lightweight materials (like PVC pipes) reduce strain on walls. Pre-made kits often include care guides too!
Wrapping up and next steps
Creating a little garden design with vertical layers is a game-changer—it maximizes space, boosts productivity, and adds charm to any outdoor area! Whether you’re working with a balcony, patio, or tiny yard, these techniques prove that small doesn’t mean limited.
Start small, experiment with textures and heights, and watch your green thumb flourish in unexpected ways.
Ready to transform your space? Pick one vertical layer to try this weekend—your future self (and plants!) will thank you. 🌱✨