
Landscaping
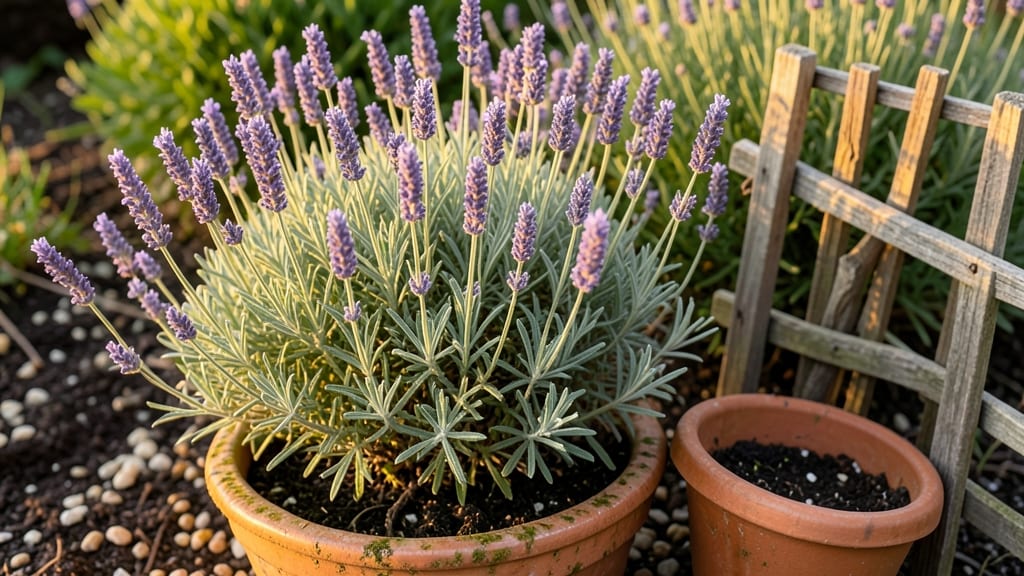
A clever small house garden design can turn even a modest 20-by-30-foot backyard into a lush, productive oasis by maximizing vertical space, raised beds, and smart planting. 🌿 I’ve done just that, and here’s how. choosing compact varieties that don’t sacrifice yield for size.
The key is prioritizing what you’ll actually use—herbs in pots by the door, salad greens in a narrow raised bed, and climbing vines on trellises that double as privacy screens.
You’ll need a mix of containers, trellises, and multi-level planting shelves, but the investment pays off in harvests that outperform their space.
Imagine plucking fresh basil for dinner from a wall-mounted planter while harvesting cherry tomatoes from a compact trellis just feet away. The right layout turns every inch into growing real estate, and with proper plant pairing, you’ll even attract pollinators to boost your yields.
This approach works for urban balconies, suburban side yards, or even small front gardens—just adjust the scale. Let’s get your tiny space working harder than ever before.
📚 In This Guide
- What you need
- Instructions
- Tips and common mistakes
- Wrapping up and next steps
What you need
- ● Containers: 1–3 vertical planters (12"–18" deep, 6"–12" wide) – for herbs, greens, or compact veggies.
- ● 2–4 raised beds (3'x6' or smaller) – ideal for root crops or sprawling plants like tomatoes.
- ● Window boxes (6"–12" deep) – perfect for sun-loving herbs or salad greens.
- ● Soil & Amendments: 5–10 bags (1–2 cu. ft. each) of high-quality potting mix or container soil (look for "organic" or "peat-free" options).
- ● 1–2 bags of compost or worm castings (for nutrient boost).
- ○ Optional: Slow-release fertilizer (e.g., Osmocote) or liquid seaweed extract.
- ● Tools: 1 small trowel (for planting seeds/transplants).
- ● 1 pair of pruning shears (for trimming and harvesting).
- ● 1 watering can (1–2 gallons) or drip irrigation kit (for efficiency).
- ● 1 measuring tape (for precise spacing).
- ● 1 garden gloves (to protect your hands!).
- ● Must-Haves: A sunny spot (at least 6 hours of direct sunlight daily).
- ● Access to water (a hose or water source nearby).
- ● Basic knowledge of your hardiness zone (check the USDA map!).
- ● Nice-to-Haves: Trellises or wall-mounted planters (to save floor space).
- ● Self-watering containers (for busy gardeners!).
- ● Reflective mulch (e.g., black plastic) to warm soil faster.
- ● Solar-powered lights (for ambiance and safety).
Instructions for creating a functional small house garden
Here's how to maximize every inch of your yard for a thriving, productive garden.
🪴 Step 1: Measure and Map Your Available Space
Start by measuring your yard's dimensions and sketching a simple layout. I use graph paper where each square represents 1 square foot—this helps visualize what will fit. Note permanent fixtures like windows, driveways, or sidewalks that can't be moved. Even small spaces can yield big harvests when planned carefully.
Walk your property at different times of day to observe sunlight patterns. Mark areas that receive full sun (6+ hours), partial sun (3-6 hours), and shade (under 3 hours). This ensures you place sun-loving plants like tomatoes and peppers where they'll thrive, while shade-tolerant herbs like parsley or cilantro get their ideal conditions.
☀️ Step 2: Plan Vertical and Tiered Planting Zones
Use vertical space with trellises, wall-mounted planters, or stacked containers to grow upward. I install 6-foot tall trellises along fences for vining plants like cucumbers or pole beans—this keeps them off the ground and maximizes floor space. For walls, I use wall pockets or hanging planters for herbs and shallow-rooted veggies like lettuce.
Create tiered planting beds by elevating sections with cinder blocks or repurposed materials. This allows you to grow multiple crops in the same footprint by layering plants with different root depths. For example, place shallow-rooted herbs like thyme in the top layer and deeper-rooted carrots in the bottom. Just ensure each tier has proper drainage.
🌱 Step 3: Choose Compact or Dwarf Varieties
Skip full-size plants and opt for space-saving varieties like bush beans, dwarf tomatoes, or mini bell peppers. These take up half the space of traditional types but produce just as well. Check seed packets or plant tags for labels like "compact," "bush," or "dwarf"—these are your best friends in small gardens.
Interplant fast-growing crops with slower ones to maximize space over time. For example, plant radishes (which mature in 30 days) between rows of carrots (which take 70 days
Divide your garden into 1-foot by 1-foot squares and plant each square with a specific group of crops based on their spacing needs. For instance, a square can hold 16 basil plants, 9 carrots, or 4 onions. This method eliminates wasted space and makes it easy to rotate crops yearly for better soil health. Label each square with stakes or a small sign to keep track of what’s planted where. I use a simple color-coded system: green for veggies, purple for herbs, and yellow for flowers. This visual cue helps me rotate crops efficiently and avoid planting the same family in the same spot two years in a row. Leave 12-inch wide pathways between planting zones for easy access. These paths can be covered with mulch or stepping stones to reduce weeds and make maintenance simpler. I also install a soaker hose along the edges of each bed to deliver water directly to the roots without wetting leaves or pathways. Group plants with similar water needs together to simplify irrigation. For example, place herbs and lettuce near each other since they prefer consistent moisture, while succulents and rosemary can go in a drier, sunnier corner. This zoning cuts watering time in half and ensures each plant gets exactly what it needs.✂️ Step 4: Use Square Foot Gardening for Precision
💧 Step 5: Optimize Watering and Maintenance Pathways
Tips & tricks for perfect small house garden layouts
Transforming limited space into a productive garden takes smart planning—and these tricks will help you maximize every inch without sacrificing yield.
Sunlight Strategy: In Step 1, when you're mapping sunlight, don't just rely on summer observations—check sunlight patterns in spring and fall too. Many small gardens get less sun during these seasons, and this will help you place your sun-loving plants like tomatoes and peppers in the absolute best spots. I've seen gardens where summer sun patterns led to poor fall harvests because the layout didn't account for seasonal changes. A simple solution is to mark your yard with chalk or flags during different times of year if possible.
Vertical Space Hacks: For Step 2's vertical planting, consider using repurposed materials like old ladders or pallets as trellises—they're often free and add rustic charm. I've used wooden crates stacked vertically for herbs, creating a living wall that produces food while adding privacy. Just ensure whatever you use can support the weight of mature plants, especially vining varieties like cucumbers or pole beans. A good rule of thumb is to use materials that can hold at least 20 pounds per square foot.
Crop Rotation Made Simple: When implementing Step 4's square foot gardening, I've found that keeping a simple notebook helps track rotations. Write down what you planted in each square last year and what you're planting this year—this prevents soil depletion and reduces pest problems. For example, after planting tomatoes in a square, avoid planting nightshades (like peppers or eggplants) there the next year. Instead, use that space for beans or onions, which belong to different plant families.
Watering Efficiency: In Step 5, when creating your pathways, consider adding a small rain barrel near your garden to collect water for irrigation. I've reduced my water usage by 40% using this system. The 12-inch pathways you create aren't just for access—they can also serve as channels for water to flow directly to plant beds. Just make sure the pathways slope slightly toward your plants rather than away from them.
Pro Tips for Small House Garden Design
- Transforming limited space into a productive garden takes smart planning—and these tricks will help you maximize every inch without sacrificing yield.
- Sunlight Strategy: In Step 1, when you're mapping sunlight, don't just rely on summer observations—check sunlight patterns in spring and fall too.
- Vertical Space Hacks: For Step 2's vertical planting, consider using repurposed materials like old ladders or pallets as trellises—they're often free and add rustic charm.
Frequently asked questions
Got questions about maximizing your small garden space? You’re not alone! Here are some of the most common concerns—and practical solutions—to help you design a thriving, space-efficient garden.
What are the best plants for a small garden?
Opt for compact, high-yield varieties like bush beans, dwarf tomatoes, lettuce, and herbs (basil, thyme, parsley). Vertical plants like pole beans or trellised cucumbers save space while maximizing harvests. Dwarf fruit trees (e.g., apple or peach) are also great for tiny yards!
How long does it take to see results in a small garden?
Fast-growing crops like radishes, lettuce, or green onions may sprout in 2–4 weeks, while tomatoes and peppers take 6–10 weeks. With proper care (sunlight, water, soil), you’ll see noticeable growth in 4–8 weeks. Patience pays off—just rotate crops yearly to keep soil healthy!
Can I design a small garden on a budget?
Start with repurposed containers (buckets, pallets, or old tires), use free compost from kitchen scraps, and swap seeds with neighbors. Skip expensive mulch by using grass clippings or shredded leaves. Even a $20–$50 starter kit can yield big results!
How much sunlight does a small garden really need?
Most veggies need 6–8 hours of sunlight daily. If your space is shady, prioritize leafy greens (spinach, kale) or herbs (cilantro, parsley). For sun-lovers (tomatoes, peppers), place them near windows or use reflective surfaces (like mirrors) to boost light exposure.
What if my small garden isn’t producing enough?
Troubleshoot with these steps:
- Check soil pH (test kits are cheap!)—amend with lime or compost if needed.
- Ensure proper watering (deep but infrequent, not daily light sprinkles).
- Rotate crops yearly to prevent disease and nutrient depletion.
- Try succession planting (e.g., sow lettuce every 2 weeks for continuous harvests).
Wrapping up and next steps
Designing a small house garden doesn’t mean sacrificing beauty or productivity—it’s all about smart planning and creativity! 🌱 With the right space-saving layouts, vertical gardening tricks, and strategic plant choices, you can turn even the tiniest yard into a thriving green oasis.
Whether you’re growing veggies, herbs, or flowers, the key is to maximize every inch while keeping your space functional and inviting.
Ready to get started? Sketch a rough layout of your garden, gather your supplies, and begin transforming your space—one plant at a time! 🌿 For extra inspiration, explore local gardening communities or Pinterest boards to spark more ideas. Happy gardening!