
Tools
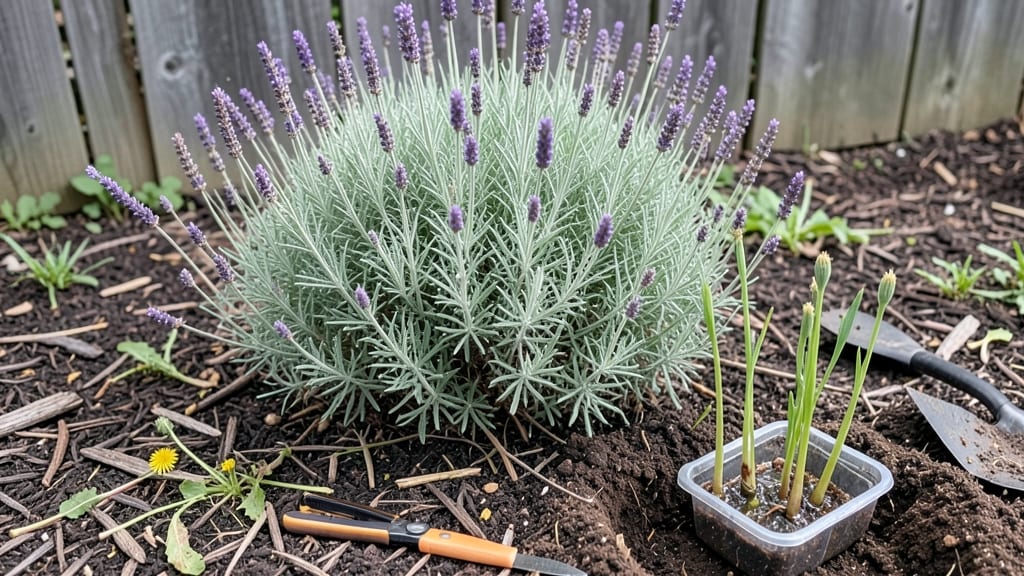
Mapping your garden’s sunlight patterns is the secret weapon for a year-round thriving harvest that never looks like a guess-and-check experiment. ✨ I learned the hard way—planting tomatoes in what I thought was full sun only to watch them bolt by July.
A simple sun map reveals exactly where light lingers, shifts, or disappears, so you can place every plant in its perfect spot.
The tools you need are shockingly basic: a sun calculator (or free app), a notebook, and a few stakes to mark key spots. Spend one sunny day walking your yard every few hours—morning, noon, and evening—to track how shadows creep.
Most people skip this step, then wonder why their shade plants wilt or their sun-lovers stretch like they’re auditioning for a horror movie.
Once you’ve got your map, arranging plants becomes foolproof. Your sun-lovers—tomatoes, peppers, lavender—go where they’ll bask for 6+ hours, while partial-shade plants like Swiss chard or impatiens get their 3-6 hours, and ferns or hostas thrive in the under 3-hour pockets.
The payoff? Plants that grow stronger, faster, and healthier, with fewer pests and diseases creeping in where light is weak.
Pro tip: Revisit your map every season—tree growth, new structures, and even your own shadow patterns change over time. A little upfront work means your garden works smarter, not harder, all year long. Ready to turn your guesswork into a masterpiece?
📚 In This Guide
- What you need
- Instructions
- Tips and common mistakes
- Wrapping up and next steps
What you need
- ● Graph paper or digital mapping tool (e.g., Google Earth Pro, Garden Planner apps, or grid-based sketchpad)
- ● Measuring tape (25–100 ft, depending on garden size) 📏
- ● Stakes or flags (wooden, metal, or biodegradable; 6–12 per plot)
- ● String or twine (for marking sun paths, 50+ ft)
- ● Sunlight tracker or solar path analyzer (e.g., Solar Pathfinder, smartphone app like Sun Surveyor, or DIY shadow stick)
- ● Notebook & pencil (for recording sun angles, shadows, and plant notes)
- ● Compass or GPS device (to note cardinal directions)
- ● Plant tags or labels (waterproof, with sun exposure requirements)
- ● Laser level (for ultra-precise height/angle measurements)
- ● Digital camera (to document sun patterns at different times)
- ● Soil pH/test kit (to pair sun data with plant-specific needs)
- ● Adjustable trellises or shade cloth (for fine-tuning microclimates)
- ● Weather-resistant markers (for long-term sun path labeling)
Instructions for creating a sun mapping garden
Here's how to turn your outdoor space into a thriving garden by analyzing sunlight patterns first.
☀️ Step 1: Observe Sunlight Patterns Across Seasons
Start by recording sunlight exposure at different times of day for at least two weeks during both summer and winter. I use a simple garden stake with a whiteboard or sticky notes to mark sun exposure in 2-hour intervals—morning, midday, and afternoon. Note where shadows fall and how they shift throughout the day.
This is the moment that matters: shadows in winter can be twice as long as in summer, drastically changing where you can place sun-loving plants. Mark the stake locations with flags or paint so you can reference them later. Pay special attention to areas near fences, walls, or large trees that might block sunlight at certain times.
📏 Step 2: Divide Your Space by Sunlight Zones
Based on your observations, divide your garden into four key zones: full sun (6+ hours), partial sun (3-6 hours), partial shade (3-6 hours of filtered light), and full shade (less than 3 hours). Use colored spray paint or stakes to mark these zones clearly—this visual guide will prevent you from placing sun-sensitive plants in the wrong spots.
Here's the thing—most garden plans fail because they don’t account for seasonal shifts. For example, a spot that gets full sun in summer might only receive partial sun in winter. Adjust your zones accordingly, and you’ll avoid common mistakes like wilting ferns or struggling tomatoes.
🌱 Step 3: Group Plants by Sunlight Needs
Now that you’ve mapped your zones, group plants with similar sunlight requirements together. Place sun-lovers like tomatoes, peppers, and lavender in the full sun zones, while shade-tolerant plants like hostas, ferns, and impatiens go in the partial or full shade areas. I like to sketch a simple layout on graph paper, labeling each zone and noting the plants that thrive there.
Don’t skip this step—mixing light requirements leads to stressed plants and wasted effort. For example, placing a basil plant in a shady corner will result in leggy, weak growth, while a shade-loving caladium in a hot, sunny spot will scorch. Your sun map ensures every plant gets the perfect spot.
⏰ Step 4: Adjust for Seasonal Shifts
After planting, revisit your garden every 4-6 weeks to reassess sunlight exposure, especially during seasonal transitions like spring and fall. Shadows change as trees leaf out or lose foliage, and nearby structures might cast different shadows as the sun’s angle shifts. If you notice a plant struggling, it’s likely not getting the right amount of light—relocate it if needed.
This is where many gardeners go wrong: assuming a spot’s sunlight stays constant. Real talk—what was a partial sun spot in spring might become full shade** by summer. Keep an eye on your plants and adjust as needed. A little flexibility now saves headaches later.
🌿 Step 5: Maintain and Refine Your Layout
Once your garden is established, monitor plant health and adjust as necessary. If a plant thrives beyond expectations in a particular spot, consider expanding it there. Conversely, if a plant consistently struggles, it might need to be moved to a different zone. I keep a small notebook nearby to jot down observations—like which plants seem happiest where and which need more light.
Your sun map isn’t set in stone—it’s a living document that evolves with your garden. Over time, you’ll develop an intuitive sense of where each plant belongs, and your garden will flourish year-round. The key is staying observant and adapting as needed.
Tips & tricks for perfect sun mapping garden
Creating a sun map isn't just about measuring light—it's about understanding the dynamic relationship between your plants and their environment. Here's what I've learned after years of trial and error that'll make all the difference in your garden's success.
Seasonal Observation Strategy: Don't just observe during one season—instructions call for two weeks in both summer and winter, but I recommend extending this to three seasons if possible. Spring and fall offer transitional insights that summer/winter alone might miss. Use a small digital camera to photograph shadow patterns at each 2-hour interval—this visual record becomes invaluable when planning your layout. The winter observations are especially critical because shadows can be twice as long, completely changing your full sun zones.
Zone Marking Hacks: For permanent zone markers, I've found that colored landscape fabric works better than spray paint—it's more durable and won't wash away with rain. Use different colors for each zone (red for full sun, yellow for partial sun, blue for partial shade, green for full shade) and cut it into strips that can be easily moved if you need to adjust your layout. This visual system makes it instantly clear where each plant belongs, even for guests who might help with maintenance.
Plant Grouping Pro Tip: When sketching your layout, don't just group by sunlight needs—also consider water requirements and companion planting. For example, tomatoes and basil thrive together in full sun zones because they have similar water needs and the basil actually improves tomato flavor. I keep a reference chart nearby with each plant's sunlight needs, water requirements, and companion plants to make the grouping process efficient and effective.
Adjustment Timeline: The instructions suggest reassessing every 4-6 weeks, but I've found that checking every 3 weeks during seasonal transitions (spring to summer, summer to fall) catches problems before they become critical. Set a recurring reminder on your phone for these check-ins—many gardeners skip this step because they forget, and that's when plants start showing signs of stress. Keep a small notebook in your gardening tool belt to jot down observations during these checks.
Pro Tips for Sun Mapping Garden
- Creating a sun map isn't just about measuring light—it's about understanding the dynamic relationship between your plants and their environment.
- Seasonal Observation Strategy: Don't just observe during one season—instructions call for two weeks in both summer and winter, but I recommend extending this to three seasons if possible.
- Zone Marking Hacks: For permanent zone markers, I've found that colored landscape fabric works better than spray paint—it's more durable and won't wash away with rain.
Frequently asked questions
What’s the best time of year to start sun mapping my garden?
Late winter or early spring is ideal—before planting but after the worst frost. This lets you observe sunlight patterns when days are still short, ensuring your map accounts for seasonal shifts. Pro tip: Use a sunlight tracker app to log hourly data for 2–4 weeks for accuracy!
How do I handle irregularly shaped garden spaces?
Break the area into smaller squares or rectangles, then map each section separately. Use graph paper or a digital tool like Google Earth to overlay grids. For curved edges, sketch freehand and adjust plant placements to fit. Pro tip: Label zones (e.g., "North Slope") to track microclimates!
What if my garden gets partial shade from trees or structures?
Note the duration of shade—even 2 hours of morning sun can work for shade-tolerant plants. Use a sunlight calculator to estimate "light hours" per day. Group sun-lovers together and shade-lovers separately. Pro tip: Prune trees in late winter to delay shade creep!
Can I reuse a sun map from last year?
Not exactly! Sun paths shift with seasons, and structures (like new fences) can alter light. Revisit your map annually, especially after major changes. Pro tip: Take photos of your map each year to spot trends—like expanding shade from a growing tree!
What’s the easiest tool for beginners to create a sun map?
Start with a notebook, pencil, and a solar path analyzer** (or a DIY stick + string method). For tech-savvy gardeners, apps like Sun Surveyor or Garden Planner automate tracking. Pro tip: Even a smartphone timer + shadow tracing works in a pinch!
| Quick Fix | Issue |
|---|---|
| Adjust plant spacing or use reflective mulch. | Overcrowded areas block sunlight. |
| Re-map after pruning or removing obstructions. | Unexpected shade appears after trimming trees. |
| Use a light meter to verify "partial shade" claims. | Plants wilt despite being labeled "sun-tolerant." |
Wrapping up and next steps
Creating a sun mapping garden is your ticket to a thriving, low-maintenance outdoor space that works with nature—not against it! 🌞 By analyzing sunlight patterns, you’ll unlock the secrets to optimal plant placement, year-round growth, and even water efficiency.
Whether you’re a seasoned gardener or just starting out, this precision approach transforms guesswork into a lush, intentional landscape.
Ready to take the next step? Grab your tools, sketch your first layout, and watch your garden flourish like never before. Your sun-smart oasis awaits—let’s grow it together! 🌱