
Tools
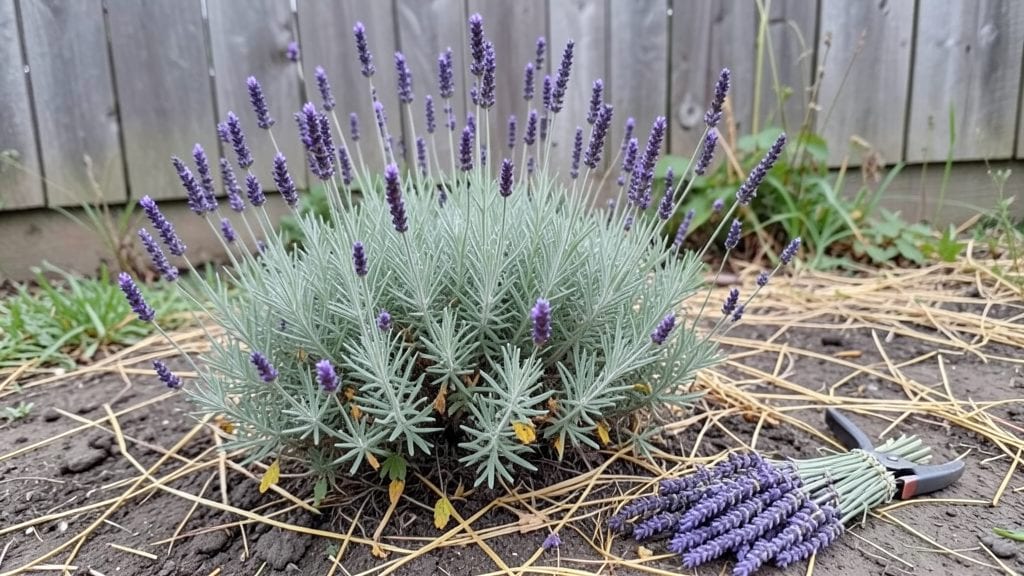
The garden primer starts with one simple truth: growing plants isn't rocket science, but it does require understanding the basics before you dig in. I remember my first attempt—overwatering seedlings, planting too deep, and wondering why nothing took hold.
That’s why this guide exists: to skip the trial-and-error and get you growing confidently from day one.
You’ll need just a few essentials to begin: good soil, basic tools like gloves and a trowel, and plants suited to your space. No fancy equipment here—just the right foundation.
The real magic happens when you match plants to sunlight, water consistently, and pay attention to what they’re telling you through their leaves. Even a small patch can yield enough herbs or veggies to make you proud.
By the end, you’ll know exactly when to plant, how deep to bury seeds, and how to troubleshoot common issues before they become problems. Imagine snipping fresh basil in June or harvesting crisp lettuce in September—all because you understood the fundamentals.
This isn’t about perfection; it’s about progress, and every gardener starts somewhere.
Whether you’re working with a sunny windowsill or a backyard plot, these principles adapt to your space. The goal? To turn curious beginners into capable gardeners who actually enjoy the process. Let’s get those hands dirty—and keep them there.
📚 In This Guide
- What you need
- Instructions
- Tips and common mistakes
- Wrapping up and next steps
What you need
- ● Garden Gloves (1 pair): Durable, breathable, and fitted (e.g., Wolfe Gardens or Fiskars)
- ● Hand Trowel (1): Stainless steel, 6–8" long (e.g., Radiah or Fiskars)
- ● Pruners (1): Bypass pruners for clean cuts (e.g., Felco or Gonicc)
- ● Watering Can (1): 1–2 gallon capacity with a rose attachment
- ● Garden Hose (25–50 ft): Lightweight, kink-resistant with a spray nozzle
- ● Soil Amendment: 5–10 lbs of compost or aged manure (e.g., Espoma or Dr. Earth)
- ● Mulch (2–3 bags): Shredded bark or straw for moisture retention
- ● Seeds or Seedlings: Choose 3–5 easy varieties (e.g., lettuce, tomatoes, marigolds)
- ● Kneeling Pad: Cushioned for comfort (e.g., Gorilla Grip)
- ● Wheelbarrow (1): 2–3 cubic feet for hauling soil/plant debris
- ● pH Test Kit: Digital or liquid test strips for soil analysis
- ● Trellis or Tomato Cages (2–3): For climbing plants like cucumbers or beans
- ● Rain Gauge: Track watering needs accurately
- ● Garden Journal: Notebook to log plant progress and notes
Instructions: building a foundation for year-round success
Here's how to set up your garden for continuous growth, no matter the season.
Test and Prepare Your Soil
First, grab a small trowel and dig a hole about 6 inches deep in your planting area. The soil should feel crumbly when moist, not hard or sticky. If it's compacted, mix in 2-3 inches of compost from your materials to improve drainage and nutrient content. I like to add a handful of organic matter to sandy soil to help retain moisture, while clay-heavy soil benefits from extra compost to loosen it up.
For container gardening, fill pots with fresh potting mix instead of garden soil. This prevents compaction and disease. Water the mix until it's evenly damp but not soggy—you should see moisture bead up on the surface without pooling. This step ensures roots get the air and water they need to thrive year-round.
Plan Your Planting Schedule
Divide your garden into four seasonal zones: cool-season crops (like lettuce and spinach), warm-season crops (like tomatoes and peppers), perennial plants (like herbs and asparagus), and winter interest plants (like kale and pansies). Cool-season crops thrive in spring and fall when temperatures stay between 40-75°F, while warm-season crops need consistent warmth above 60°F to grow.
Use a simple calendar to track planting dates. For example, in most climates, you can plant cool-season crops 6-8 weeks before the first frost and again 4-6 weeks before the last frost. Warm-season crops go in 2-3 weeks after the last frost when soil temperatures reach at least 60°F. This timing keeps your garden productive in every season.
Mulch for Moisture and Weed Control
Spread 2-3 inches of mulch evenly over the soil surface after planting. Organic mulches like straw or shredded leaves break down over time, adding nutrients to the soil. Inorganic mulches, such as gravel, help retain soil moisture without decomposing. Mulch also suppresses weeds, which compete with your plants for water and nutrients.
Keep mulch 2-3 inches away from plant stems to prevent rot. Replenish it as it breaks down, especially in the first year. This layering technique keeps the soil consistently moist, reduces temperature fluctuations, and protects roots from extreme heat or cold—key for year-round success.
Set Up Watering and Light Systems
Install a drip irrigation system or soaker hoses to deliver water directly to the roots. Water deeply once or twice a week, depending on rainfall, until the soil is 6 inches deep and evenly moist. Early morning is the best time to water, as it reduces evaporation and fungal diseases. Avoid overhead watering, which can spread disease and waste water.
For containers, check soil moisture daily by sticking your finger 1 inch into the soil. If it feels dry, water until it drains from the bottom. Supplement natural light with grow lights if your garden lacks 6+ hours of sunlight daily, especially in winter. Position lights 12-18 inches above plants and keep them on for 12-14 hours a day to mimic summer conditions.
Monitor and Adjust for Seasonal Changes
Every 2-4 weeks, check for pests, diseases, or nutrient deficiencies. Yellowing leaves often signal overwatering or nitrogen deficiency, while brown edges suggest underwatering or salt buildup. Adjust your care routine based on what you observe—more compost for nutrients, less water if the soil stays soggy, or pruning to improve airflow.
In fall, protect tender plants with row covers or frost blankets when nighttime temperatures drop below 40°F. In winter, focus on harvesting cold-hardy crops like kale and carrots, and plan next season’s layout. This proactive approach keeps your garden thriving through every season.
Tips & tricks for perfect year-round gardening
A few simple strategies will help you avoid common pitfalls and maximize your garden's potential through every season.
Soil Testing Tip: In Step 1, when you're testing your soil, don't just rely on the feel test. Consider getting a simple soil test kit from your local garden center for about $15. These tests reveal the pH level and nutrient content, which tells you exactly what amendments your soil needs. For example, if your test shows acidic soil (below 6.0), you'll know to add lime to raise the pH before planting vegetables that prefer neutral soil like tomatoes and peppers.
Seasonal Planting Hack: When planning your planting schedule in Step 2, use a free online frost date calculator to determine your exact last frost date. This makes the 6-8 week and 4-6 week planting windows much more precise. I've found that planting cool-season crops like spinach exactly 7 weeks before the first frost gives them just enough time to mature before winter sets in. For warm-season crops, wait until soil temperatures consistently reach 60°F—use a soil thermometer to check in the morning.
Mulch Layering Strategy: In Step 3, when applying your 2-3 inches of mulch, consider creating a two-layer system for perennial plants. Start with 1 inch of coarse mulch like pine straw on top of 1-2 inches of finer organic material. The coarse layer helps with water retention while the finer layer breaks down slowly, feeding your plants over time. This method reduces how often you need to replenish mulch, especially in the first year when decomposition is fastest.
Lighting Troubleshooting: For Step 4's grow lights, if you're supplementing with LED lights, position them slightly closer than the recommended 12-18 inches—around 10-12 inches—for seedlings. The closer distance helps compensate for lower wattage LED bulbs. Also, consider using a timer for your grow lights to maintain that consistent 12-14 hour day cycle. Many gardeners forget to turn lights off at night, which can actually stress plants by preventing their natural rest cycle.
Pro Tips for The Garden Primer
- A few simple strategies will help you avoid common pitfalls and maximize your garden's potential through every season.
- Soil Testing Tip: In Step 1, when you're testing your soil, don't just rely on the feel test.
- Seasonal Planting Hack: When planning your planting schedule in Step 2, use a free online frost date calculator to determine your exact last frost date.
Frequently asked questions
The Garden Primer can feel overwhelming at first, but you’re not alone—every gardener starts somewhere! Here are answers to the most common questions to help you grow with confidence.
What’s the best time to start a garden for beginners?
For most regions, spring (after the last frost) is ideal for planting warm-season crops like tomatoes and peppers. Cool-season veggies (spinach, kale) thrive in early spring or fall. If you’re in a warm climate, winter can work too—just adjust for shorter days and moisture needs. Check your USDA Hardiness Zone for local timing tips!
How long does it take to see results in a new garden?
Fast growers like radishes or lettuce sprout in 3–4 weeks, while slower plants (tomatoes, squash) take 2–3 months to harvest. Herbs like basil may flower in weeks! Patience pays off—focus on soil health first, and you’ll see progress sooner.
Can I start a garden on a budget?
Skip expensive starter plants—seeds are cheaper and let you grow more varieties. Use cardboard or newspaper for mulch, repurpose containers (buckets, old tires), and swap cuttings with neighbors. Even a $20 investment in seeds, soil, and tools can yield a bountiful harvest!
What do I do if pests or diseases show up?
Act fast! Handpick pests (like tomato hornworms) or spray soapy water for aphids. For diseases (e.g., powdery mildew), improve airflow and remove infected leaves. Prevention is key: Rotate crops yearly, avoid overwatering, and introduce beneficial insects (ladybugs, praying mantises) to keep pests in check.
What if my garden fails the first time?
Failure is just feedback! Note what didn’t work (e.g., wrong soil, poor sunlight) and adjust. Even experienced gardeners lose plants—learn, laugh, and try again. Start small next time, or try easy, forgiving plants like zucchini or green beans. Every season teaches you more!
Wrapping up and next steps
You’ve got everything you need to start your gardening journey—and trust us, there’s no better time than now! 🌱 Whether you’re growing veggies, herbs, or flowers, the key is patience, curiosity, and a little dirt under your nails. Remember, every expert gardener began exactly where you are today.
Ready to take the next step? Start small—pick one plant or section to focus on this season, track your progress, and celebrate every tiny victory. Before you know it, you’ll be sharing your harvest (or blooms!) with neighbors and wondering why you didn’t start sooner.
Now, grab those gloves and get growing! 🌿