
Tools
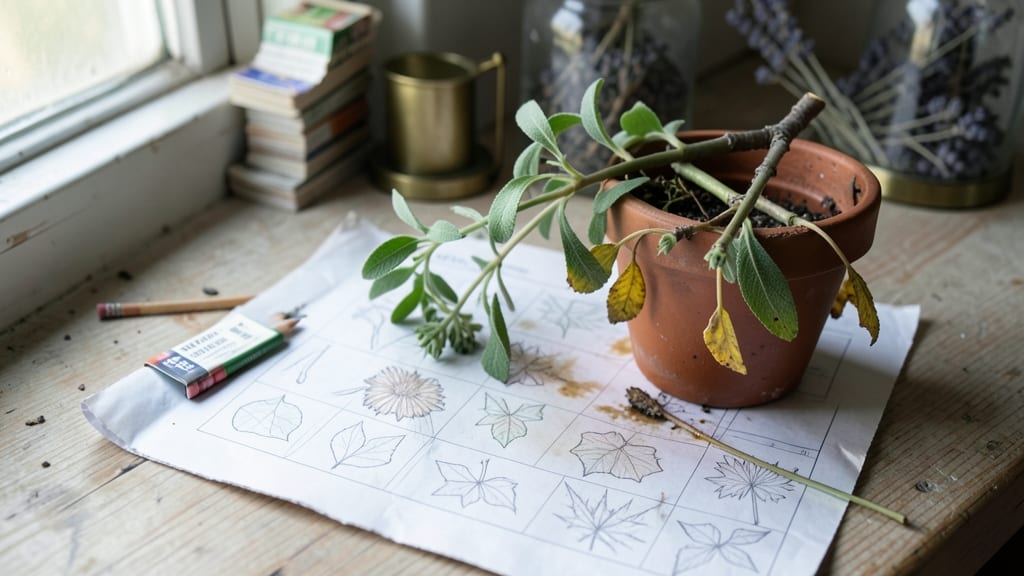
A gardening planner template turned my chaotic garden into a well-timed, high-yielding success story. 🌱 Before I had one, I’d forget planting dates, crowd crops, and waste space—now I visualize the whole season at a glance.
The right layout helps you map out sun exposure, companion plants, and succession planting so nothing gets overlooked.
You’ll need just a few basics: graph paper or a digital tool like Canva, colored pencils or markers, and a reference guide for your hardiness zone. My template includes seasonal checklists, space measurements, and even notes for harvest times.
It’s not about perfection—it’s about making smart choices that save you time and frustration.
With this system, you’ll end up with a garden that produces more, looks better, and requires less guesswork. Imagine walking through rows of thriving plants knowing exactly what to expect next—no more wasted seeds or confused spacing. The template works for vegetable gardens, flower beds, or even container setups.
Customize it to fit your space, whether you’re working with a small balcony or a half-acre plot. The key is starting now, before the first seeds go in the ground. Let’s get your garden organized for a season of success!
📚 In This Guide
- What you need
- Instructions
- Tips and common mistakes
- Wrapping up and next steps
What you need
- ● Graph paper or grid notebook – 8.5" x 11" or A4 size (10-20 sheets for flexibility)
- ● Ruler – 12-inch metal or plastic (for precise layouts)
- ● Colored pencils or markers – 6-8 colors (e.g., green for veggies, blue for water features, red for flowers)
- ● Sticky notes or tabs – 3x3 inches (for labeling plant groups or notes)
- ● Planting schedule printouts – Local frost dates and seasonal charts (free from blank">Almanac or blank">Gardeners.com)
- ○ Computer/tablet – For digital templates (optional but recommended for edits)
- ● Design software – Canva (free), Google Sheets, or Microsoft Excel (for digital planners)
- ● Printing supplies – If using digital templates (ink, paper, or laminator for durability)
- ● Measuring tape – 25-foot (for scaling outdoor garden layouts)
- ● 3D plant models (for digital planners, available on Etsy)
- ● Waterproof laminator + sleeves (to protect outdoor planners)
- ● Clipboard or binder (for field use)
- ● Planting depth/spacing guides (pre-made charts for reference)
How to design a functional gardening planner template
Let's create a planner that keeps your seasonal planting organized and visually intuitive.
🌱 Step 1: Define Your Core Sections
Start by sketching four main sections: Seasonal Timeline, Planting Schedule, Garden Layout, and Task Tracker. The seasonal timeline should span a full year, broken into four quadrants (spring, summer, fall, winter) with clear month-by-month divisions. I like to dedicate the top half of the page to this—it becomes your visual anchor for when to plant, prune, or harvest.
Next, design the planting schedule as a grid where rows represent plant types and columns represent months. This lets you cross-reference what grows best when. For example, tomatoes belong in the summer row but have a "start indoors" note in early spring. Use color-coding here—green for planting, yellow for maintenance, and red for harvest.
🌿 Step 2: Map Your Garden Layout
Draw a top-down sketch of your garden beds or containers, labeling each section with its size (e.g., "4' x 8' raised bed"). Include sun exposure notes (full sun, partial shade) and existing features like trellises or water sources. I find it helpful to overlay a simple compass rose to indicate north-south orientation—this prevents planting tall crops where they'll shade shorter ones.
Leave space for plant tags or icons in each section. A small tomato plant symbol in the summer bed reminds you to rotate crops next season. This visual cue saves time when planning rotations or succession plantings.
⏰ Step 3: Build a Task Tracker
Create a checklist-style tracker with weekly or biweekly intervals. Include tasks like "water deeply," "fertilize," "prune dead growth," and "check for pests." Group them by seasonal priority—for example, spring focuses on soil prep and early planting, while summer emphasizes irrigation and pest control.
Add a progress bar next to each task so you can visually track completion. This helps you spot when you're falling behind—like realizing you haven’t pruned roses in three weeks. I also include a notes section for unexpected events, like "May 15: Heavy rain—check for erosion."
☀️ Step 4: Add Visual Cues and Reminders
Incorporate moon phase icons near planting dates, as some gardeners swear by lunar cycles for better germination. Highlight critical deadlines (like last frost dates) in bold or with a starburst symbol. I like to include a weather forecast section where you can jot down local predictions—this helps adjust watering or harvesting plans.
Leave blank spaces for photos of your garden at different stages. A snapshot of your spring planting lets you compare progress later in the season. This visual history makes it easier to spot patterns, like which areas always dry out faster or where pests first appear.
✂️ Step 5: Test and Refine Your Template
Print your template and simulate a full year by filling in tasks as if it were real time. Notice where sections feel cluttered or where you’re constantly flipping pages. I often find that the planting schedule needs more columns or that the task tracker needs a priority ranking system (1-3 stars). Adjust margins, font sizes, or section sizes to improve readability.
Share your template with a fellow gardener and swap feedback. You might discover they use a different approach to tracking soil pH or compost additions—this could inspire a new section. The goal is a planner that feels intuitive, not overwhelming. Once refined, save it as a digital file and a printed backup for easy reference.
Tips & tricks for perfect gardening planner layout
Here's what I've learned after designing and refining planners for years—these tricks make all the difference in creating a functional, stress-free gardening system.
Visual Hierarchy in Step 1: When designing your seasonal timeline in Step 1, make the month-by-month divisions bold and slightly larger than the rest of the text. I use 14pt font for months and 12pt for days to create clear visual separation. This prevents your eyes from getting lost when scanning for planting dates.
Color-Coding Strategy for Step 2: In your planting schedule grid, use three distinct colors (green/yellow/red) but keep them light shades—dark colors make the text hard to read. I also add a color legend key in the corner so you can quickly reference what each color means without thinking. This visual cue saves time during busy planting seasons.
Compass Rose Precision in Step 2: When adding your compass rose in Step 2, make sure it's small but clear—about 1 inch in diameter works well. Place it in the corner of your garden layout so it doesn't distract from the main planting areas. I draw mine with thin black lines and label the cardinal directions in 8pt font to keep it unobtrusive but still useful.
Progress Bar Hack for Step 3: For your task tracker's progress bars in Step 3, use horizontal bars that are 1 inch long and divide them into four equal sections. This lets you track completion in 25% increments without needing to write numbers. I color-code them by season—green for spring/summer and blue for fall/winter—to make seasonal patterns immediately visible.
Pro Tips for Gardening Planner Template
- Here's what I've learned after designing and refining planners for years—these tricks make all the difference in creating a functional, stress-free gardening system.
- Visual Hierarchy in Step 1: When designing your seasonal timeline in Step 1, make the month-by-month divisions bold and slightly larger than the rest of the text.
- Color-Coding Strategy for Step 2: In your planting schedule grid, use three distinct colors (green/yellow/red) but keep them light shades—dark colors make the text hard to read.
Frequently asked questions
Got questions about using a gardening planner template?
You’re not alone! Here are answers to the most common queries to help you plan like a pro.
What’s the best time to start using a gardening planner?
Start your planner now—even in winter! Many templates let you plan for the next season (e.g., spring/summer) months ahead. For warm climates, begin 3–4 months before planting; cooler regions may need 4–6 months. Pro tip: Use your last frost date as a key marker for timing!
Can I use a free template, or do I need to buy one?
Free templates (like printable PDFs or spreadsheet formats) work great for beginners. Paid versions often include premium features like mobile apps, customizable layouts, or climate-specific guides. For starters, try Canva or Etsy for affordable, ready-to-use designs.
How do I adjust my planner for a small garden or container gardening?
Scale down your layout! Use a grid system to map containers or raised beds, and focus on compact, high-yield plants (e.g., herbs, cherry tomatoes). Label each “spot” with plant names and care notes. Bonus: Add a “vertical space” section for trellises or hanging baskets!
What if my plants don’t grow as planned? Can the template help troubleshoot?
Yes! Most templates include a progress-tracking section to log growth stages, pests, or weather issues. Use it to compare your actual results with your plan. For example, if tomatoes underperform, note sunlight hours or soil pH—then adjust next season. Add a “lessons learned” column!
Do I need a digital or paper planner?
It depends on your style! Digital planners (Google Sheets, apps) are editable and portable, while paper planners offer tactile satisfaction and are great for visual learners. Try both: Use digital for data (like harvest dates) and paper for sketching garden layouts.
Still stuck?
Check your template’s FAQ or gardening forums—most planners include community tips for customization!
Wrapping up and next steps
Ready to transform your gardening dreams into a thriving reality? A gardening planner template isn’t just a tool—it’s your secret weapon for seasonal planting success! By organizing tasks, tracking progress, and staying ahead of nature’s rhythm, you’ll cultivate confidence and joy with every seed you plant. 🌱
Your next step? Grab your favorite template, customize it with your plants and goals, and watch your garden flourish—one season at a time! Happy planning, and even happier growing! 🌿